From April 2023, servers are manufactured in two versions, which will be called Green and Blue for the purpose of this document. Configuration of the Green version for server images with a version smaller than 400 is different from the Blue version.
First launch of M-SERV can take about 5 minutes due to time-consuming generation of encryption keys.
A prerequisite to getting access to the server and the Smart Home Manager application is setting up passwords by entering the server address in your web browser. The address can be found on the server’s screen. The figure below presents a first configuration screen for the Green version.
 Click to enlarge and open in a new tab.
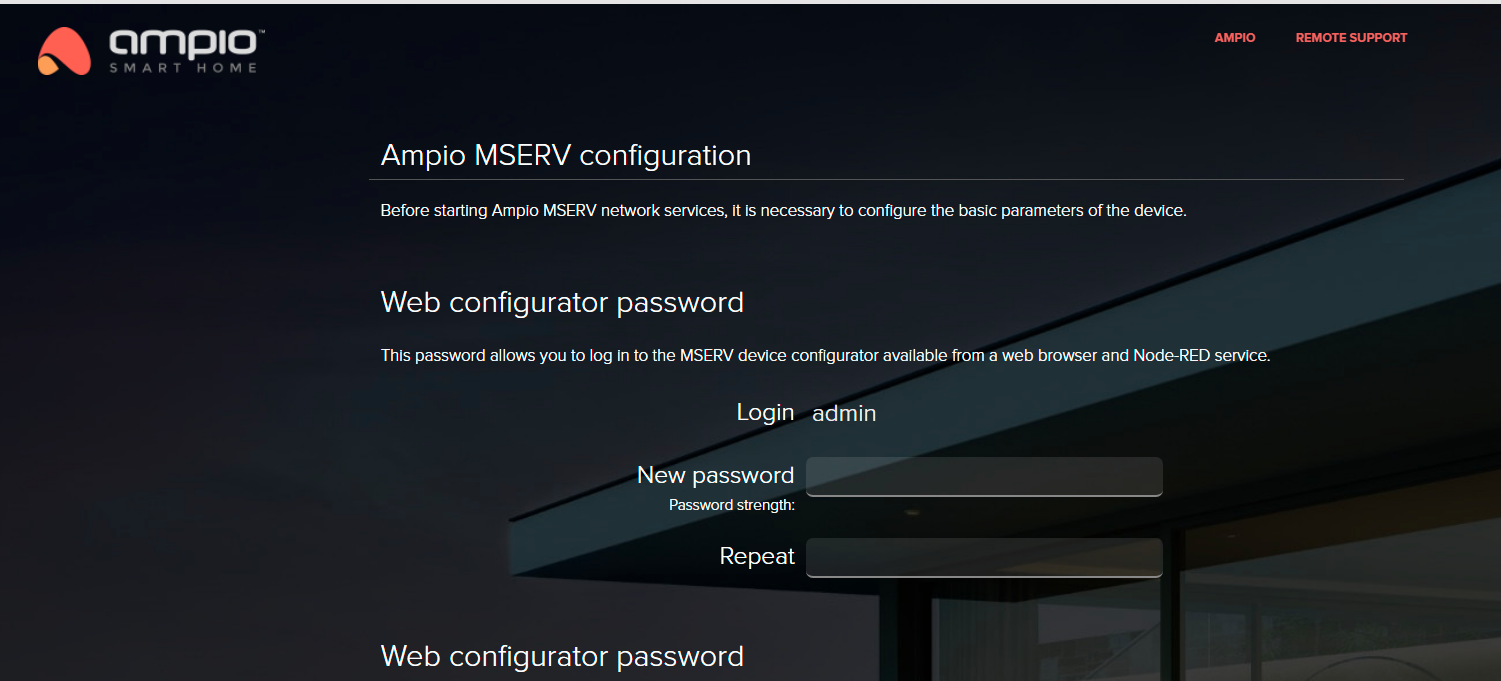
If, however, the initial configuration screen looks like figure below, it means that you have a Blue version of the server and must provide the password twice, as well as choose whether or not you want the Node-RED tool, or SSH and SIP connections activated at first launch.
 Click to enlarge and open in a new tab.
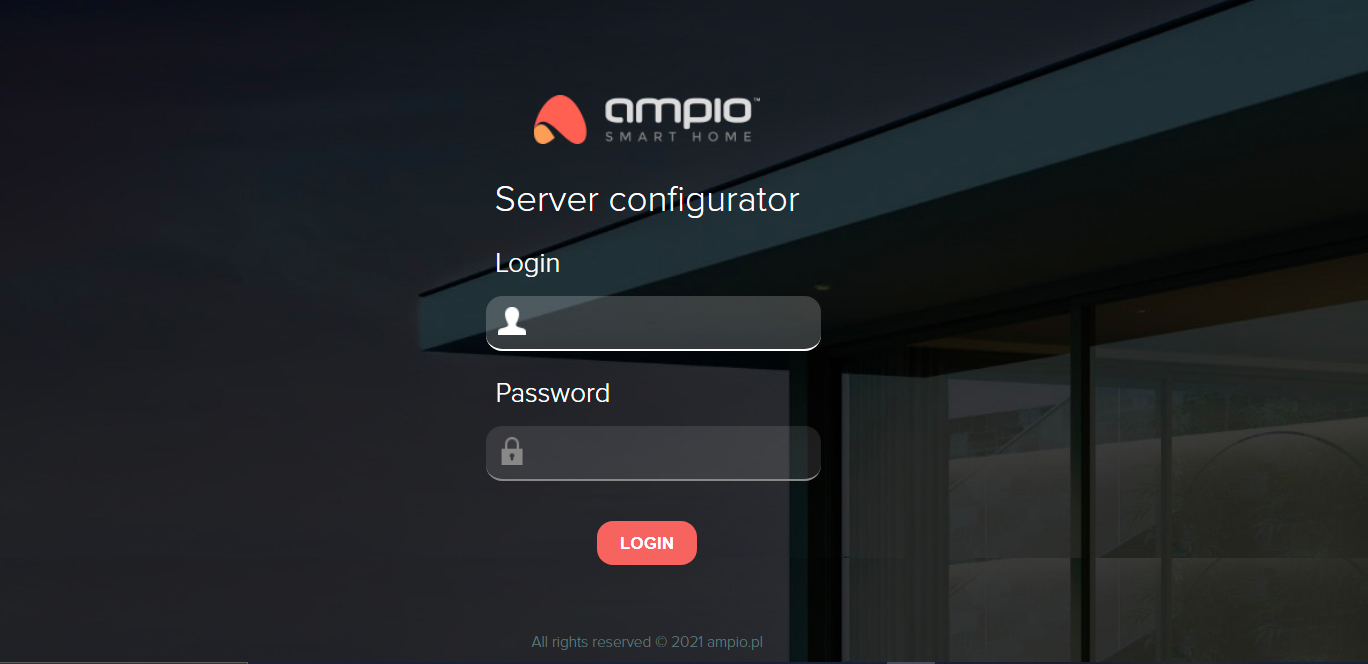
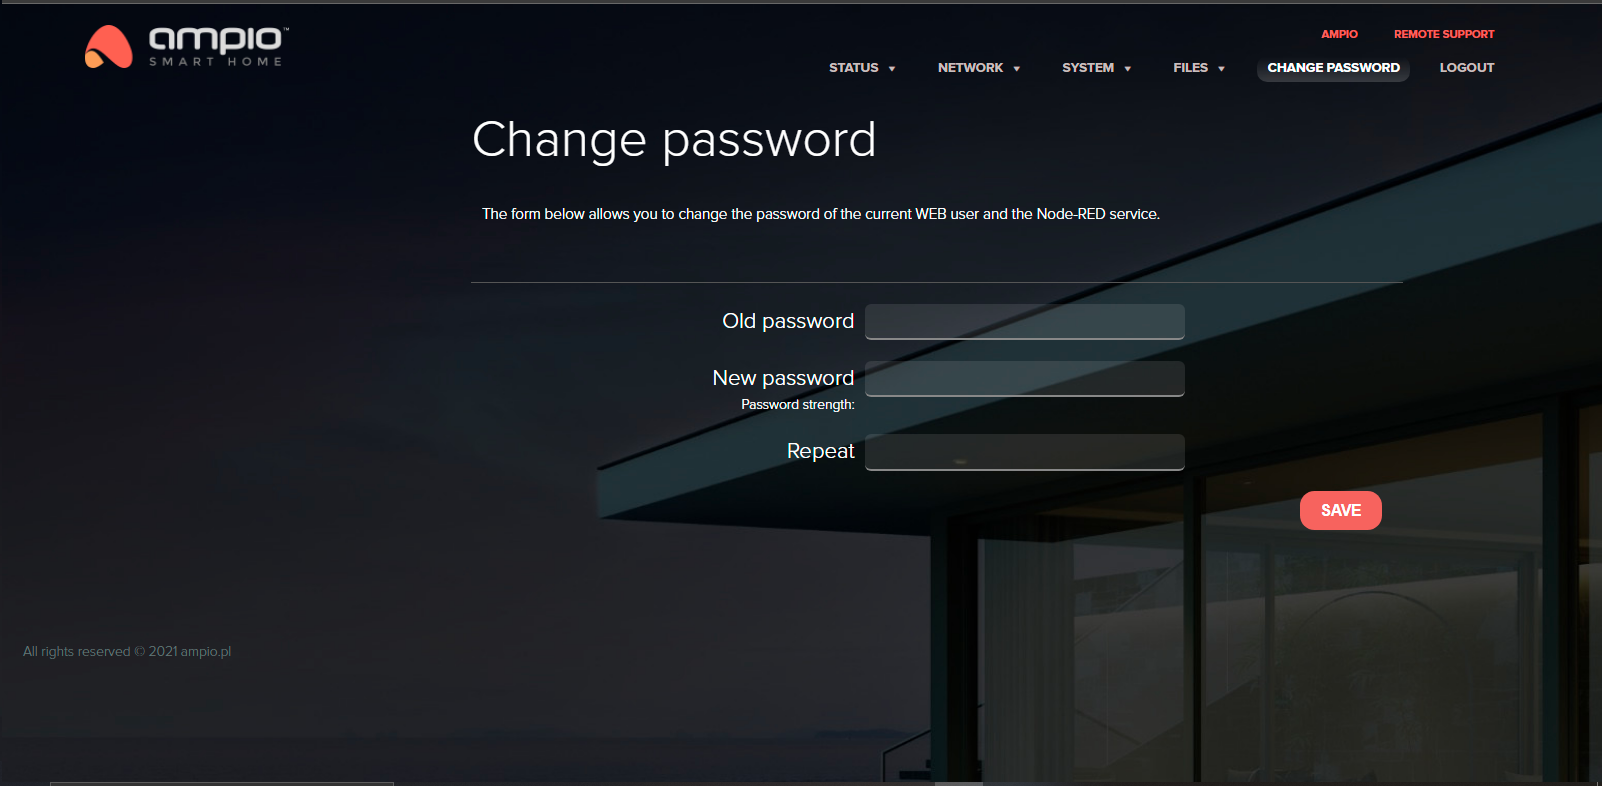
After filling in all the fields and clicking Save, changes will be sent to the server. Then, once the server is rebooted, entering the server’s address in the browser will take you to the login screen where you log in with the password set up in the precious step.
 Click to enlarge and open in a new tab.
The previously set password will also be the password to Node-RED for an admin user.
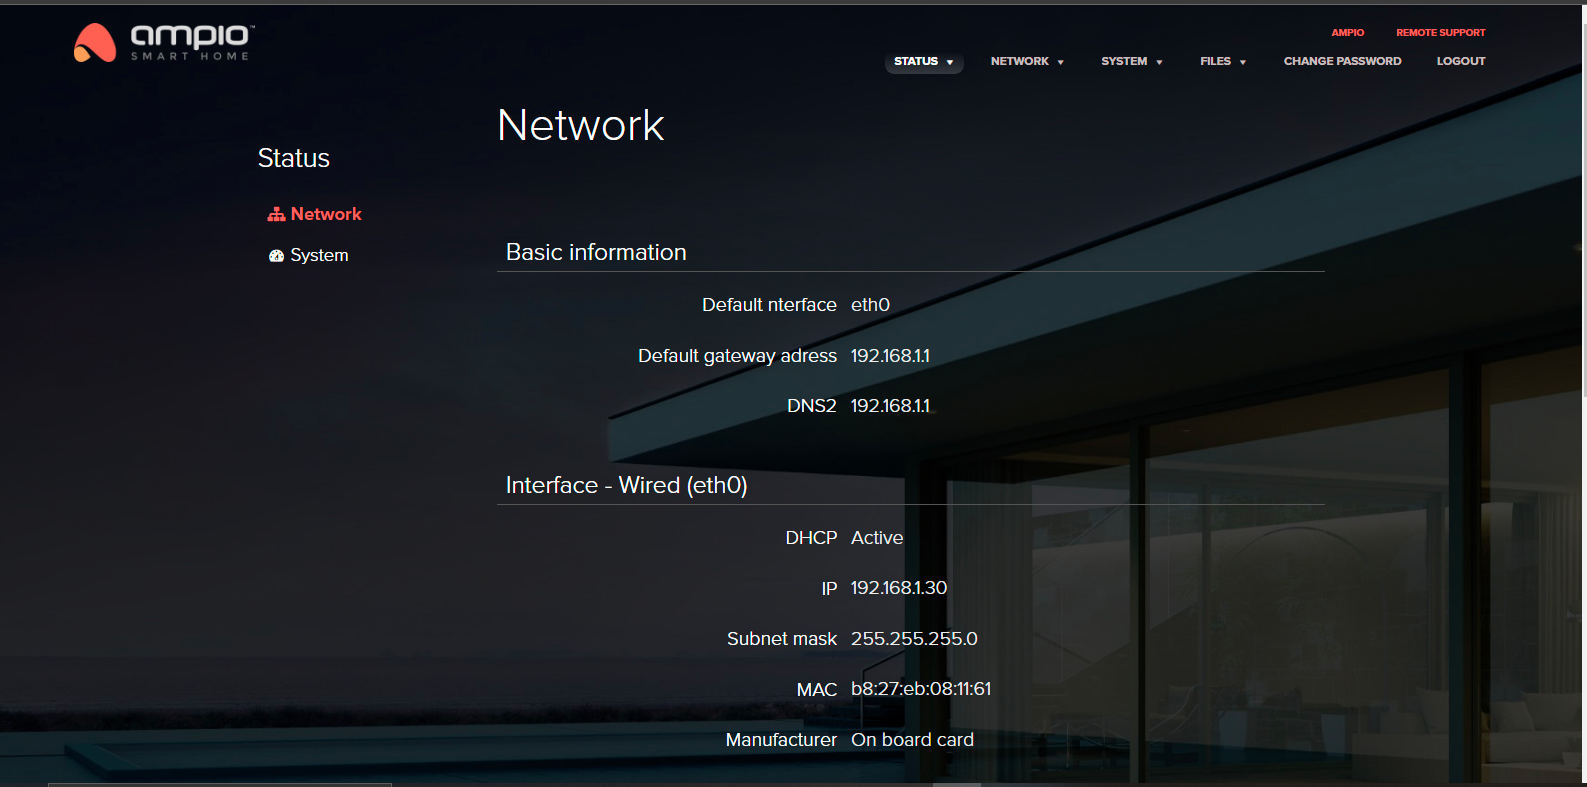
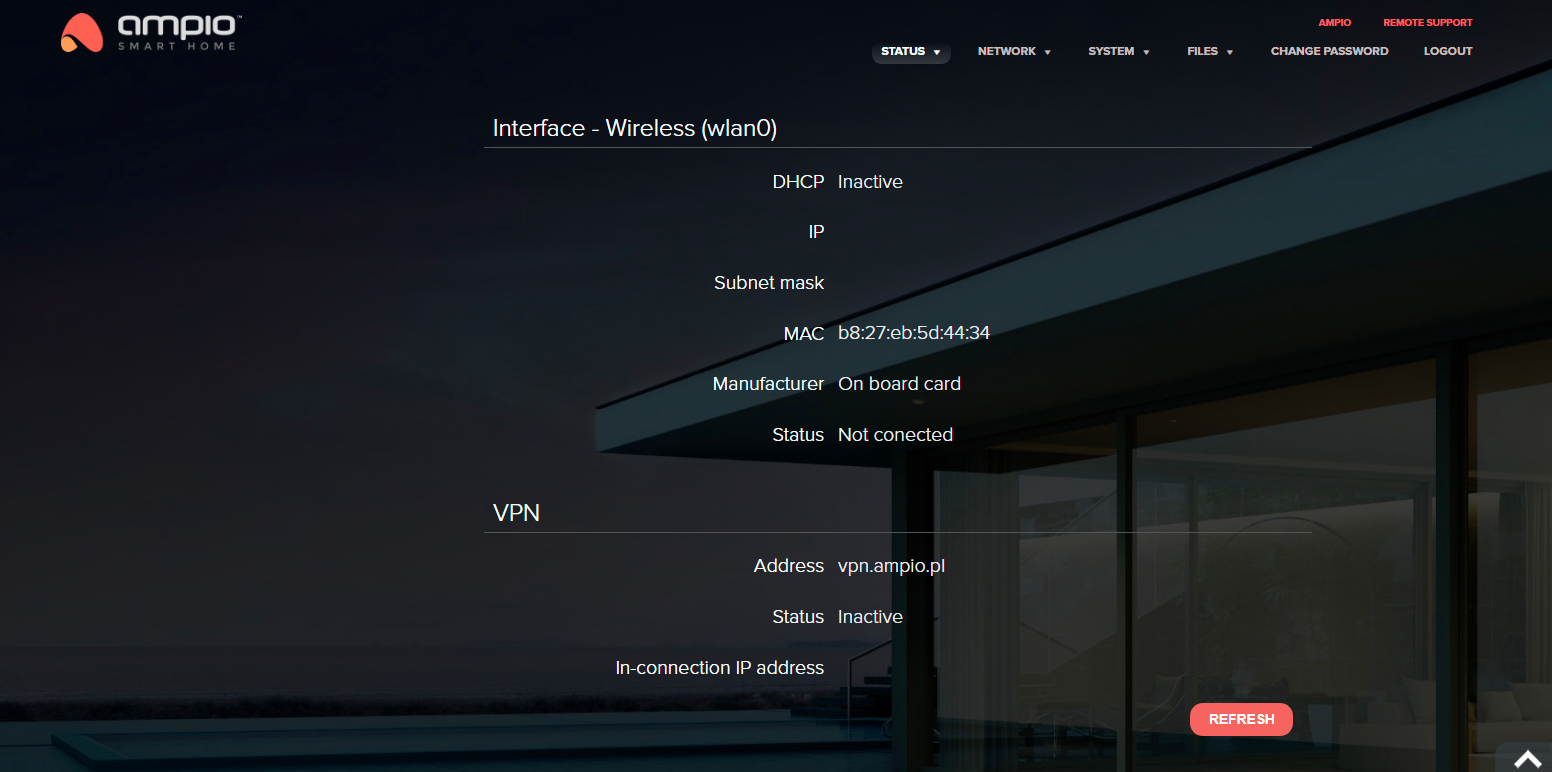
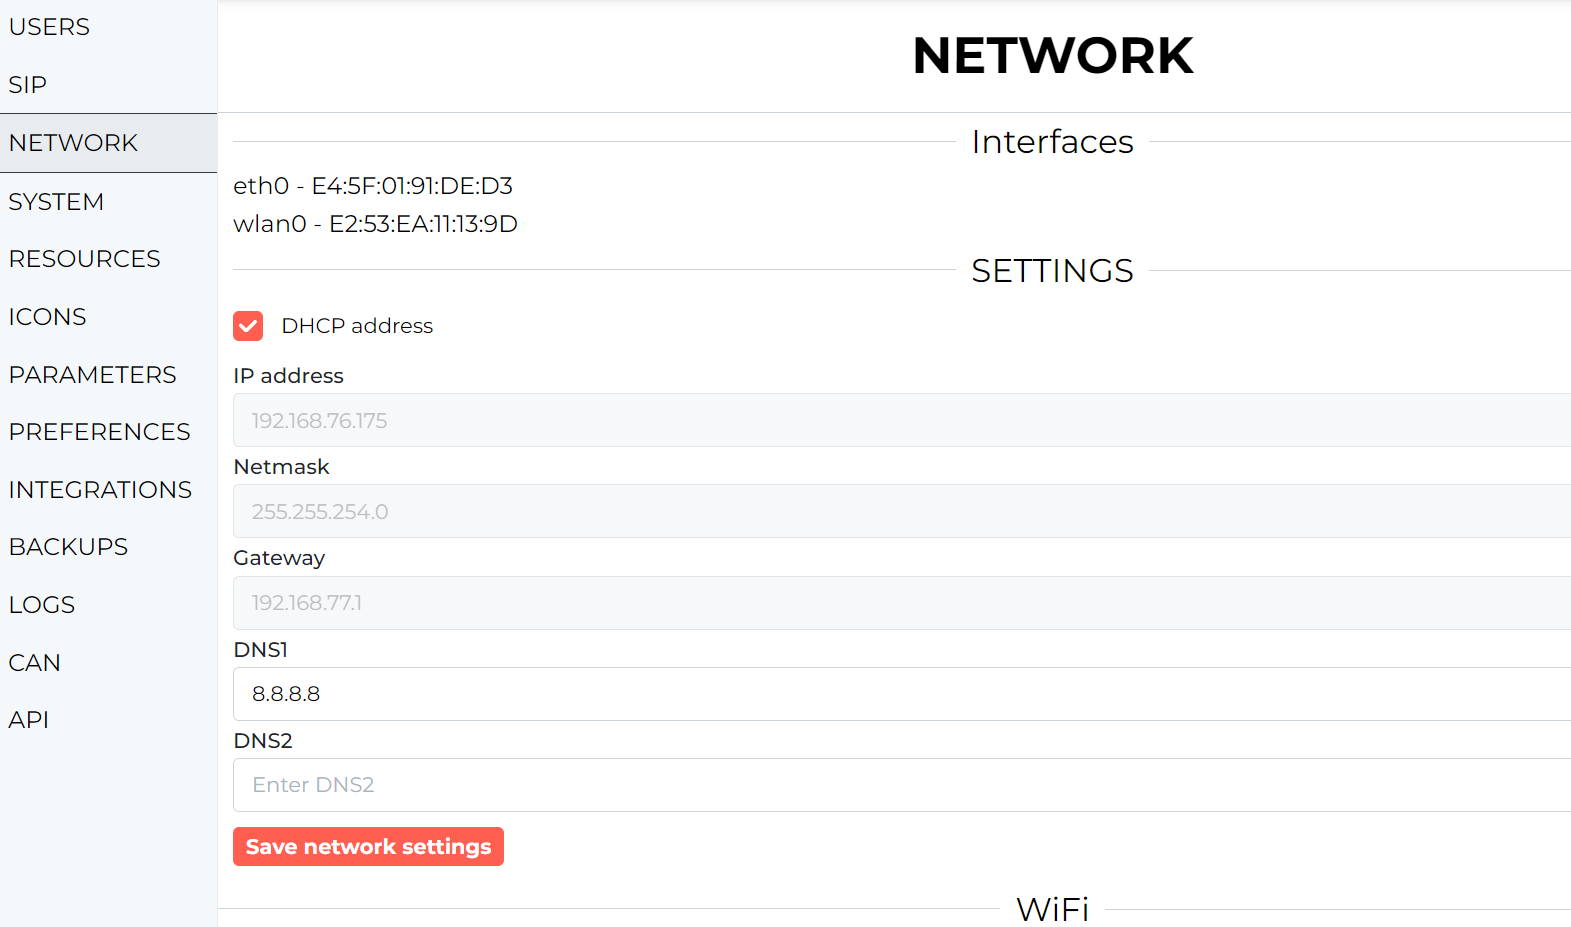
Here you can find information about the server, such as Default gate, DNS1 and DNS2. You will also be able to see whether DHCP is active, or not. Other information that can be checked here are: server’s IP address, its MAC and VPN address.
 Click to enlarge and open in a new tab.
 Click to enlarge and open in a new tab.
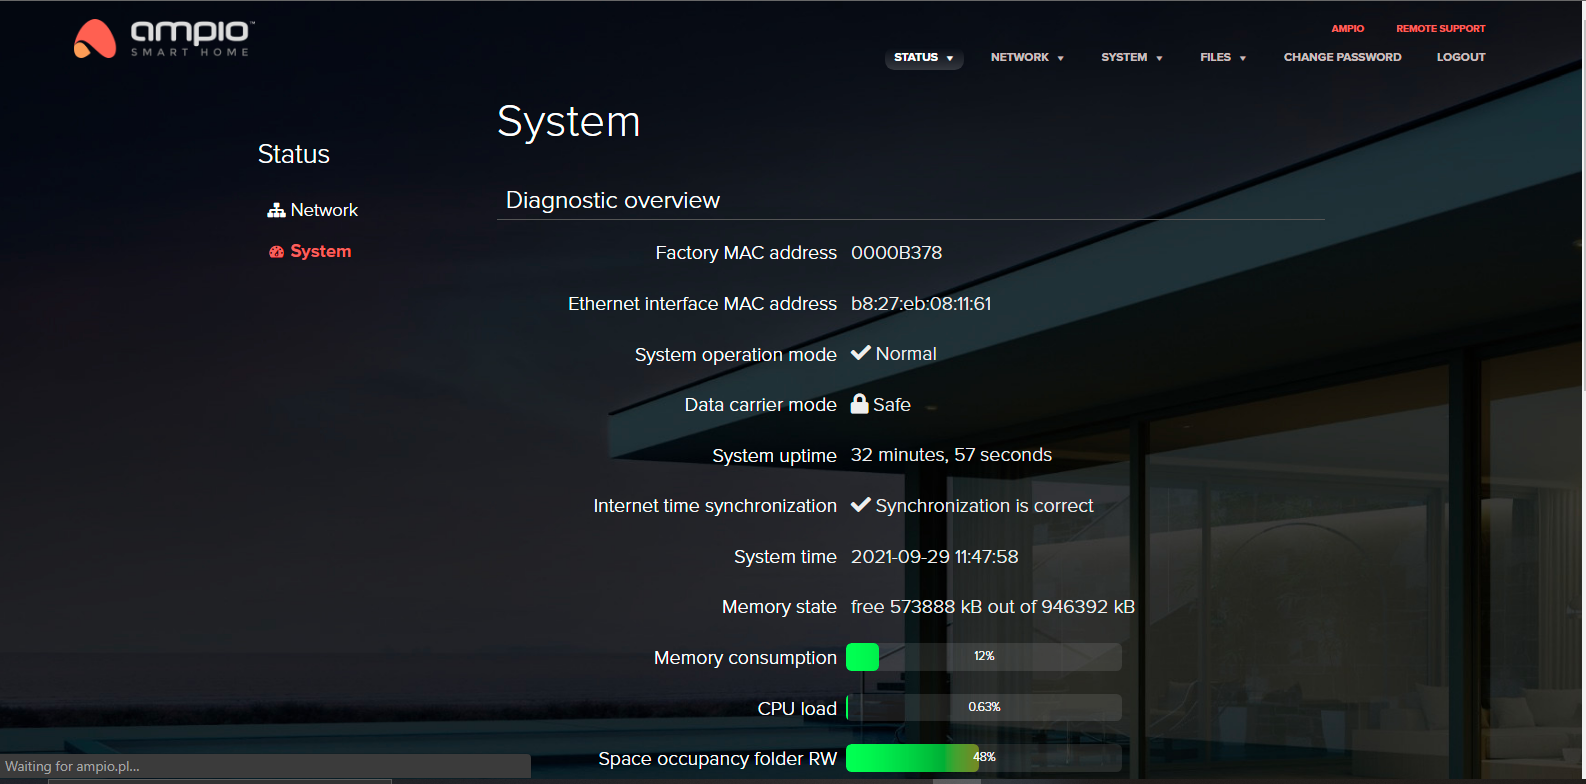
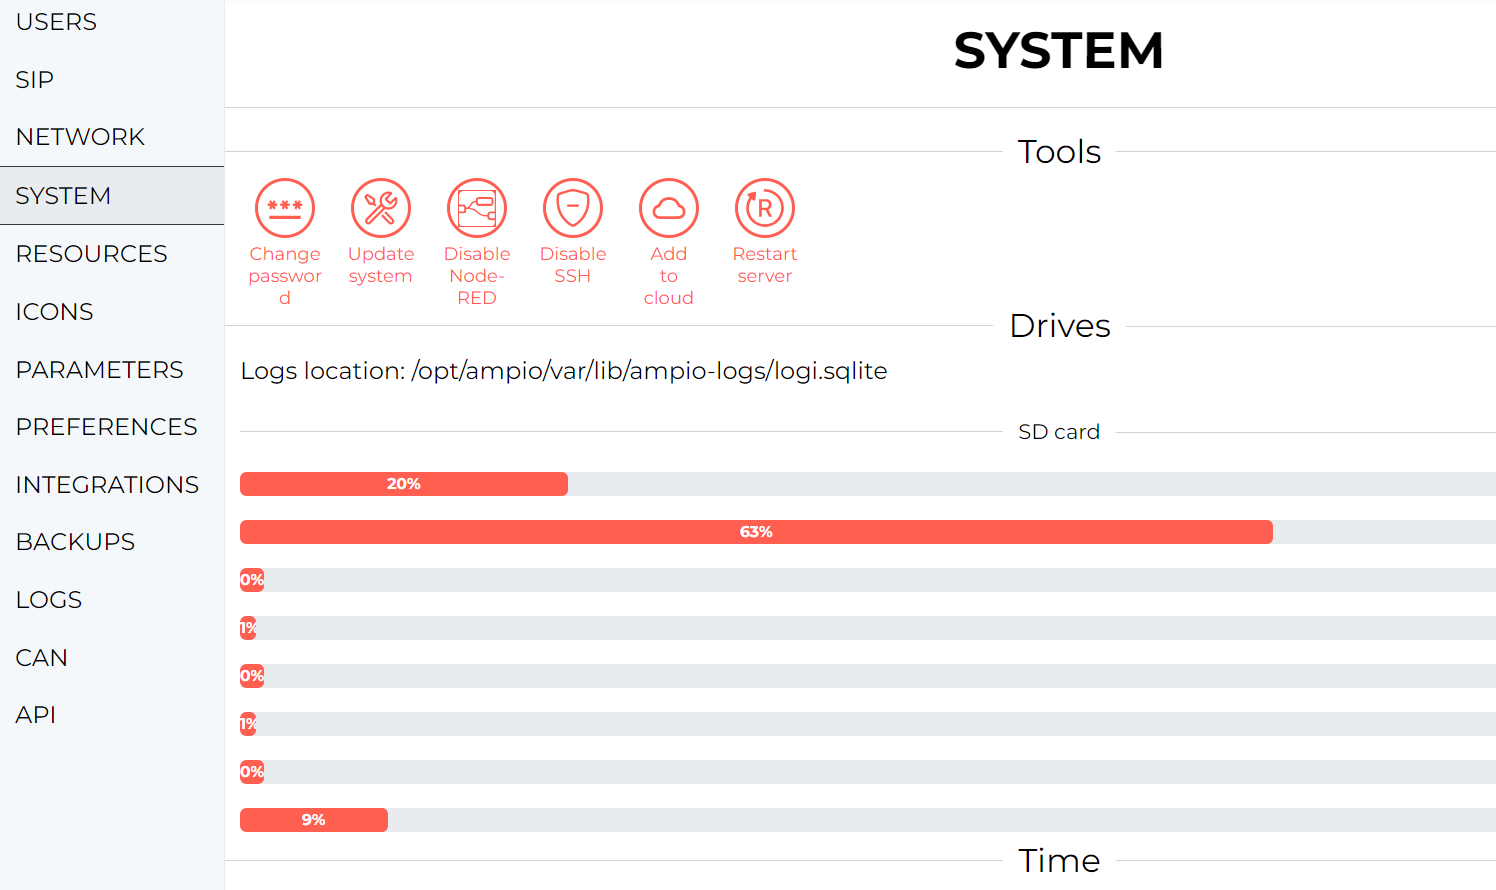
The tab provides information about the system.
 Click to enlarge and open in a new tab.
 Click to enlarge and open in a new tab.
Explanation of diagnostic data:
Factory MAC address server’s MAC address in the CAN network
Ethernet interface MAC address physical address of the network interface controller
System operation mode indicates whether the system is working correctly, or not
Data carrier mode indicates whether the system operates in a safe mode (read-only), or in a read-and-write mode. By default, the system should operate in a safe mode.
System uptime indicates the duration of time that the system has been working since the last launch.
Internet time synchronisation indicates if the system downloads the current date and time correctly from the Internet
System time shows the current time on the server
Memory state indicates the current memory usage on the server
Memory consumption indicates the current RAM memory usage
CPU load indicates the current processor load in the server
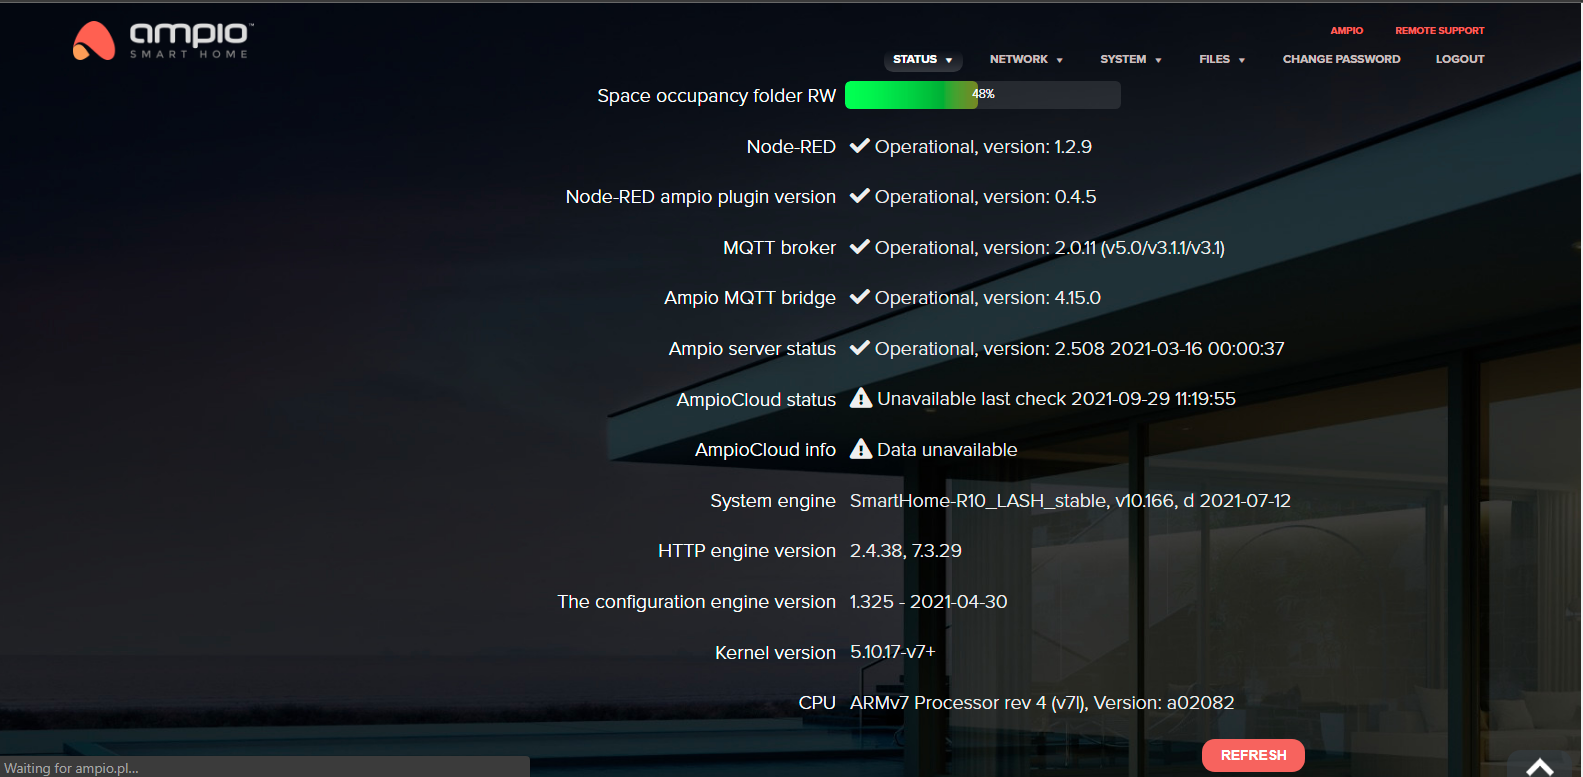
Space occupancy folder RW indicates the current storage usage in a non-volatile folder (RW)
Node-RED indicates the current version of Node-RED installed
Node-RED Ampio plugin version indicates the current version of installed Ampio Node-RED plug-in
MQTT broker indicates the current version of installed MQTT broker
Ampio MQTT bridge indicates the current version of installed MQTT bridge software
Ampio server status indicates the current operating status of the Ampio application server
AmpioCloud status indicates the connection status between the server and Ampio Cloud, which is indispensable to control the house from outside the local network’s range
AmpioCloud Info indicates the current status of the Ampio Cloud service
System engine indicates the current version of the main system engine
HTTP engine version indicates the current version of the http server
The configuration engine version indicates the current version of the system configuration engine
Kernel version indicates the current version of the Linux system’s kernel
CPU displays information about the M-SERV-3s processor
It makes it possible to manage the local network. The host name can be changed, but requires a system reboot. The host address enables accessing the server by entering the following in the browser: http://hostname.local
 Click to enlarge and open in a new tab.
DHCP is selected by default. If you untick it, you will be able to change the IP address, IPv4 subnet mask, gateway and DNS servers’ addresses. By default, the settings are automatically downloaded from the router via DHCP.
Changing the above-listed parameters will change the server’s IP address. Make sure that the settings that you enter are correct. If your settings are incorrect, the server connectivity may be lost.
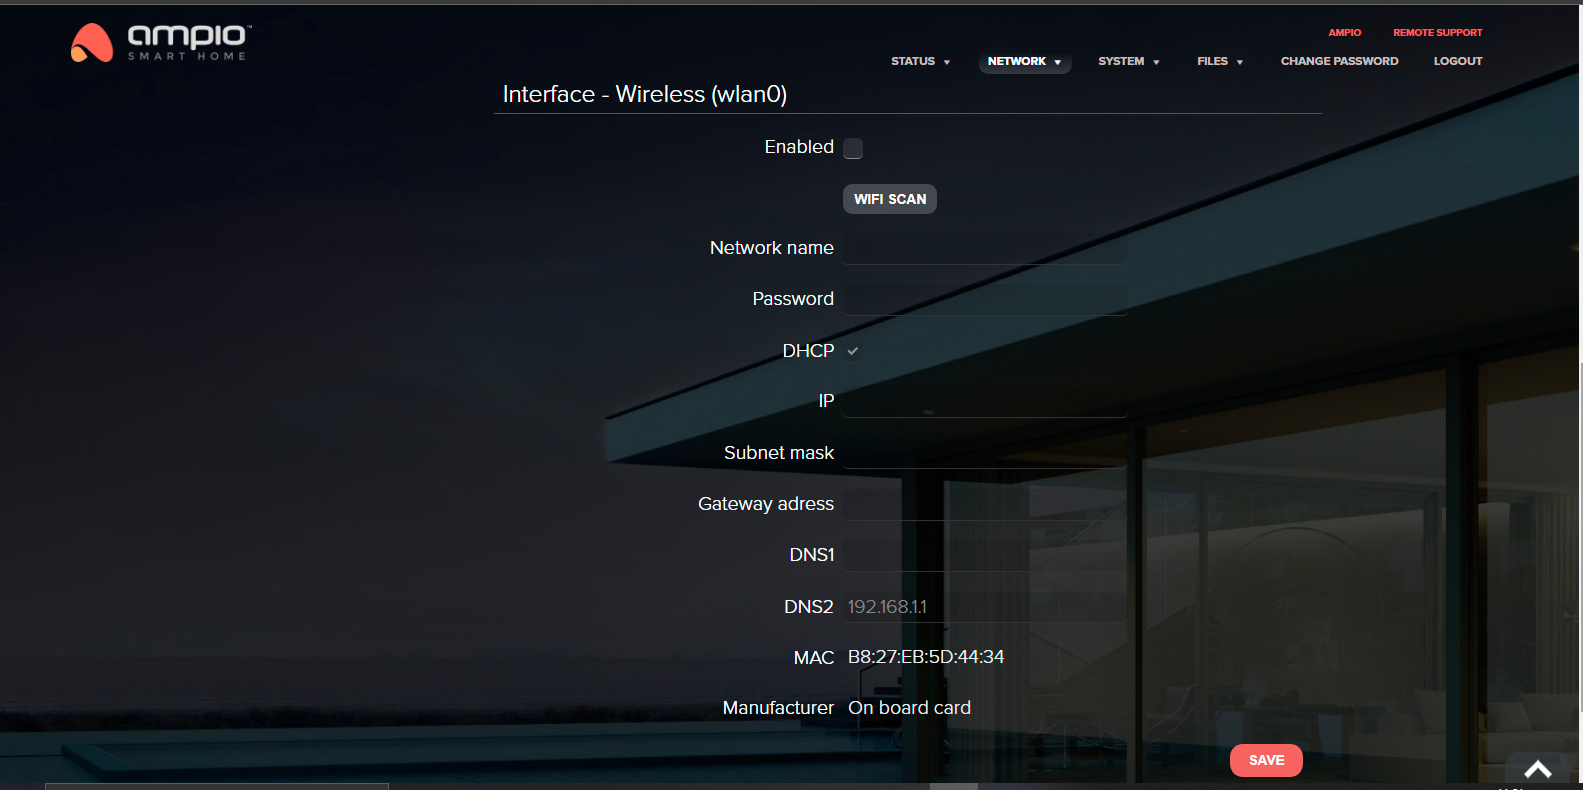
We can also set the parameters of the local network.
 Click to enlarge and open in a new tab.
We always recommend using a wired network, if possible. Wireless networks might prove problematic due to obstructing walls and distribution board’s layout.
In order to do that, tick the box next to “Enable” and save the settings. At this point M-SERV’s power supply might reboot. After saving the settings and clicking the “WiFi scan” button, select a network from the list, enter its password and save. M-SERV will make a connection with the network – it takes about 1-3 minutes.
The tab allows you to change the VPN server address, user name and password. You can also find the VPN status here and its IP. You can deselect automatic connection, or connect by clicking on the “Connect” button.
 Click to enlarge and open in a new tab.
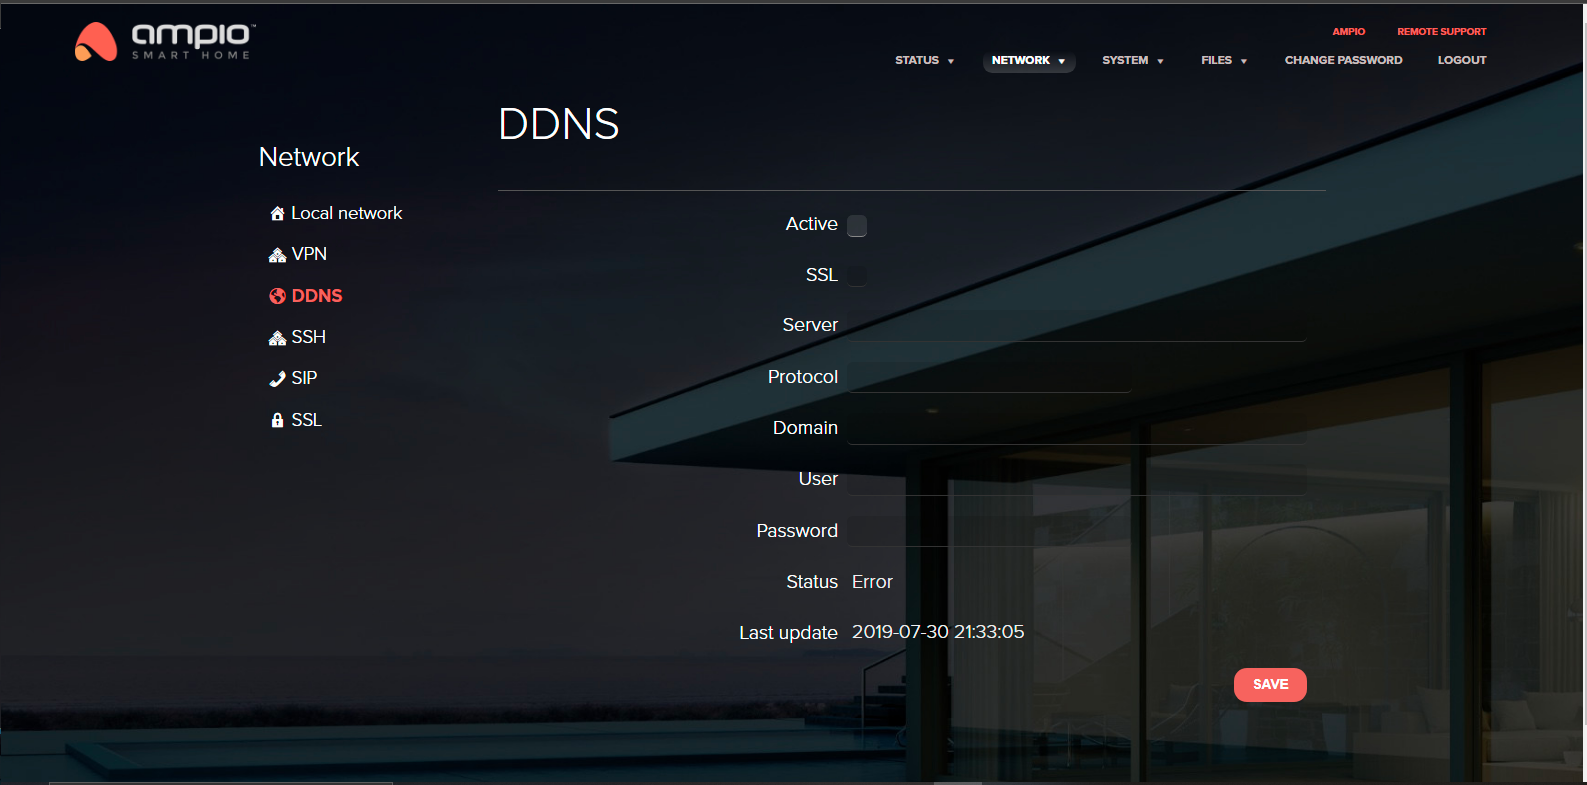
If you want to access your local network from any place in the world not with the use of a fixed IP address, but with dynamically obtained public address from the DHCP server (what Neostrada is also doing), you must use the DDNS (Dynamic Domain Name System) service. The service will not work if your ISP does not offer a public IP address. M-SERV can send your current IP address to the DDNS server in order to update it.
Supported protocols:
 Click to enlarge and open in a new tab.
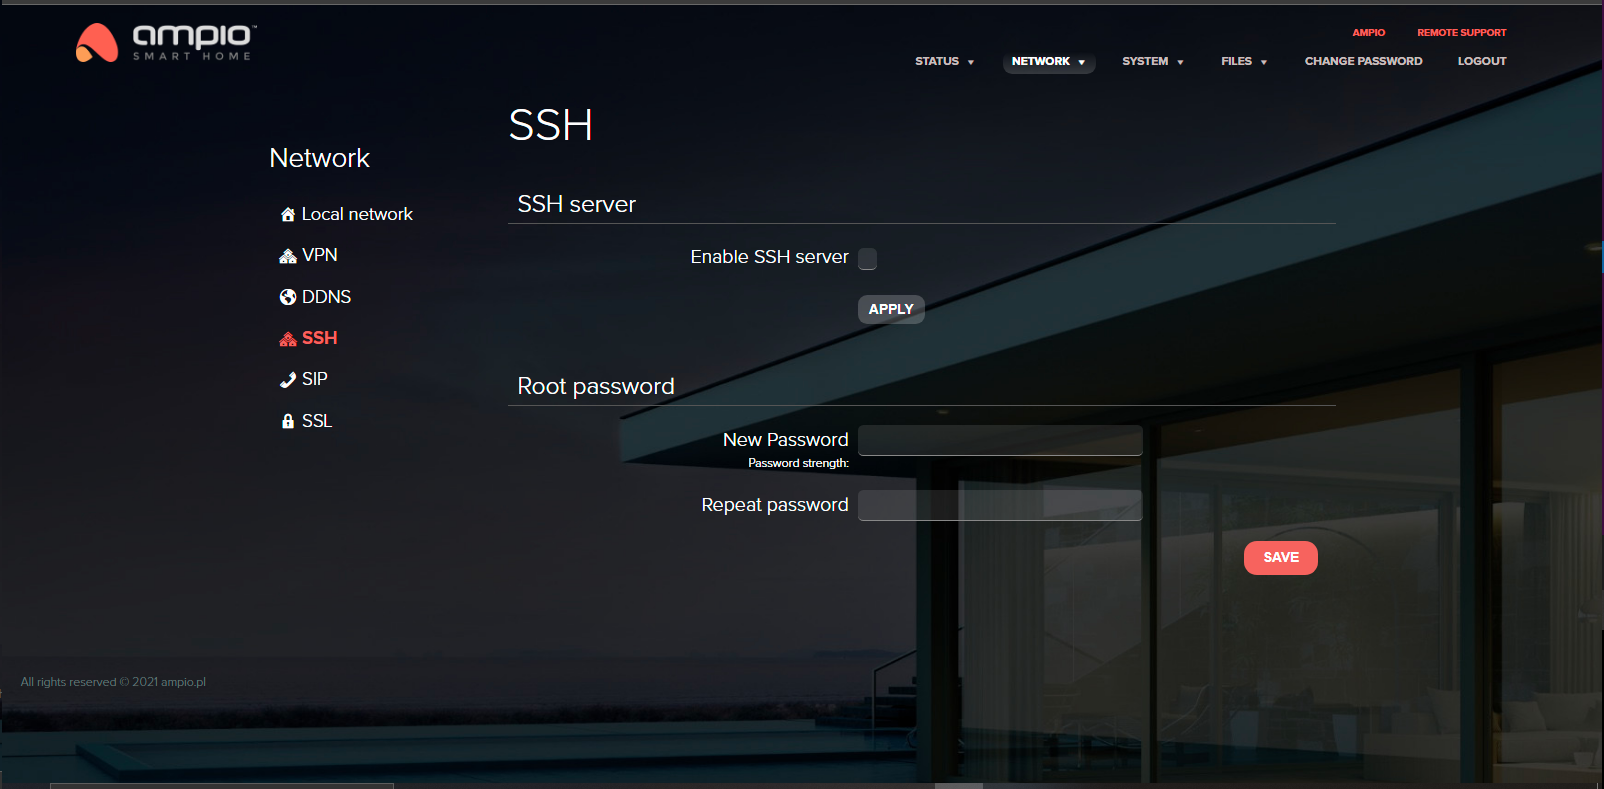
By default, the SSH server is inactive. In order to make connections via the SSH server (access to Linux), select “Enable SSH server” and apply changes. Then create a root user password (it should contain at least 8 characters).
 Click to enlarge and open in a new tab.
SSH is accessible on port 2022.
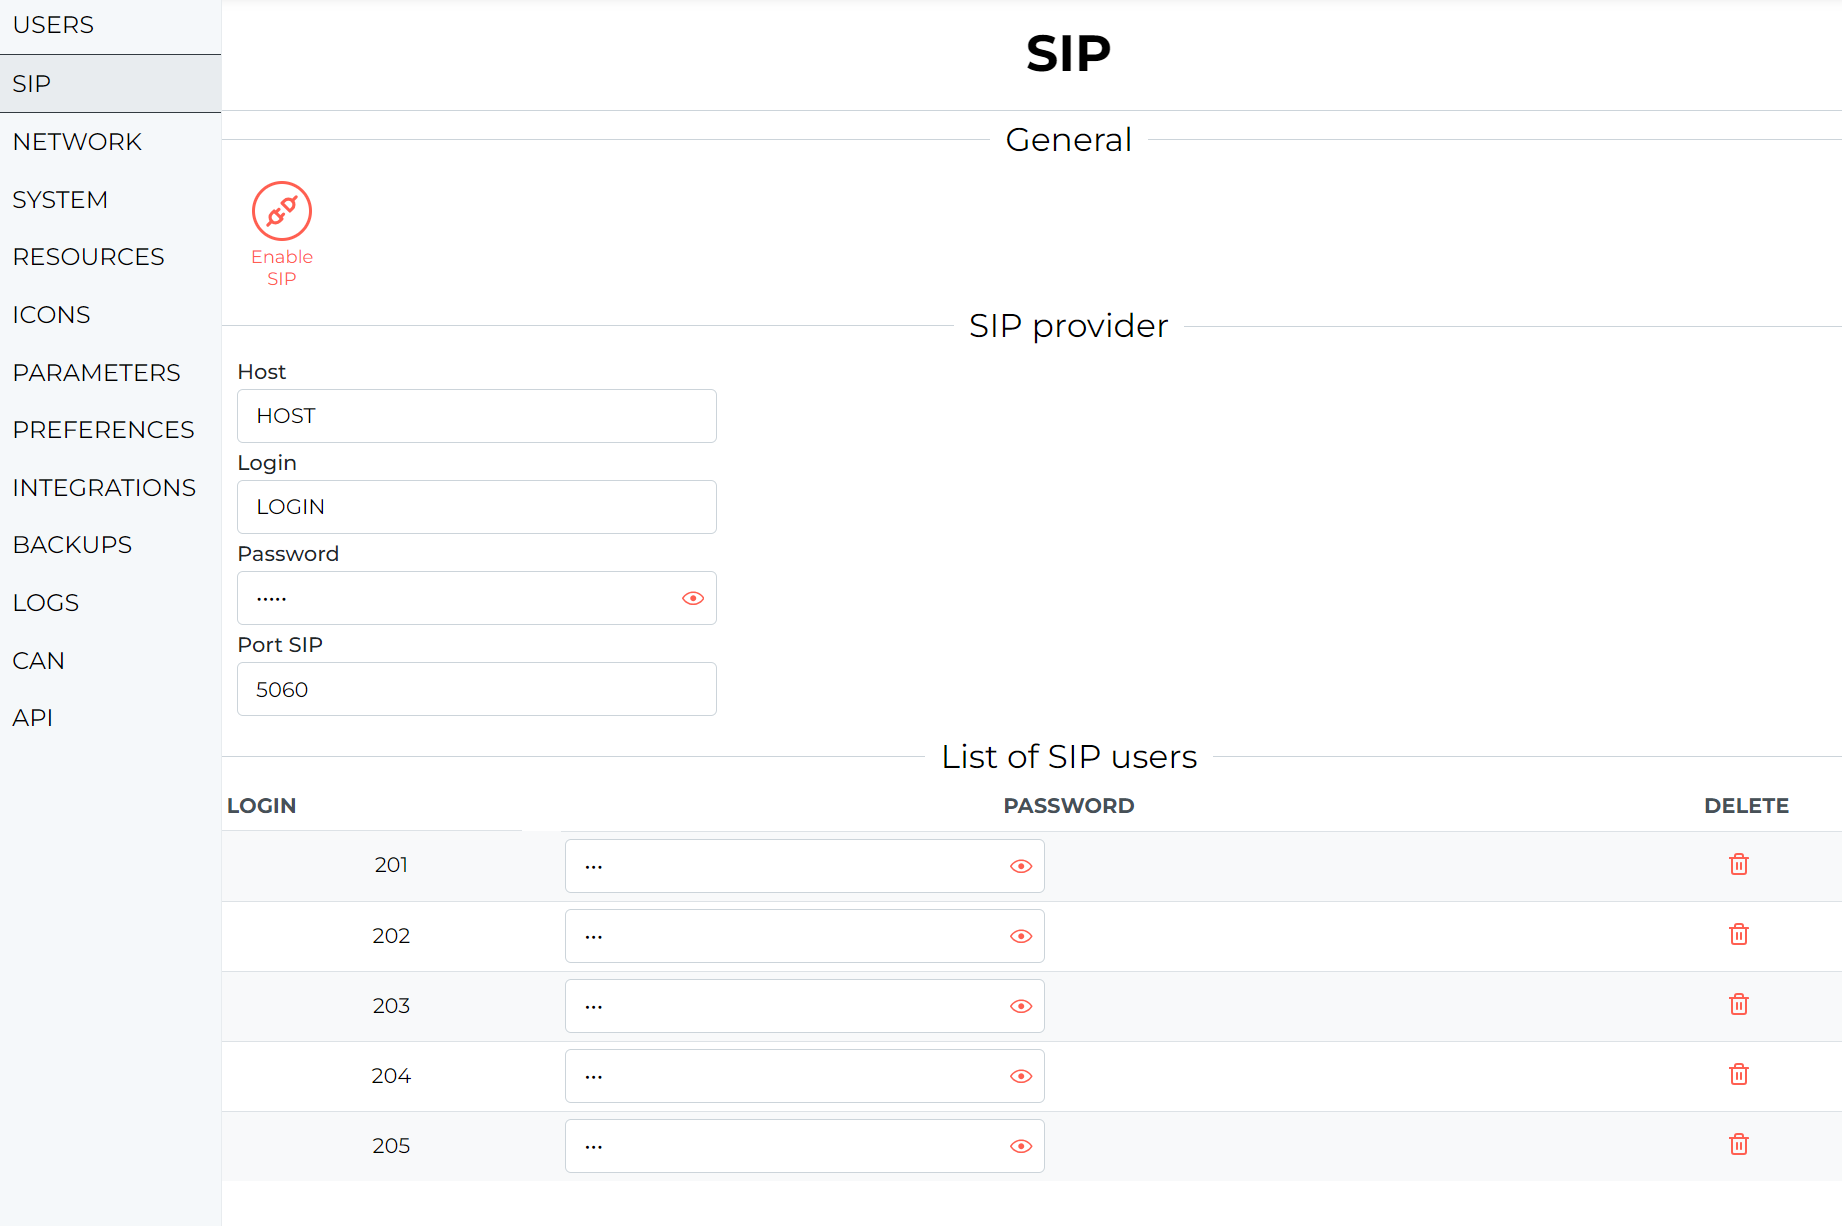
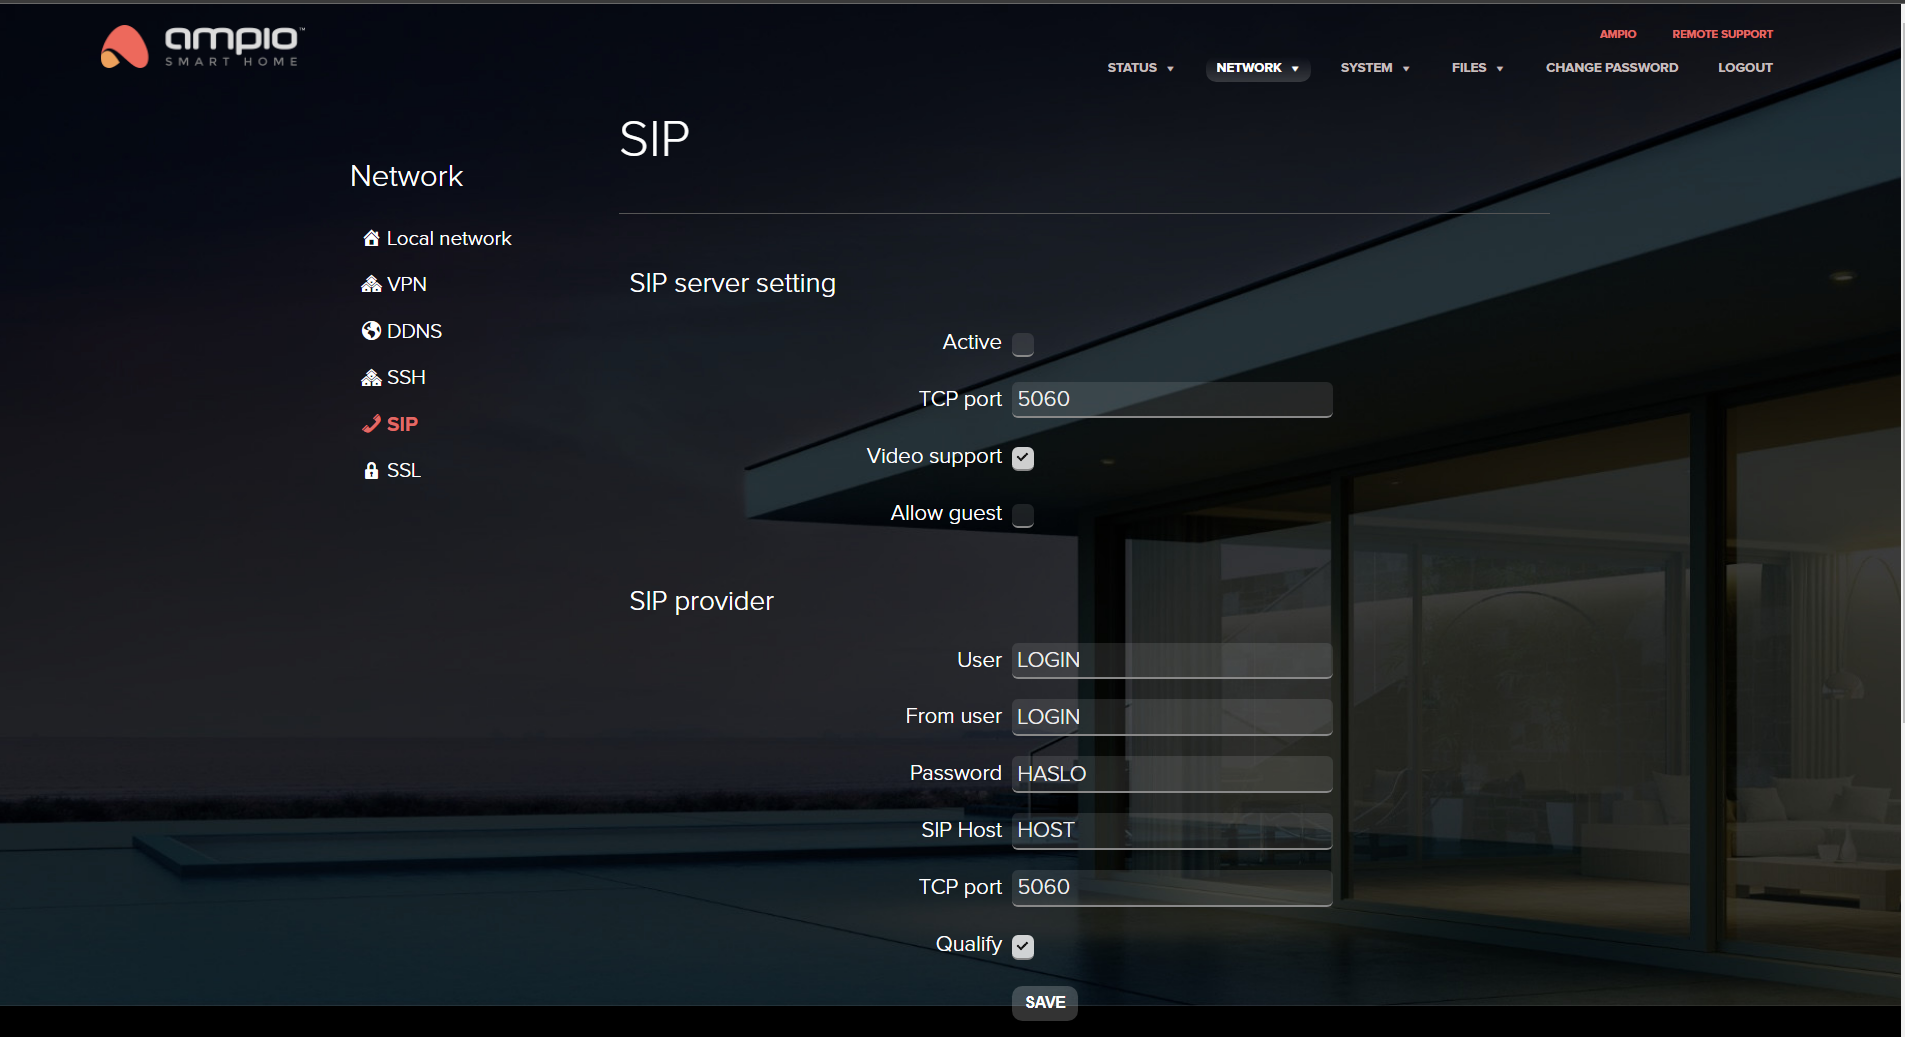
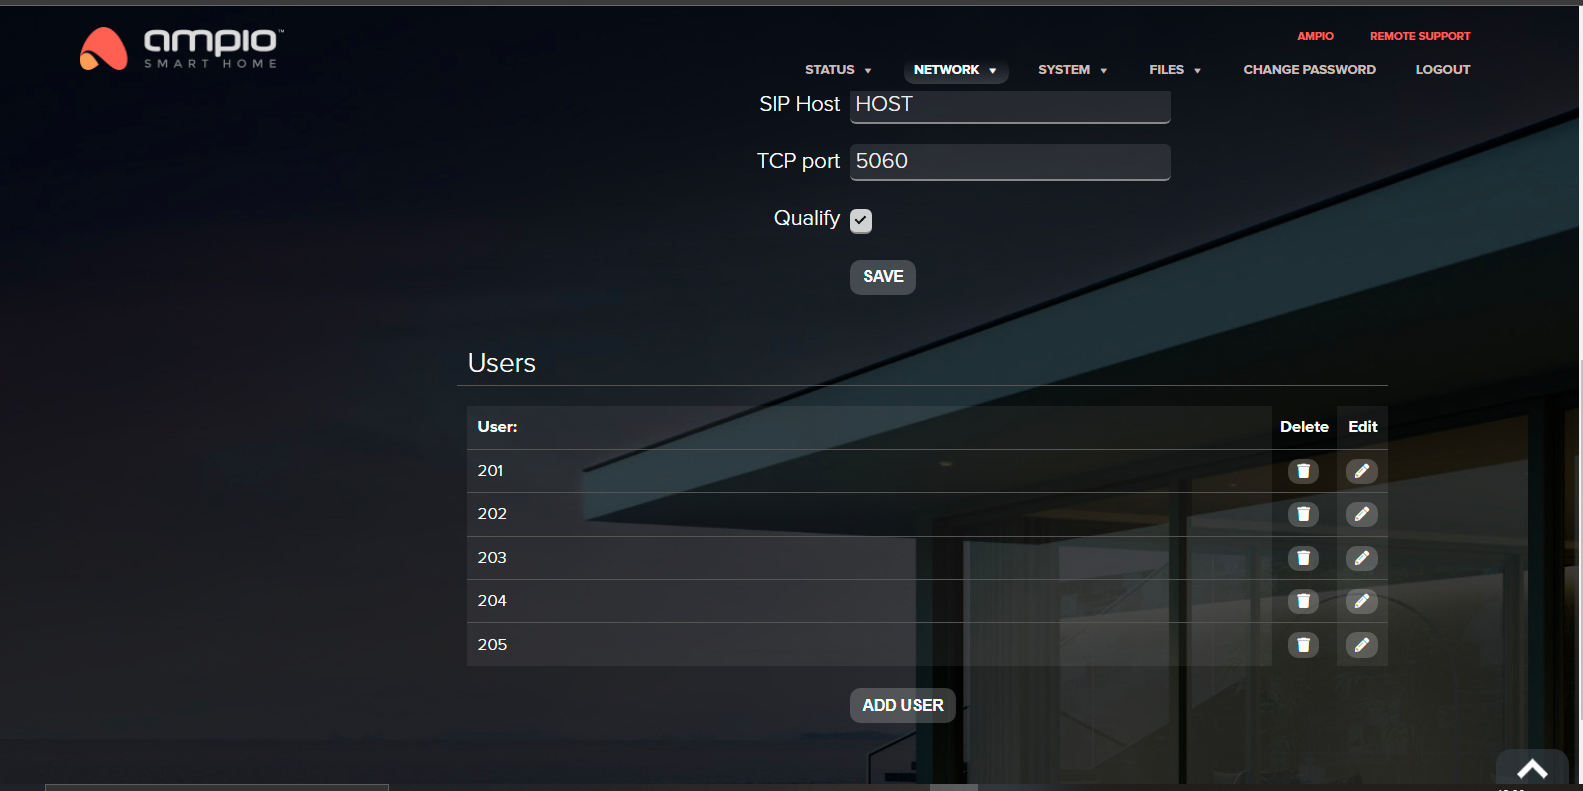
This is a tab used to create a connection with an intercom. By default this server is inactive. It is possible to modify the TCP port and to activate or deactivate video or guests support. Here, you will enter the SIP service provider’s details. You can also add, edit and remove users.
 Click to enlarge and open in a new tab.
 Click to enlarge and open in a new tab.
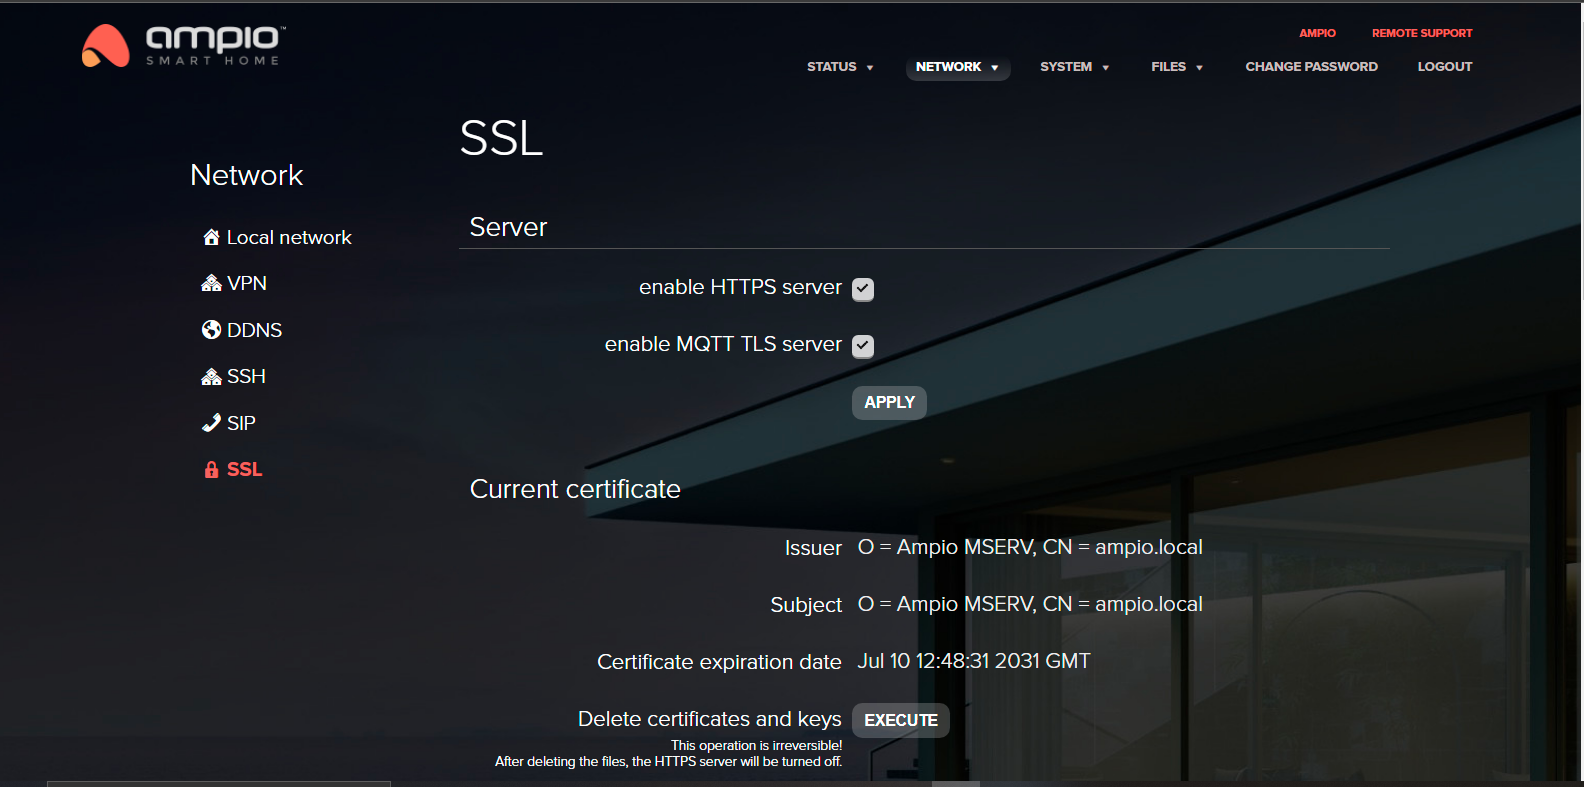
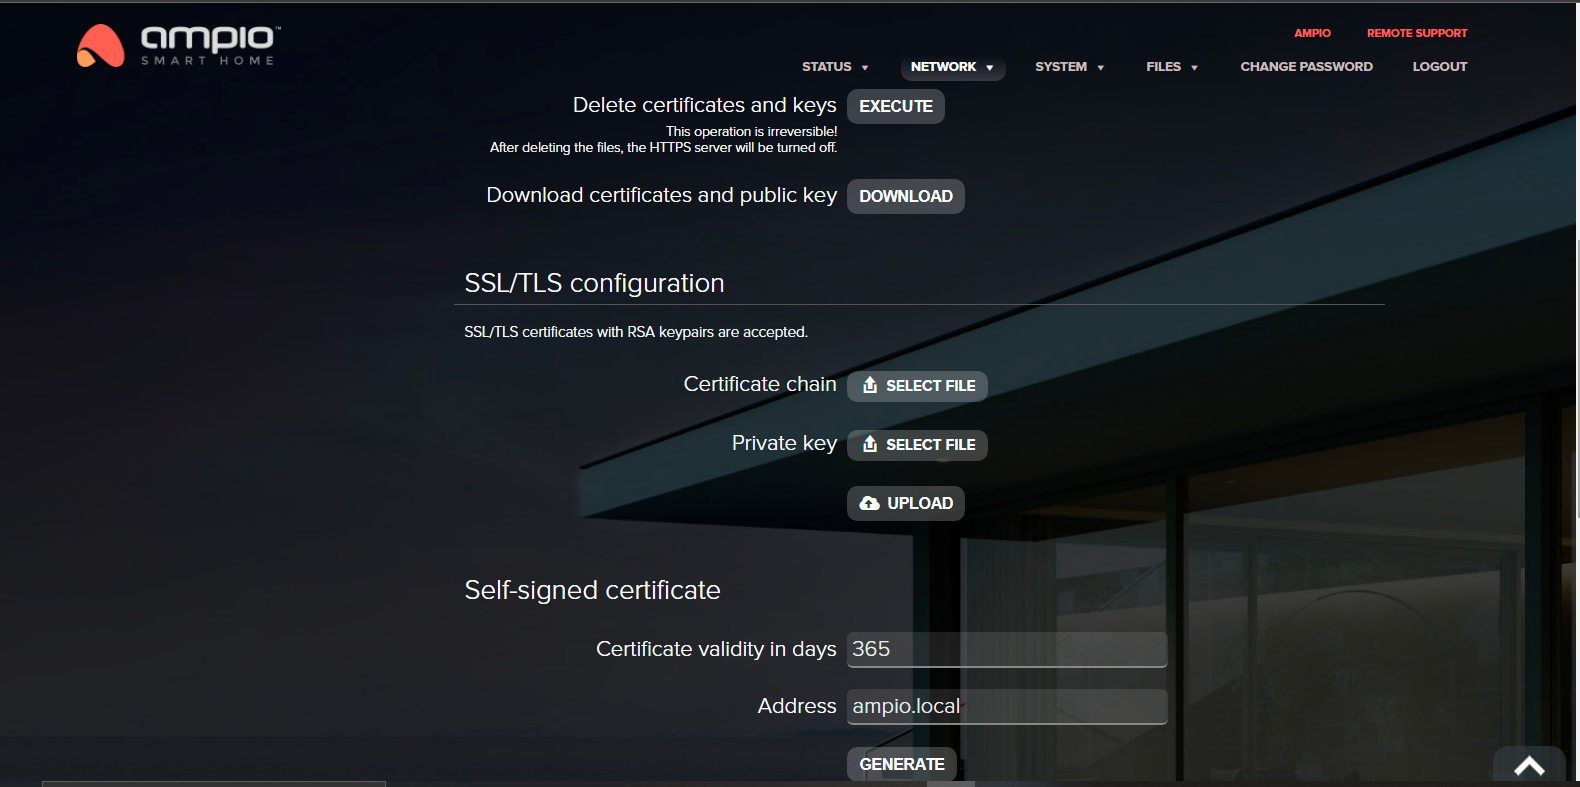
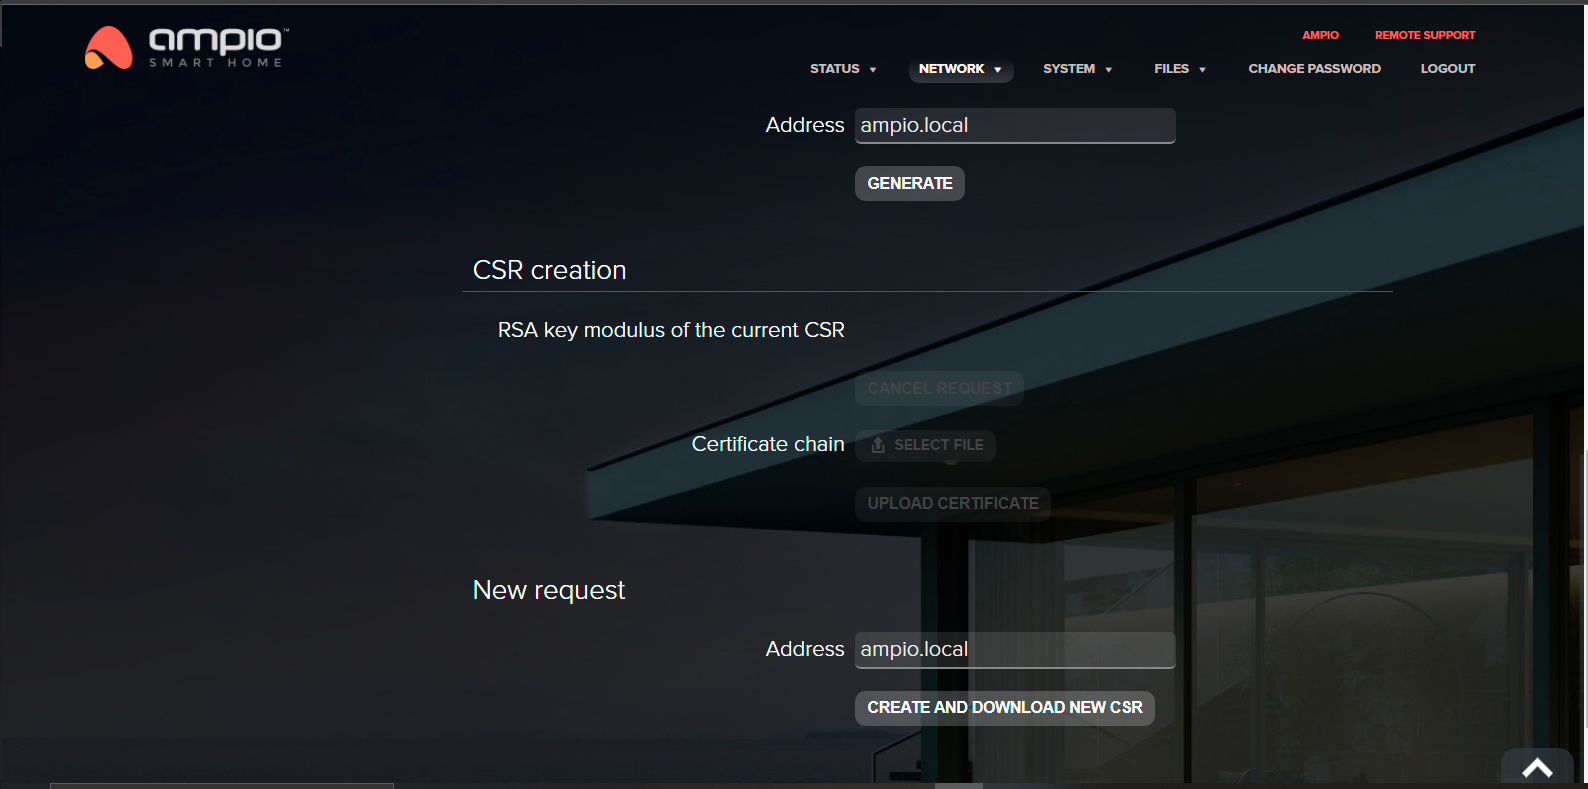
The HTTPS server is active by default. The tab provides information about the current certificate and allows you to generate a self-signed certificate and to upload your own certificate. SSL/TLS configuration is meant for advanced installers.
 Click to enlarge and open in a new tab.
 Click to enlarge and open in a new tab.
 Click to enlarge and open in a new tab.
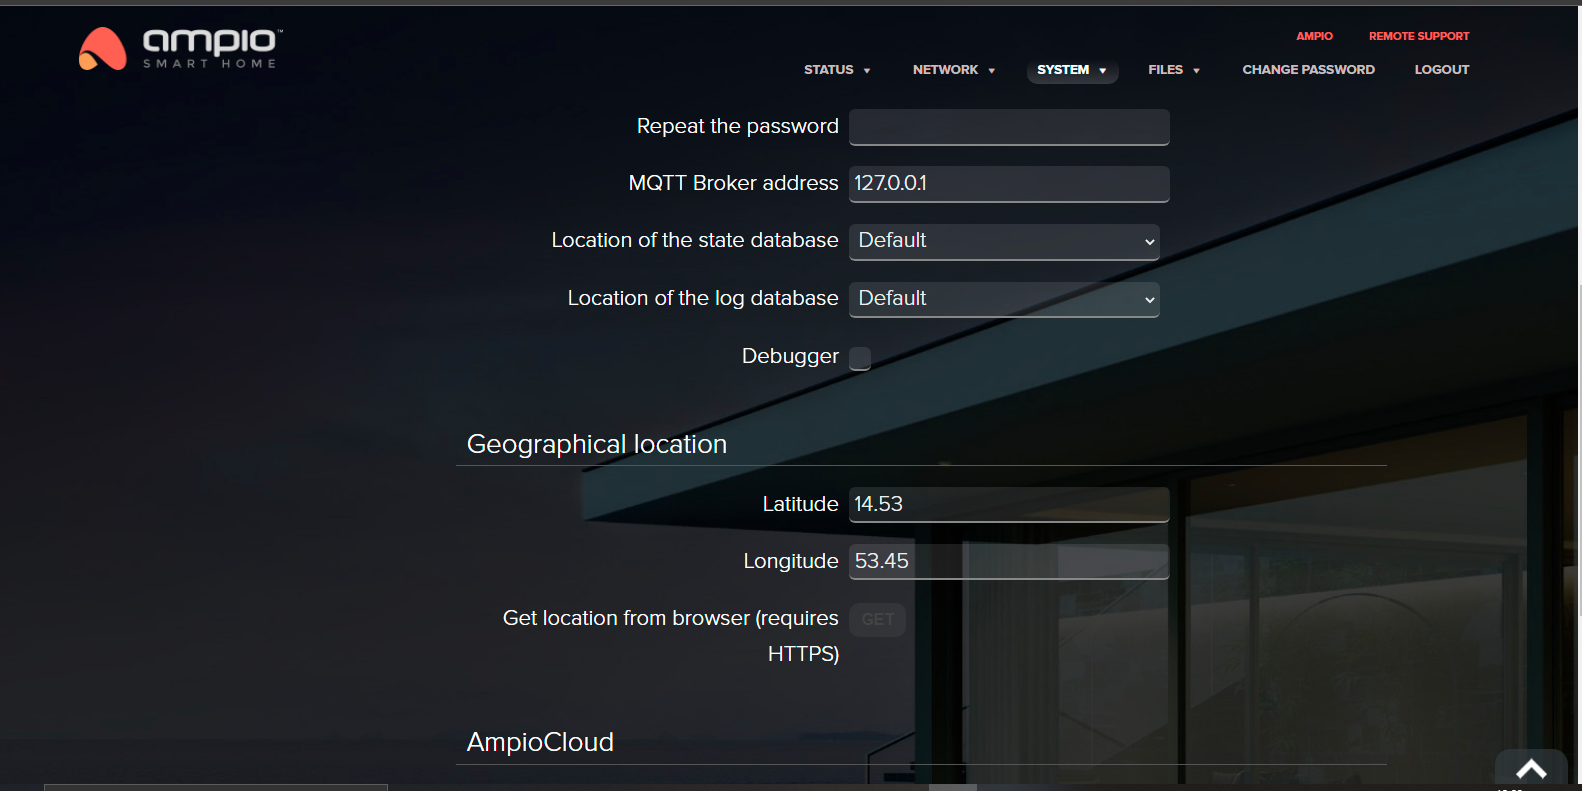
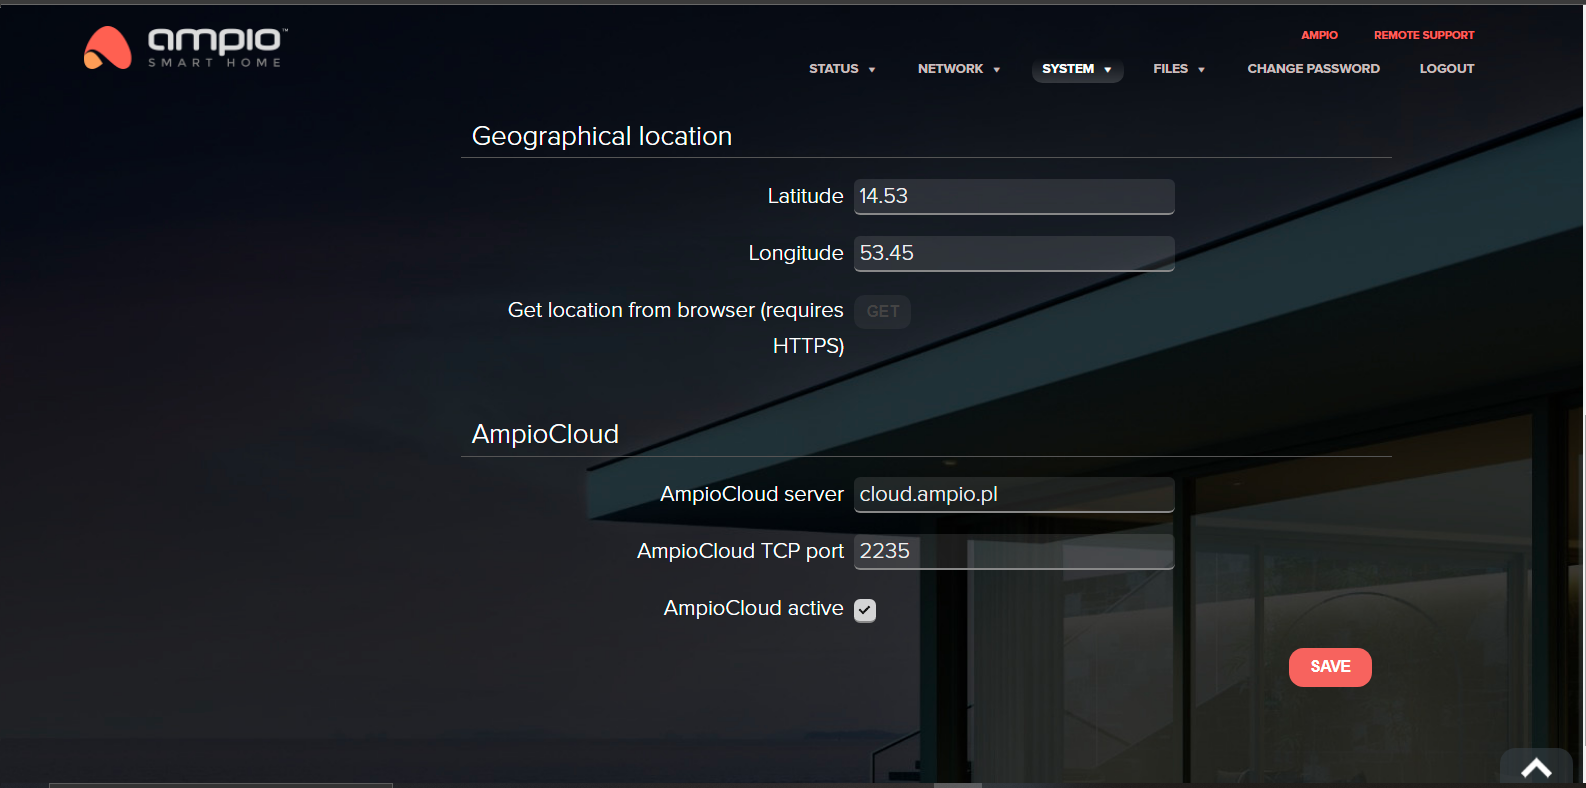
In this tab you can edit the MQTT bridge and app server settings. It is important to set up the geographical latitude and longitude in order for the mobile app to correctly read the sunset and sun rise times for different scenes.
The current geographical location can also be set by clicking on the “Get” button next to the description “Get location from browser”. This will allow the local services of your browser to download your current location. It requires, however, an HTTPS connection with the server (prefix https:// before the server’s address in a browser).
 Click to enlarge and open in a new tab.
 Click to enlarge and open in a new tab.
 Click to enlarge and open in a new tab.
HTTPS connection with the server will prompt a message about an unverified certificate. It is normal in case of devices in local networks – you should select the option “Trust” in the browser. Never trust unverified certificates outside of your local network (internet portals, banks, etc.)
You can also change the location of where the status and log databases are being saved. By default, the information is retained in the volatile memory, which is deleted with each device reboot. After inserting a UDB mass storage into the M-SERV port, you can select it as a data carrier for the databases. The data will then be retained in non-volatile memory of the device.
You can upload, edit and download script files here and set up a scheduled autostart (start every 5 min, 1 hour, 1 day, week, month), as well as autostart on every system startup.
At the top of the page there is a path where scripts are saved: /ampio/rw/user-scripts
 Click to enlarge and open in a new tab.
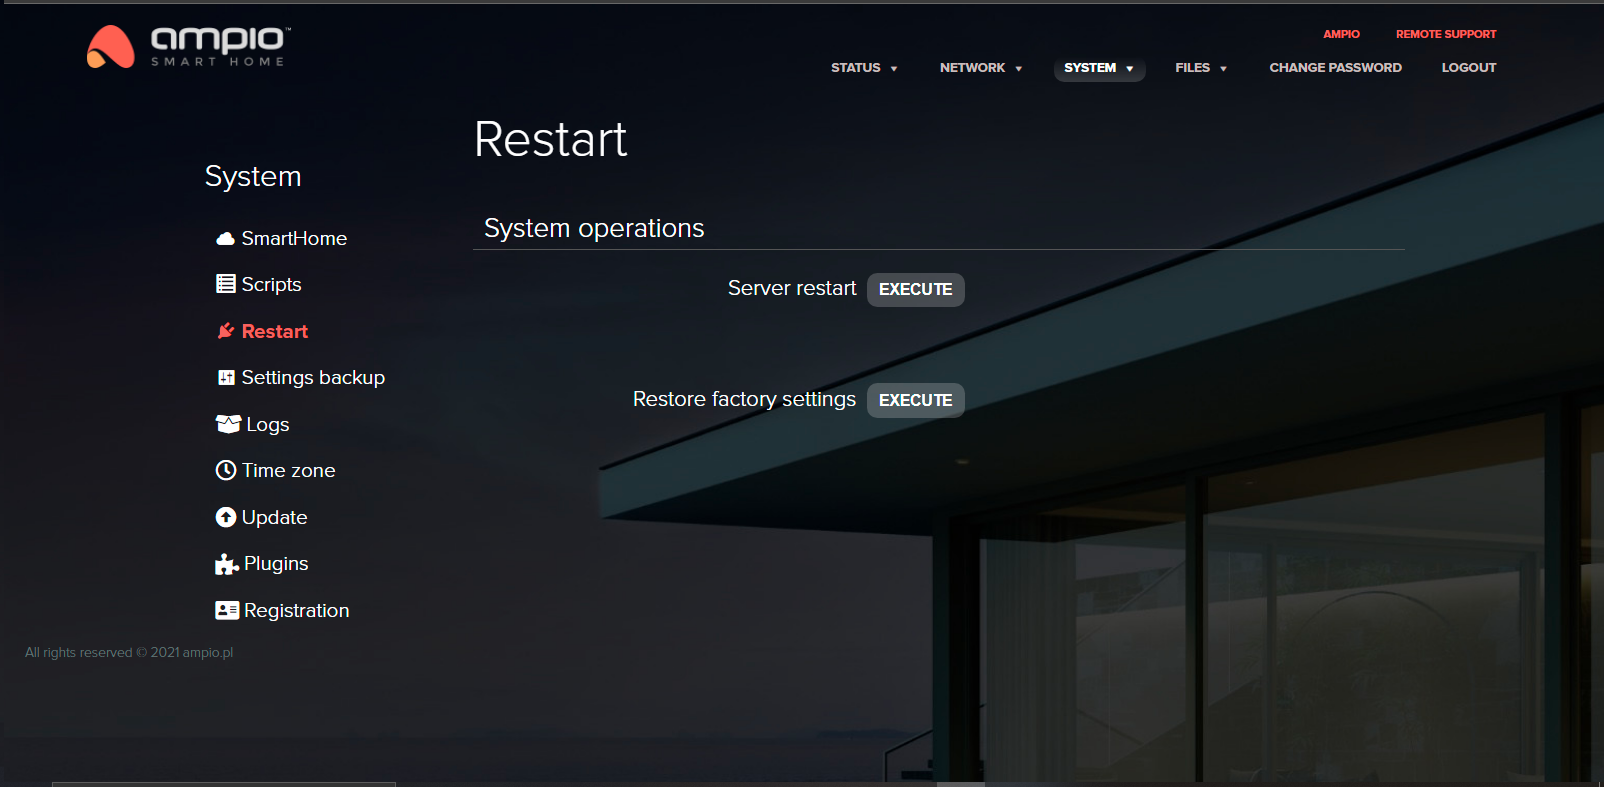
The restart function allows one to perform a server restart with the use of one button. The procedure takes about 2-3 minutes.
 Click to enlarge and open in a new tab.
The button “Restore factory settings” allows you to clear all server settings and its memory.
Restoring factory settings cannot be undone!
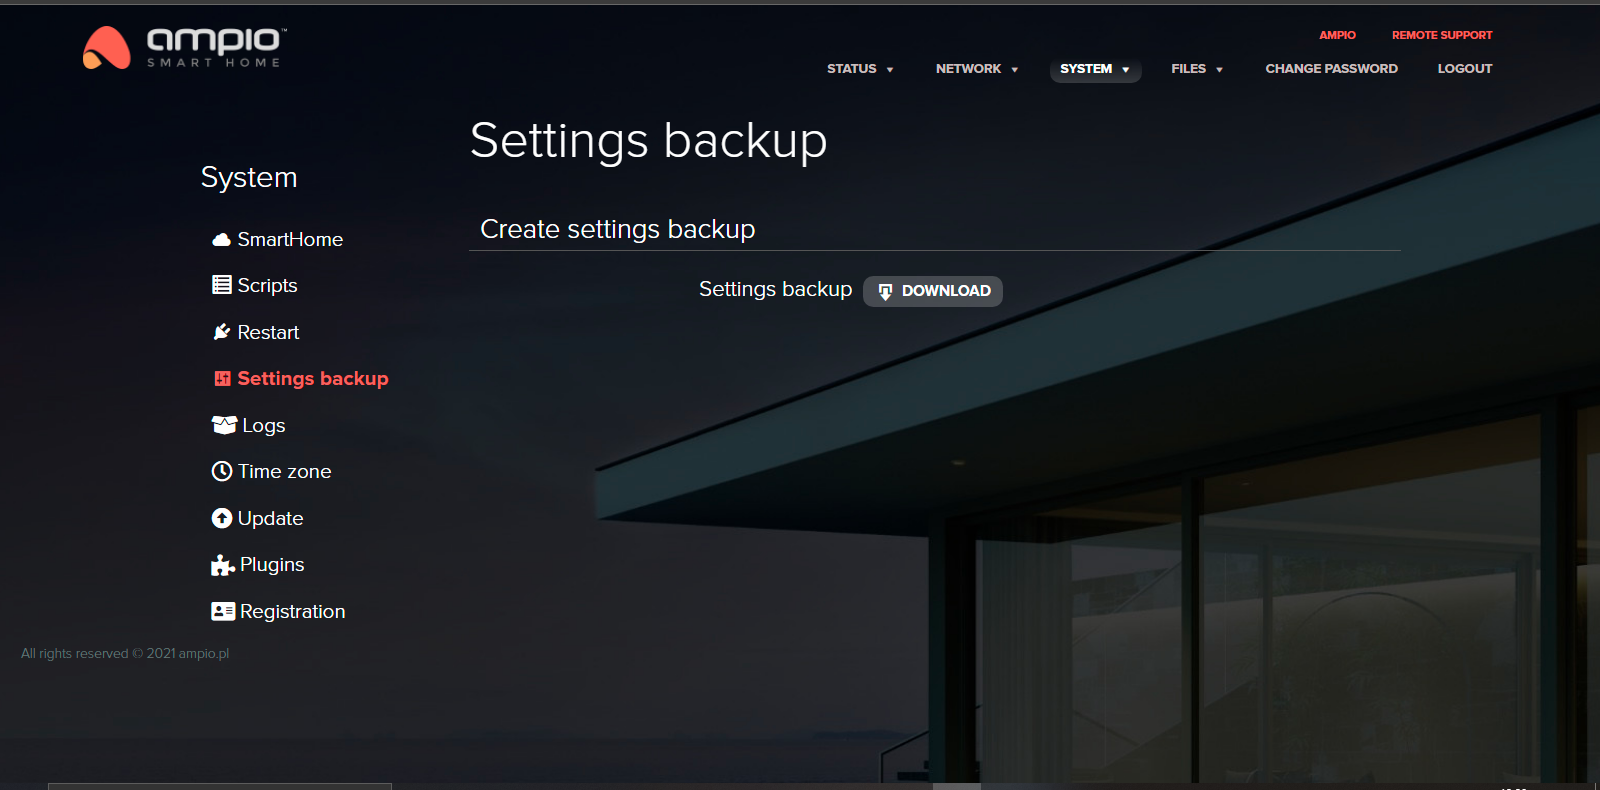
Enables downloading a copy of settings in the .zip format.
 Click to enlarge and open in a new tab.
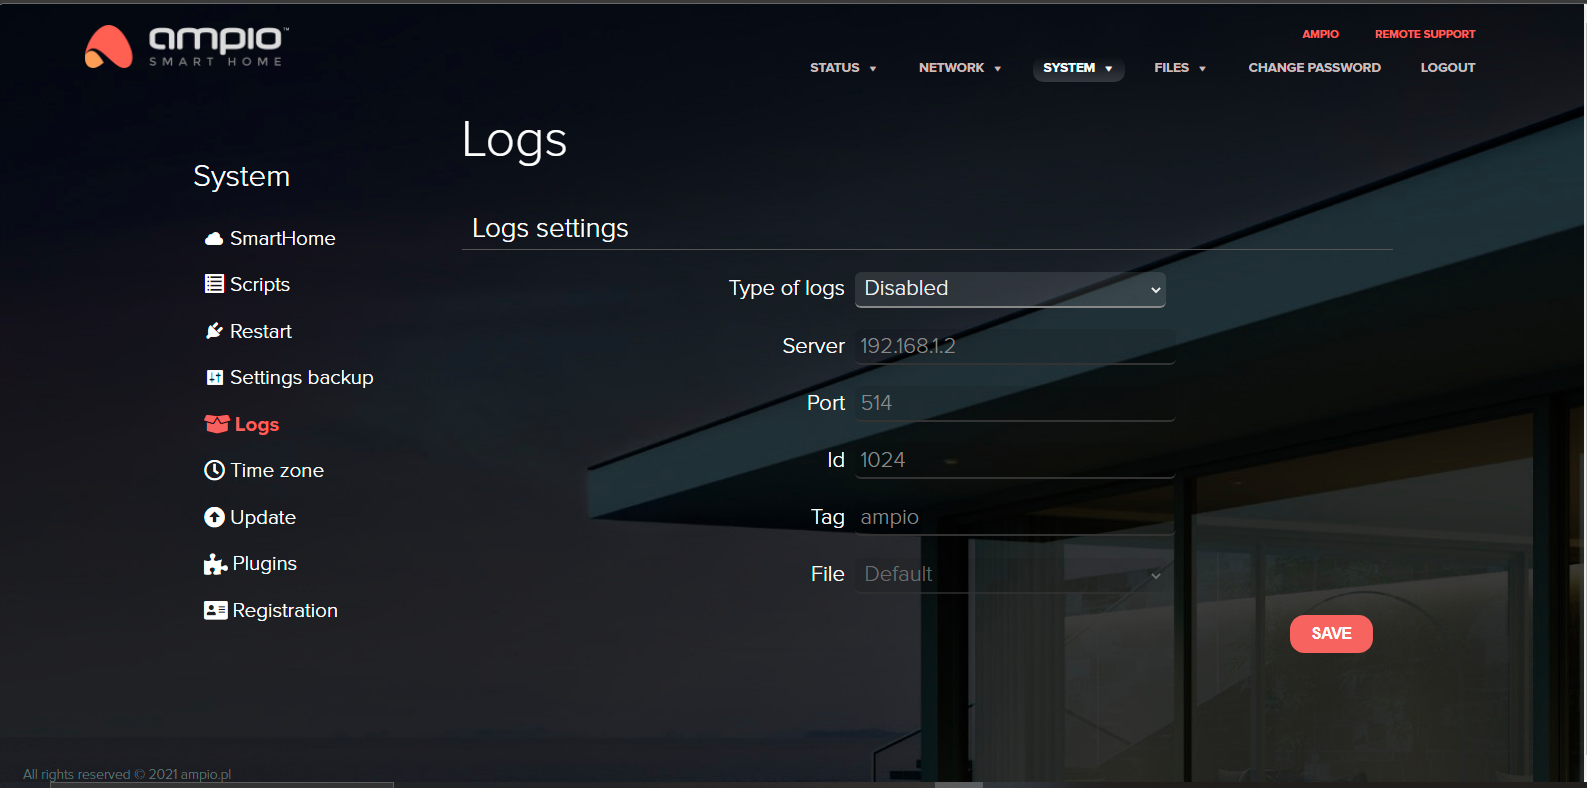
This section allows you to choose whether the history will be saved as Syslog, or in a file. It is important to remember that after rebooting the server, the Syslog logs history will be lost. In order not to lose access to it, also after rebooting, select the type of logs File, place a memory carrier in a port and select it in the field File.
It should be borne in mind that an external memory flash drive must be formatted in the FAT32 system. After inserting the flash drive into the port, a server reboot must be performed.
You can also choose to save logs on an external syslog server (e.g. NAS servers). You need to enter the syslog server’s IP address in the logs settings, as shown below.
 Click to enlarge and open in a new tab.
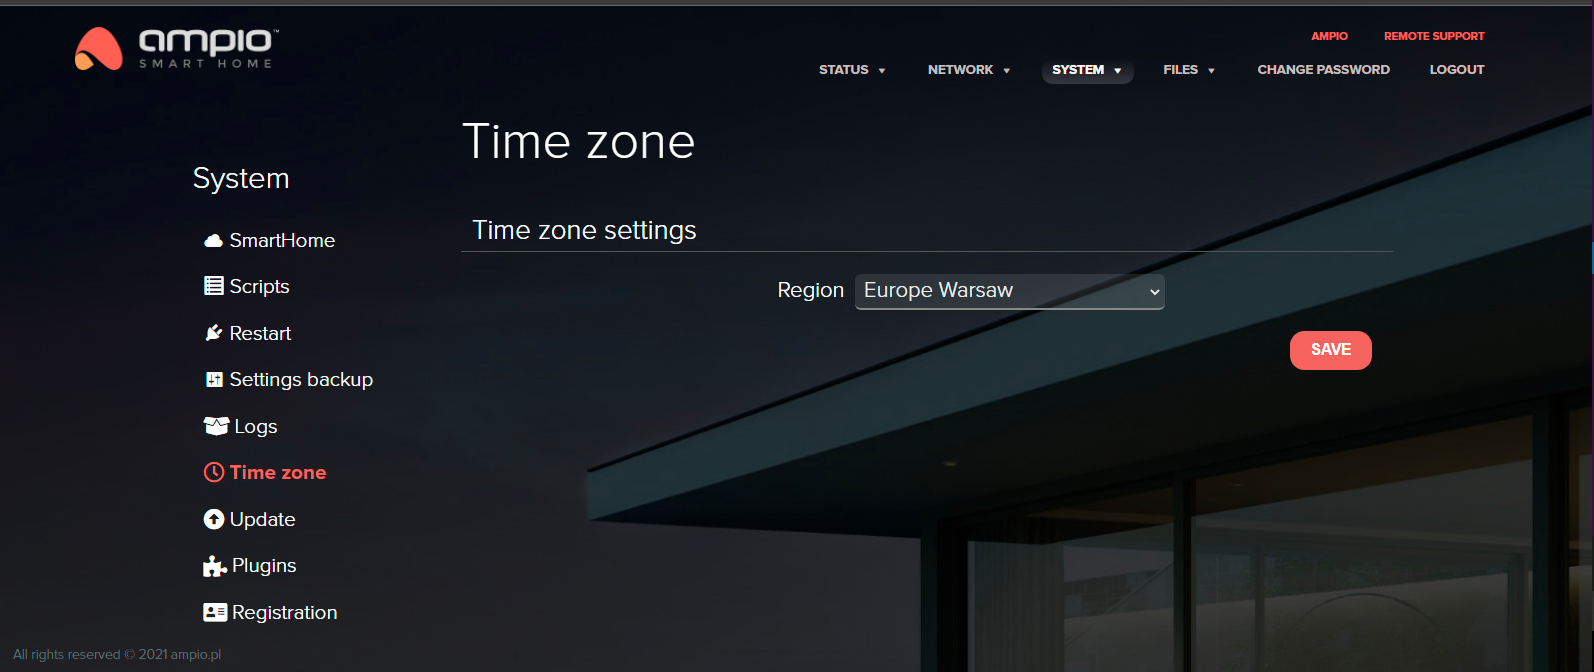
This section allows you to set up a time zone for the server in order to display the correct time on e.g. M-DOT touch panels. The current time from M-SERV is also broadcasted to the CAN network, which enables sychronisation of time in M-RTs and touch panels. This makes setting up the time zone correctly crucial.
 Click to enlarge and open in a new tab.
Setting up a time zone is important to ensure current time in the CAN network.
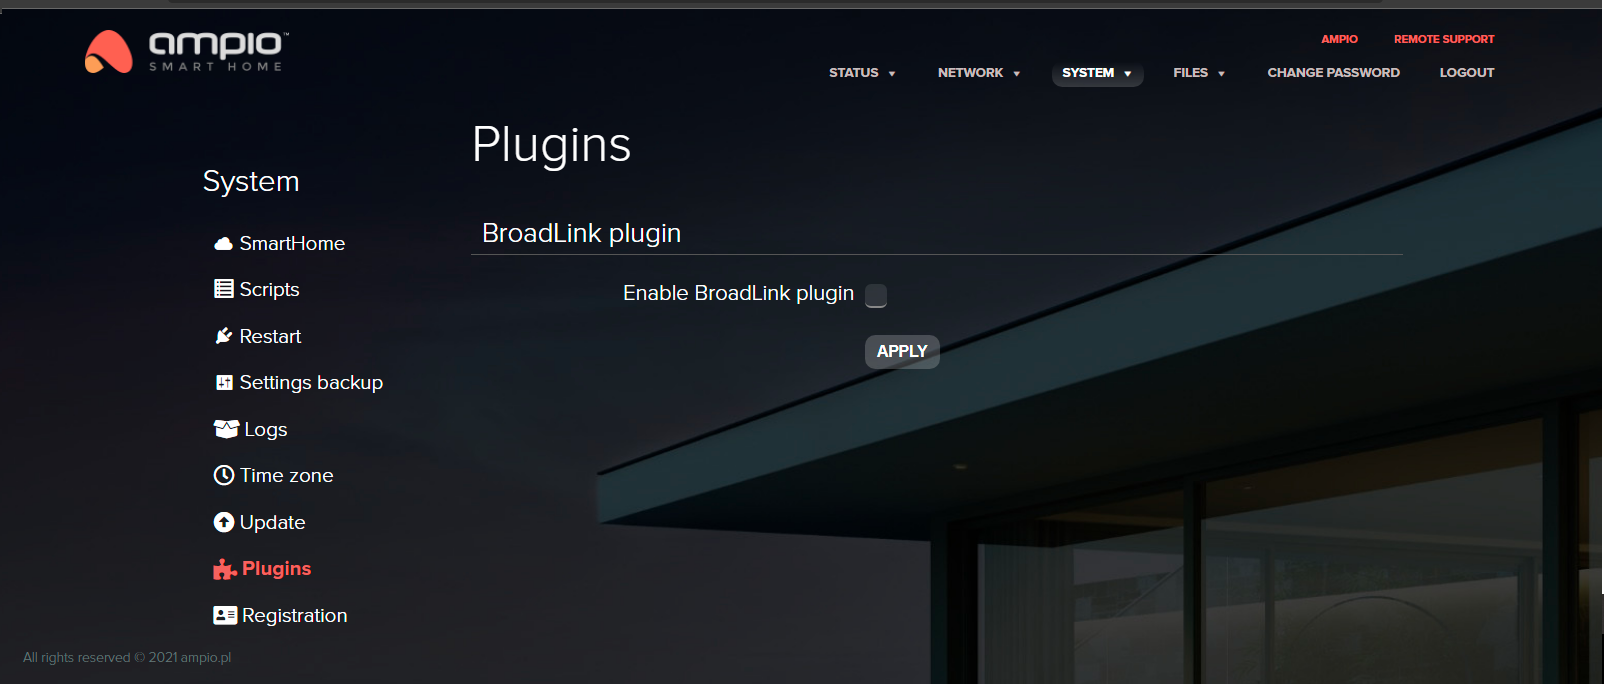
This section allows you to switch the BroadLink plugin on and off in order to manage the BroadLink IR sensor used to control infra-red devices.
 Click to enlarge and open in a new tab.
Disable this plugin if you do not use a BroadLink device.
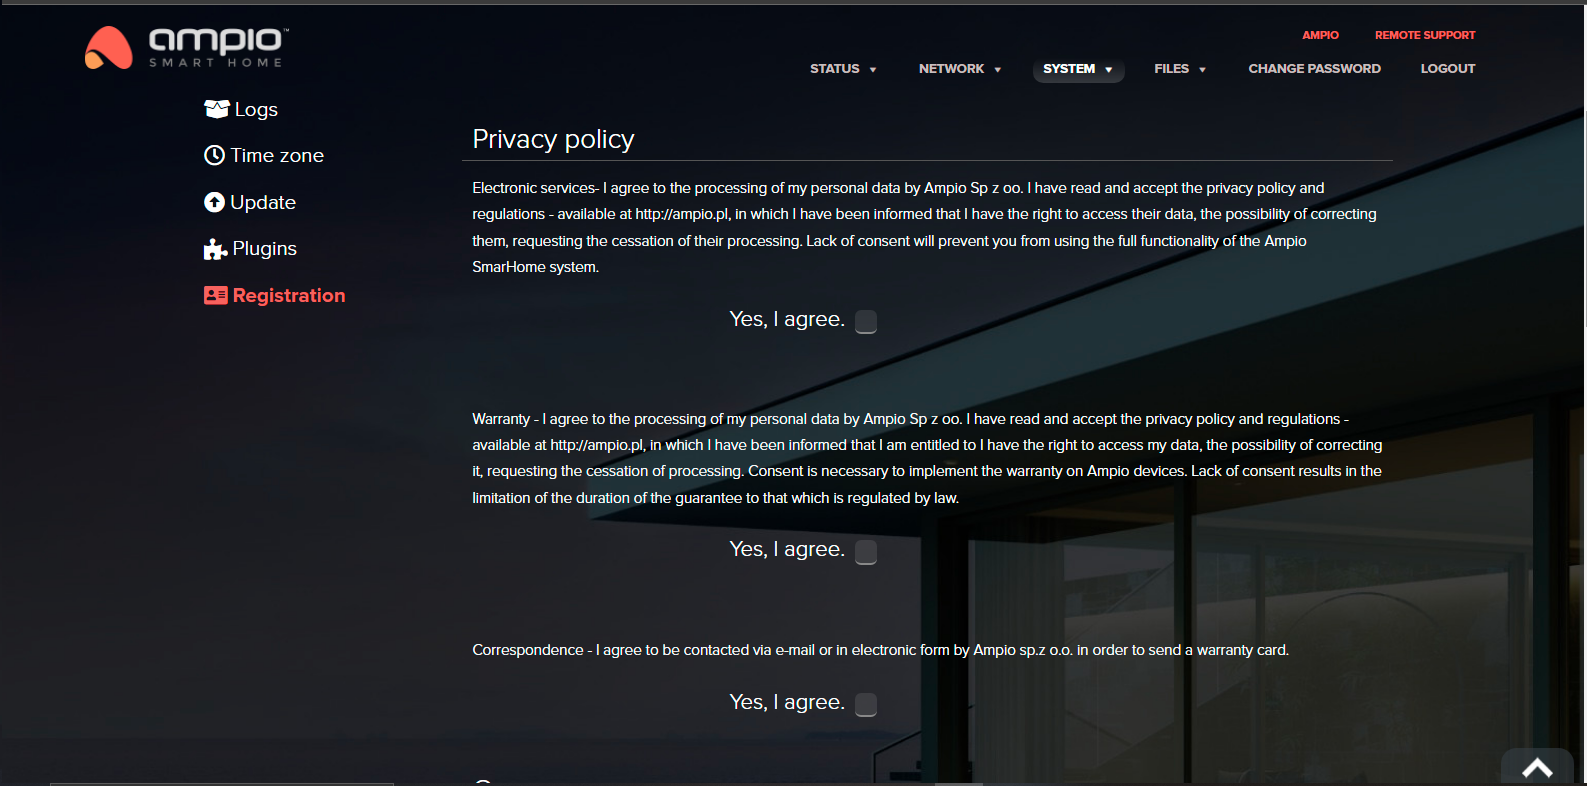
Registering a server enables issuing a warranty card. Registering your smart installation is a prerequisite to safeguarding a 5-year warranty for the devices present in the installation.
 Click to enlarge and open in a new tab.
 Click to enlarge and open in a new tab.
 Click to enlarge and open in a new tab.
 Click to enlarge and open in a new tab.
Register your server in order to receive a 5-year warranty for Ampio devices.
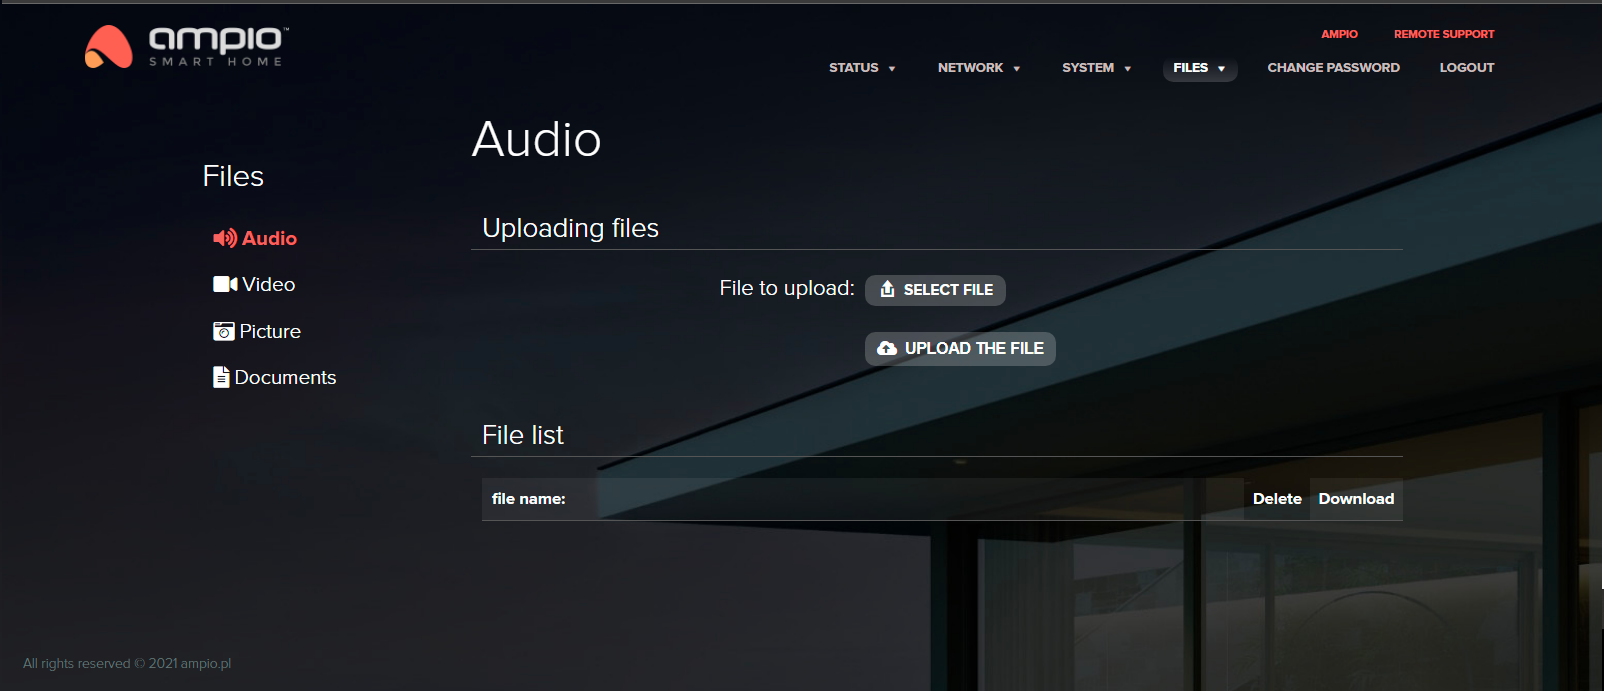
In this section you can upload audio and video files, pictures and documents that will then be available on the 8090 port via the HTTP protocol.
 Click to enlarge and open in a new tab.
A form to reset your password is also available. It is the password used both for the WEB panel and the Node-RED platform for the admin user.
 Click to enlarge and open in a new tab.
Remember and keep your password safe. Do not set up an easy password. The entered password will also be used to log into the Node-RED password as an admin user.
After updating the software to its latest version, it is possible to activate and deactivate a hotspot on M-SERV family modules.
At the first launch of an M-SERV family module, after a little bit less than a minute from the module’s powering up, hotspot details will be displayed to facilitate configuration. A connection can be established with any available device, using the data displayed on the screen. A network name can be found under s, and a password under p. For example:
 Click to enlarge and open in a new tab.
Double-clicking on the round button on the server’s cover switches the hotspot function on or off. A single click allows you to move between subsequent screens. The next screen provides Info about the server, namely, its IP address.
 Click to enlarge and open in a new tab.
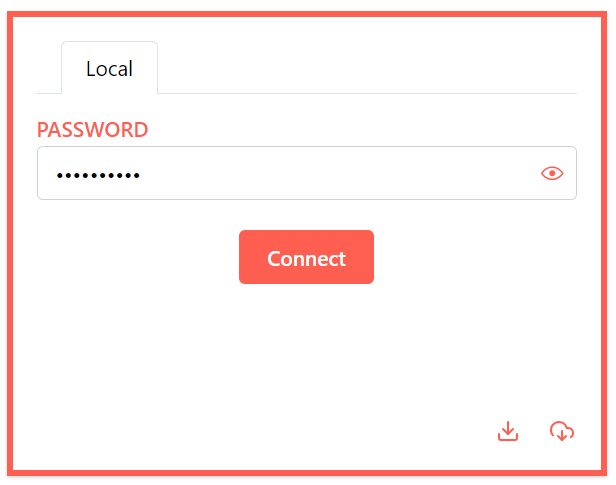
In order to change the server’s IP settings, enter its IP address into your web browser, provide a password and click Connect.
 Click to enlarge and open in a new tab.
Then, navigate to the SETTINGS tab and start by downloading the newest available server version. On the left side menu, click on SYSTEM and select Update system.
 Click to enlarge and open in a new tab.
Settings of IP addressing can be changed in the NETWORK tab. By default, DHCP is active, but it can be deactivated in this tab and network settings can be entered manually here.
 Click to enlarge and open in a new tab.
Configuration of the SIP protocol is available in the SIP tab. That is where an external SIP operator can be configured, or a user can be added, edited, or deleted.