Basic elements used in the Ampio UNI application are called objects. Objects are configured in the Smart Home Manager application. There are various ways of setting objects up, grouping them or creating connections.
In order to log into the Smart Home Manager application, you have to know the server’s administrator password and the IP address. If the server is new, you can find the M-SERV server configuration guide helpful.
The server’s IP address is automatically discovered in a local network. In other instances, you will have to enter it manually. If the server has never been connected to the Smart Home Manager application before, select First connection.
 Click to enlarge and open in a new tab.
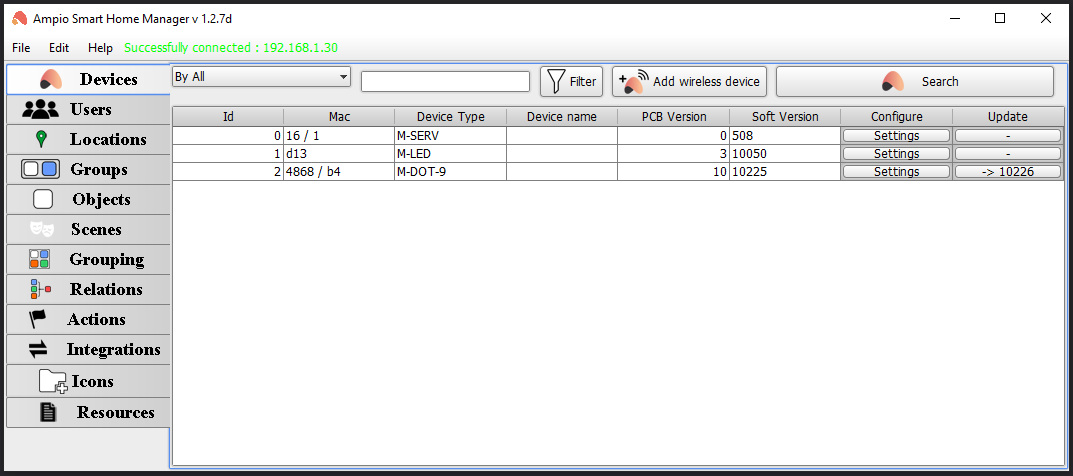
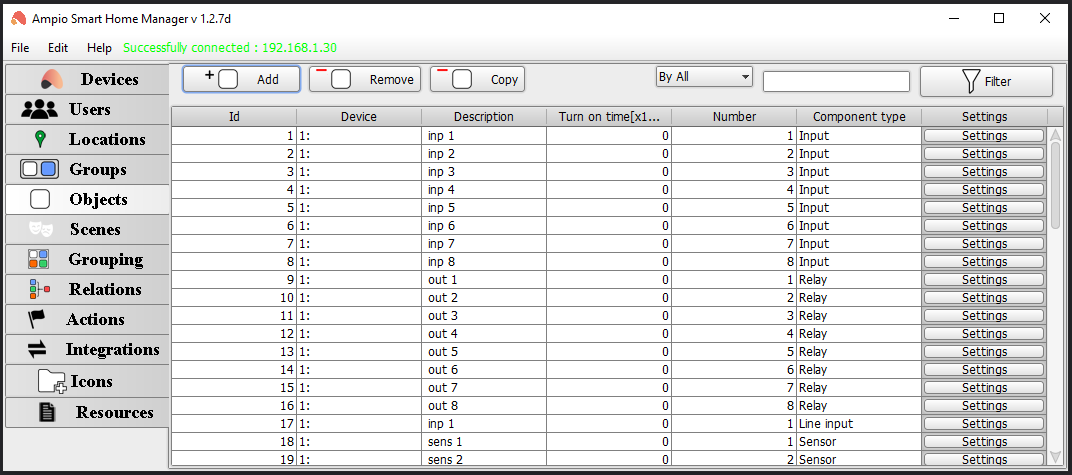
After logging in, you will see a list of devices.
 Click to enlarge and open in a new tab.
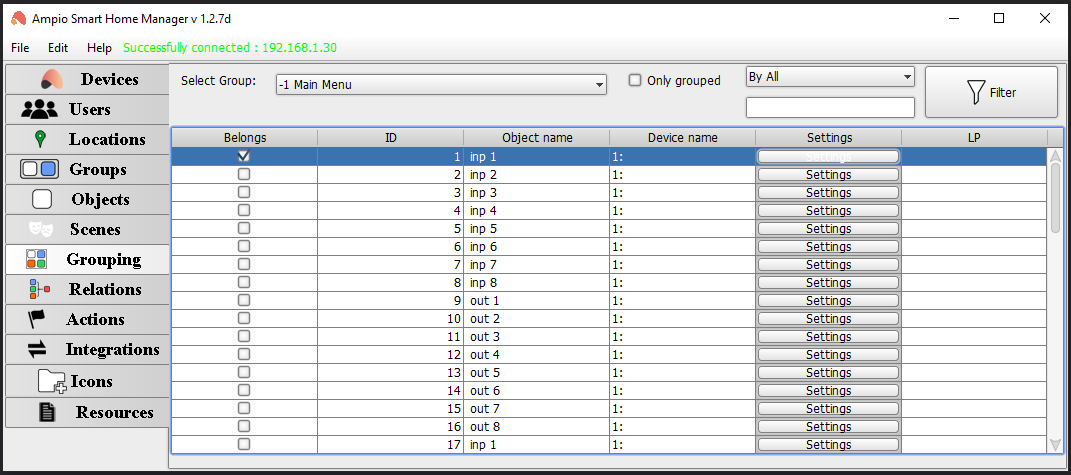
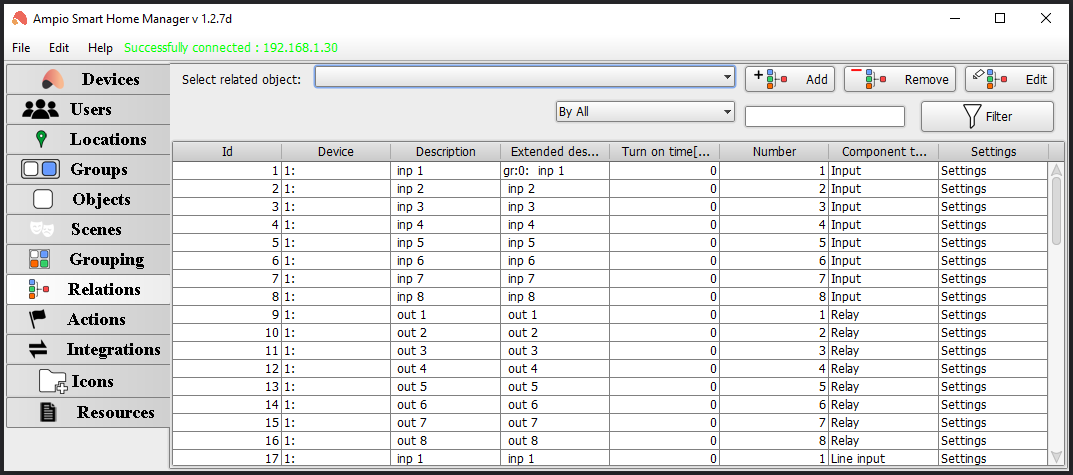
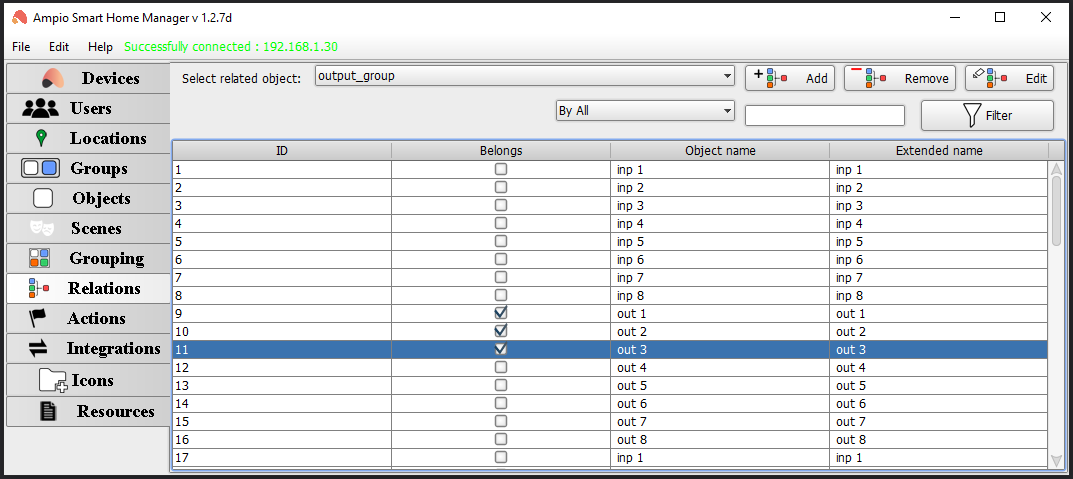
To display an object in the mobile app, you have to assign it to a group in the Grouping tab by ticking the box in the Belongs column and choosing the desired group from a drop-down list (Select group). In this tab, you can also filter or sort objects to find them easier. After selecting the objects, save their settings on the server using the Ctrl+s shortcut, or by going to Edit -> Save configuration on the server.
 Click to enlarge and open in a new tab.
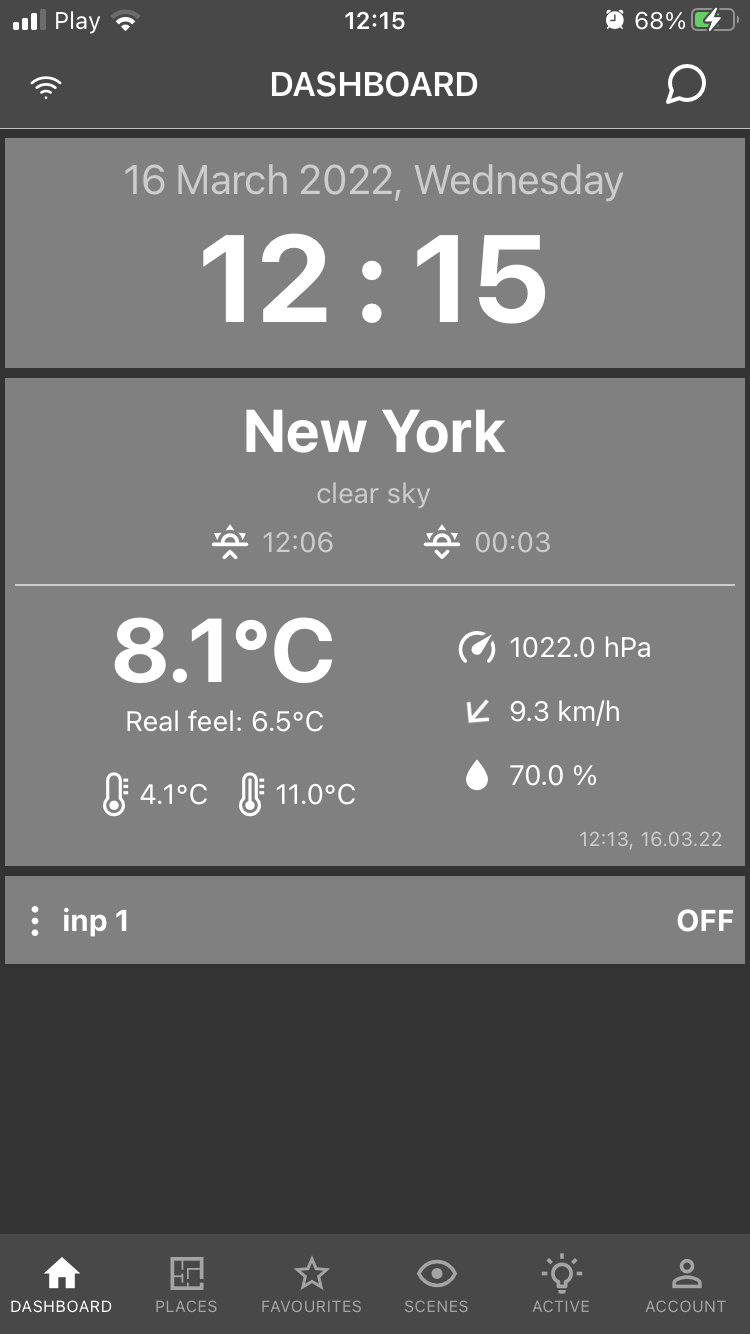
From now on, the object will be visible in the mobile app.
 Click to enlarge and open in a new tab.
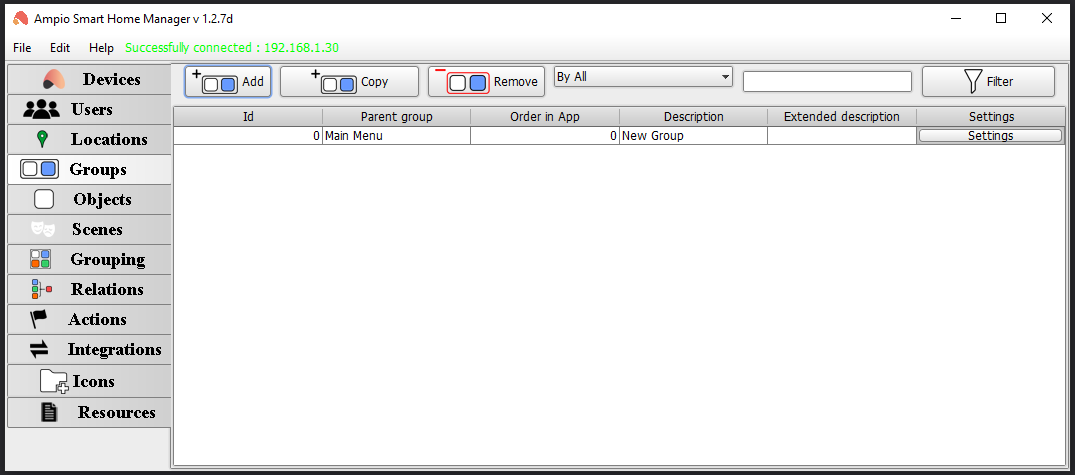
If you wish to have more groups displayed in the app, you can add new groups in the Groups tab. You can define the new group’s name in the Description field. In order to change e.g. the icon or the group’s access settings, go to Settings.
 Click to enlarge and open in a new tab.
Apart from automatically generated objects, you can also add your own objects and configure them accordingly. In order to do that, go to the Objects tab.
 Click to enlarge and open in a new tab.
Objects can be added (a new object will appear at the end of the list), deleted and copied. There is also an option of filtering and sorting. In the Device column, select the Ampio module that you would like to configure and add a chosen Description. Turn on time is the time after which the object will be activated, multiplied by 10ms (e.g. entering the value 10 will activate the output after 100ms). The Number column represents the number of input/output. Lastly, the Settings button provides you with a lot of other options.
 Click to enlarge and open in a new tab.
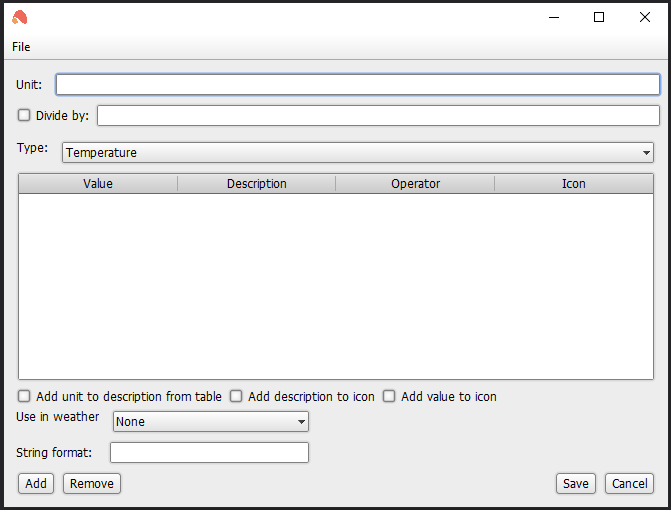
The most significant variable here is choosing the Object type. Each type has different options available in Advanced section. Below, you can find an example of Advanced options for the Sensor type.
 Click to enlarge and open in a new tab.
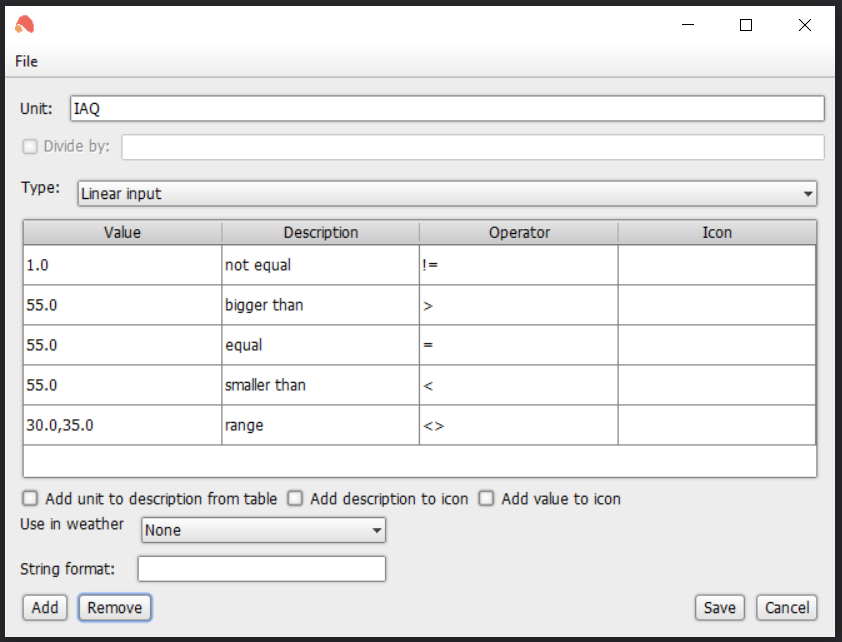
Additionally, selecting specifically a temperature sensor and the option Divide by 10 will allow you to display temperature with one decimal place in the mobile application.
The field String format allows you to set up the value display mode, similarly to the printf function of C language. For example, if you want only one decimal place to be displayed, enter %.1f. This does not apply to the field Temperature, which is predefined.
What you might find useful is also the option of displaying a description instead of a value. For instance, for the IAQ air quality, you can define descriptions such as Very good, or Very poor. You should create a list of values and pick the appropriate logical conditions. The selection can be done from:
If a couple of conditions from the list are met, the last one will be executed.
 Click to enlarge and open in a new tab.
There is also a possibility of merging a couple of objects into one. It makes the Ampio UNI app more visually neat and easier to operate.
 Click to enlarge and open in a new tab.
Create a new connection by clicking on Add in the Relations tab and adding a name. Then, select which elements should belong to the connection.
 Click to enlarge and open in a new tab.
It is crucial to submit the object from the Grouping tab. From now on, you will be able to control outputs 1,2,3 with one button, as shown below.
