In this article, you will discover the architecture of the Ampio UNI application, learn the basics of managing your installation and find out what possibilities are hidden behind each of the app’s sections.
With the use of the Ampio UNI app, you can control the devices that communicate with your building automation installation not only from the comfort of your home, but from any place in the world. Don’t know if you switched off the iron? Now you can do it via the app. Ampio UNI allows you to create scenes, which means that you can change the settings of all household devices with a click of a button, preparing your house for holidays, a party, nighttime, Sunday morning, etc.
The application allows you also to create automation functions and not to worry that you will, for example, forget to water the garden. The only thing you will have to do is plan the automated garden watering. Many other operations can be automated dependent on e.g., time of day, sunrise/sunset, particular event, etc.
Let’s dive into Ampio UNI, and discuss all the functions available in specific sections.
 Click to enlarge and open in a new tab.
The DASHBOARD provides quick access to the functions that are most important to us. From it, we can control the devices that have been added to its view. From the personalisation level Ampio logo->Personalisation->Dashboard, we can also edit the widgets displayed on the dashboard, such as the weather or the calendar.
If all options are enabled, you can check whether your connection is currently local or connected via the cloud in the top bar on the left. If you lose your local connection, the application will automatically switch to a cloud connection (the option to connect via the cloud is enabled in the Security option of the main application menu).
 Click to enlarge and open in a new tab.
The top bar also allows you to search for objects, switch between individual installations, and change the order of objects.
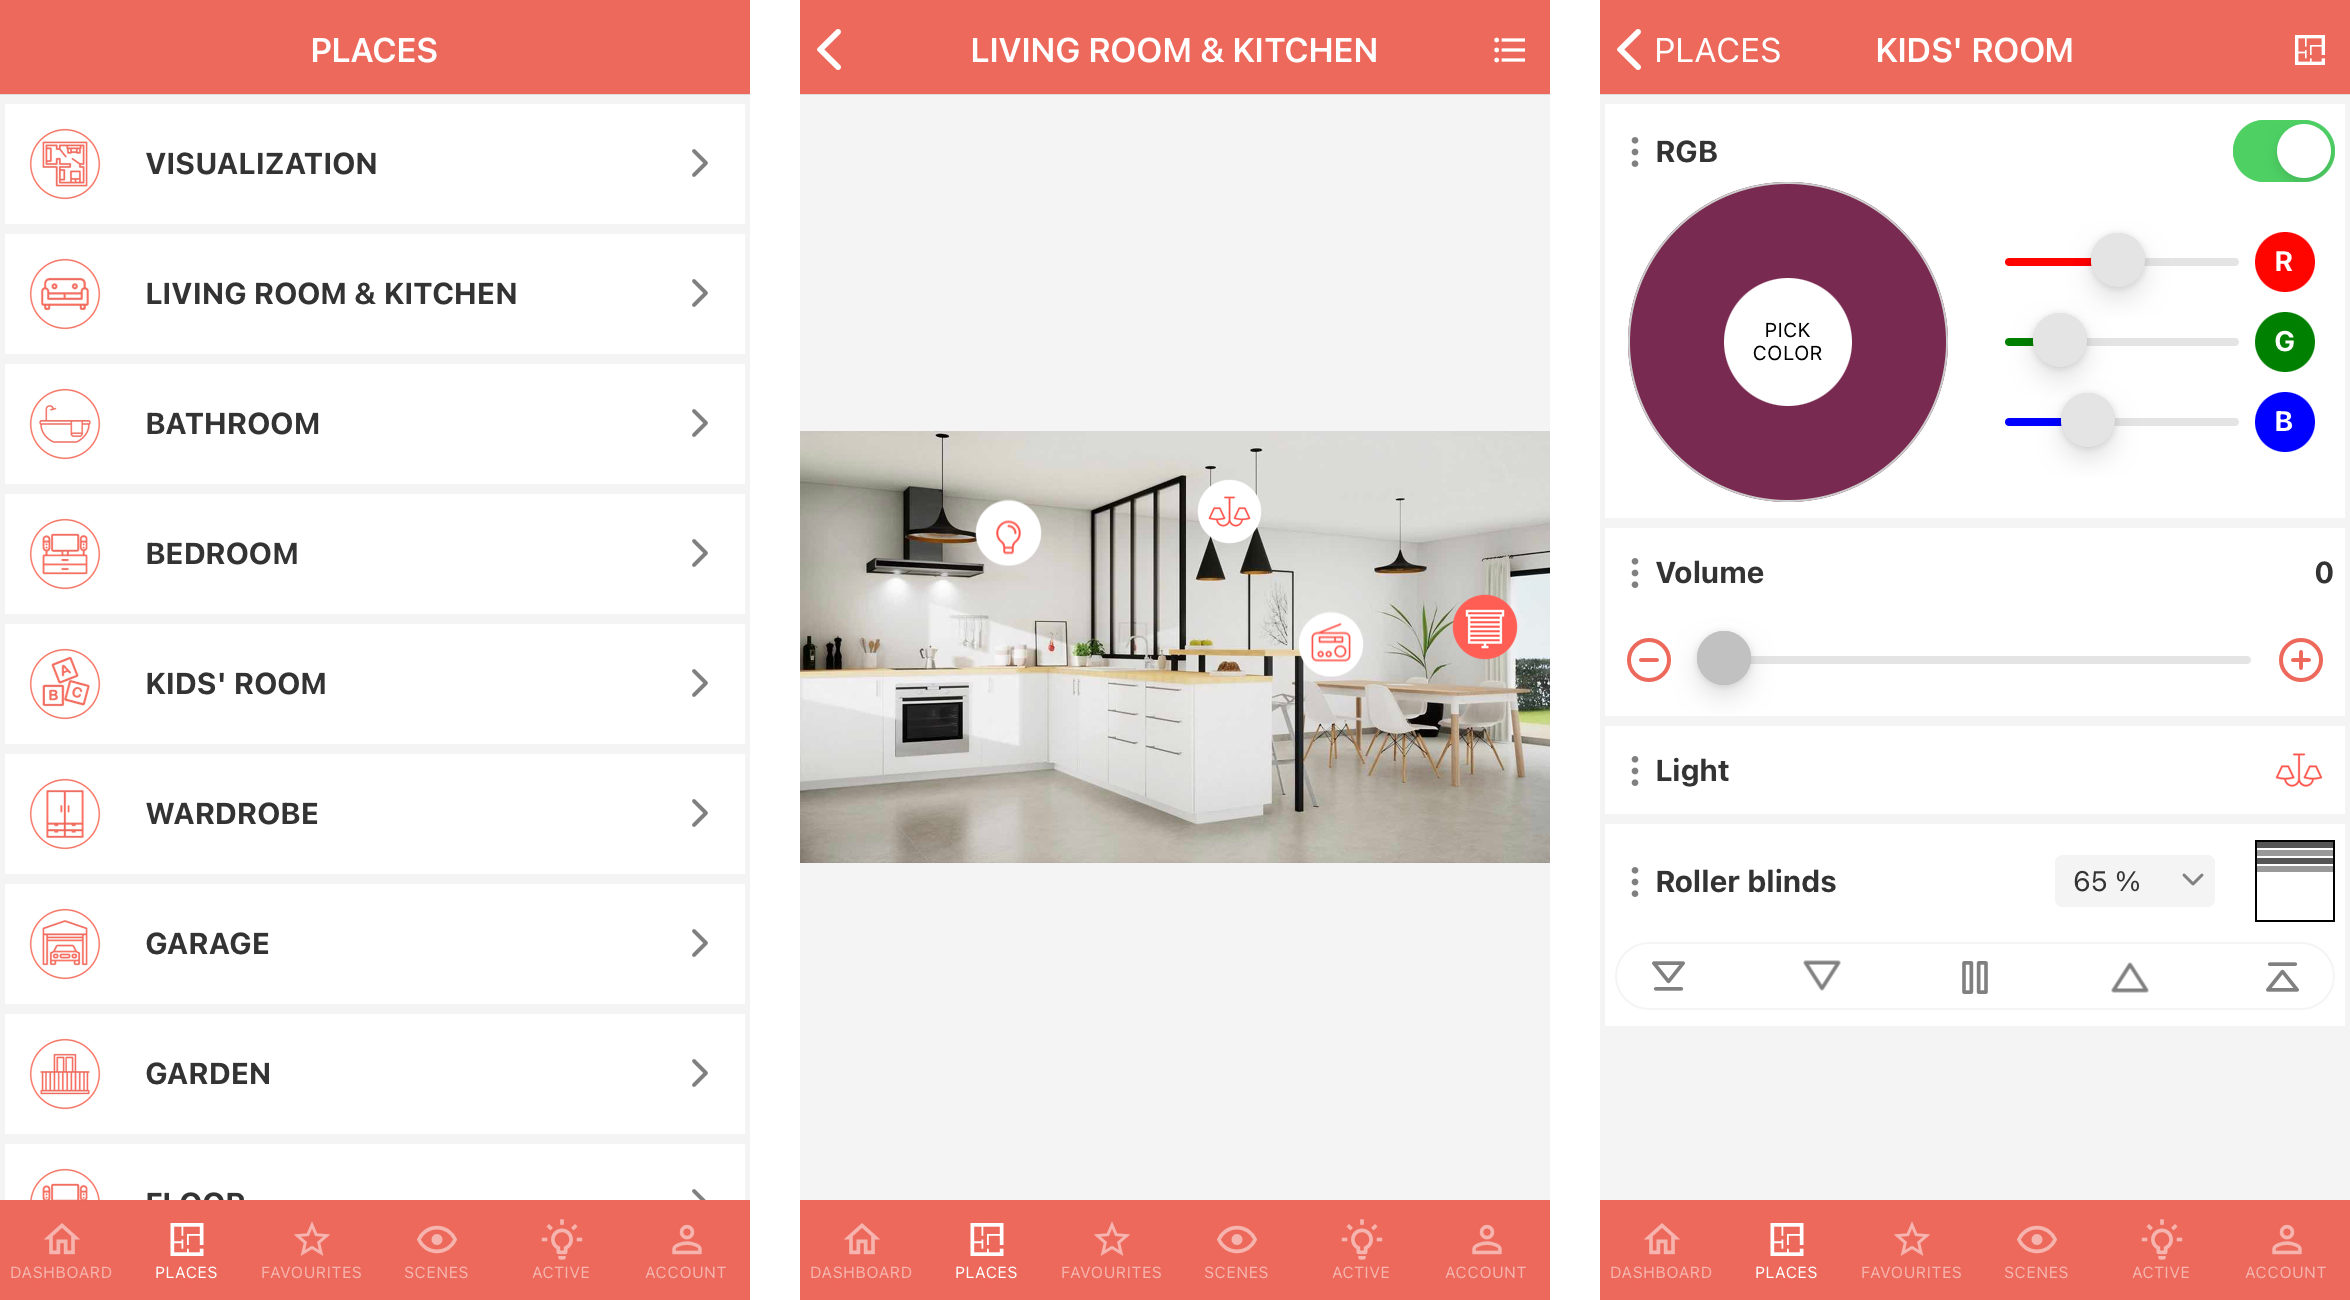
The PLACES tab divides your installation into individual rooms, making it more intuitive to control devices in the building. Places do not have to be limited to specific rooms such as the kitchen, bathroom or bedroom. A place can also be, for example, the first floor, ground floor or garden.
Opening the PLACES section will show you a list of predefined places. Selecting one of those places will then open a list of devices linked to it. If any visualisations have been uploaded, it will be possible to manage the devices both, in a visualisation mode and in a list mode. If there is no visualisation uploaded, a list of devices will be the default view. You can switch over from a list to the visualisation by clicking on the change view button in the top right corner. The button will only be available if a visualisation has been added.
 Click to enlarge and open in a new tab.
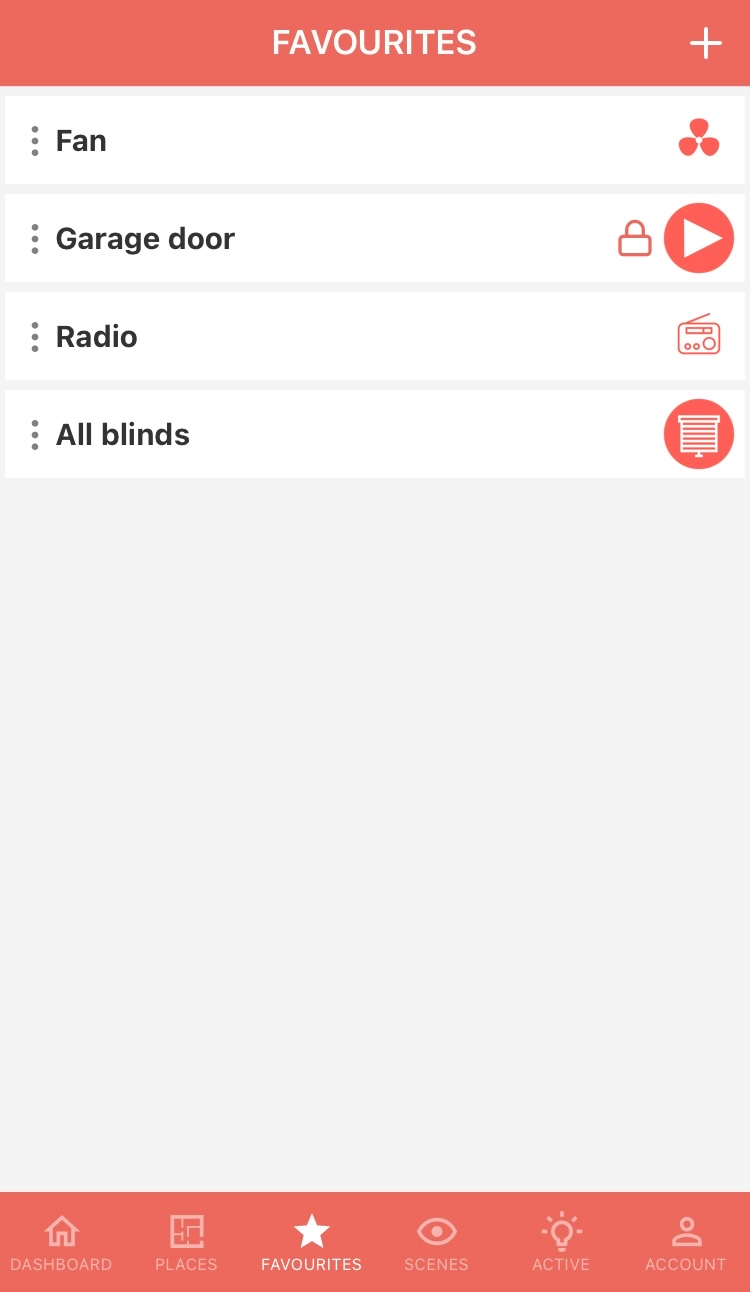
In the FAVOURITES tab, you can create your own list by adding devices using the + button, which is visible in the top bar on the right. You can edit your FAVOURITES tab at any time by adding new devices and removing old ones. You can remove a device from the list by opening the item and clicking on the “Remove from favourites” option. By clicking on the cog icon, you can change the order of your favourite items.
 Click to enlarge and open in a new tab.
As the name suggest, you can check here what devices are currently ACTIVE. From the dropdown list, select whether you want to see all active devices, or only devices from a specific PLACE. You can also switch off individual devices, or all devices listed on the screen by clicking on the power button in the top right corner.
After clicking on the Ampio logo in the middle of the bottom menu, we have access to various properties, account settings, automations and information about our installation.
The Ampio UNI allows us not only to control individual devices, but also to create SCENES, which make it possible to control multiple devices with a single click, or to make the operation of our building dependent on a preset schedule. You can find out more about this in the Scenes in the Ampio UNI application guide.
In this section of the application we have access to various audio sources, such as local audio files or radio stations. Here, you can define your favourite audio sources and select the device on which the audio from the selected source is to be played. Once the installer has installed the ampio-streaming plug-in on the server, devices using Airplay 1 and 2 technology will be automatically detected by the app.
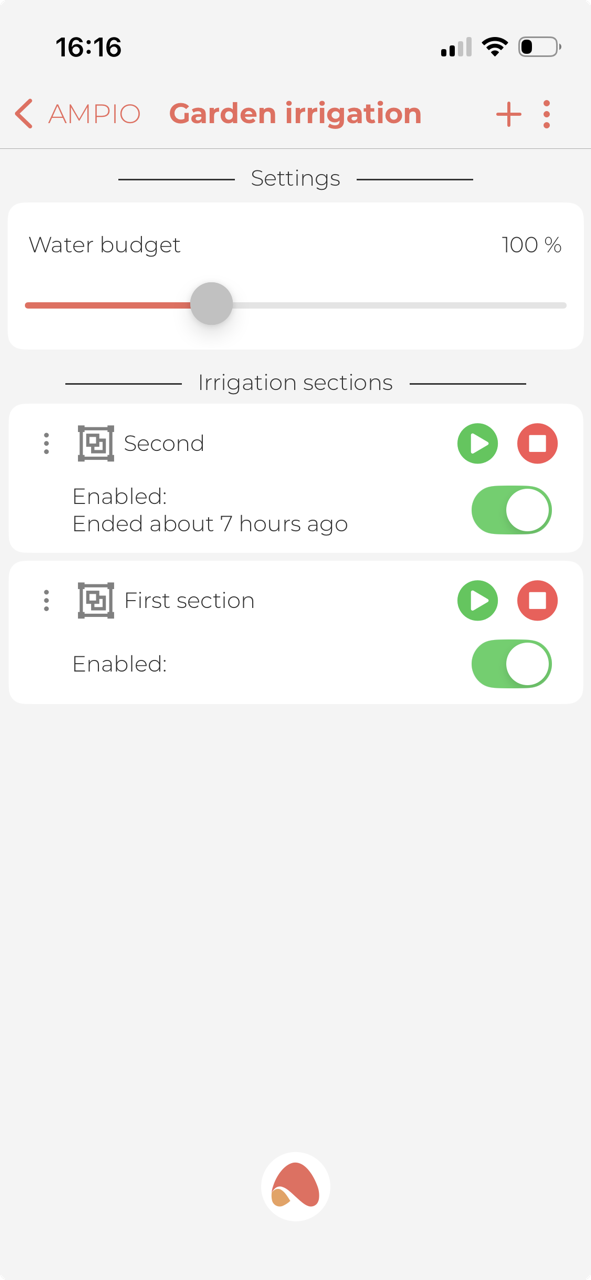
This is a dedicated option for managing garden watering. It allows you to create automations for watering your garden, make the action dependent on some condition, set the duration of watering to a certain length, or manually trigger the sections you are interested in.
 Click to enlarge and open in a new tab.
The water budget can be edited within a range of 50% to 200% to change irrigation on rainy or hot days.
Here you can create new sections, rename them or delete them.
Creating automations will put your mind at ease and make your building do the thinking for you, for further information see the tutorial Automations in the UNI application.
View and manage your messages. Once you enter Messages, you can read them, mark them as read, or delete them.
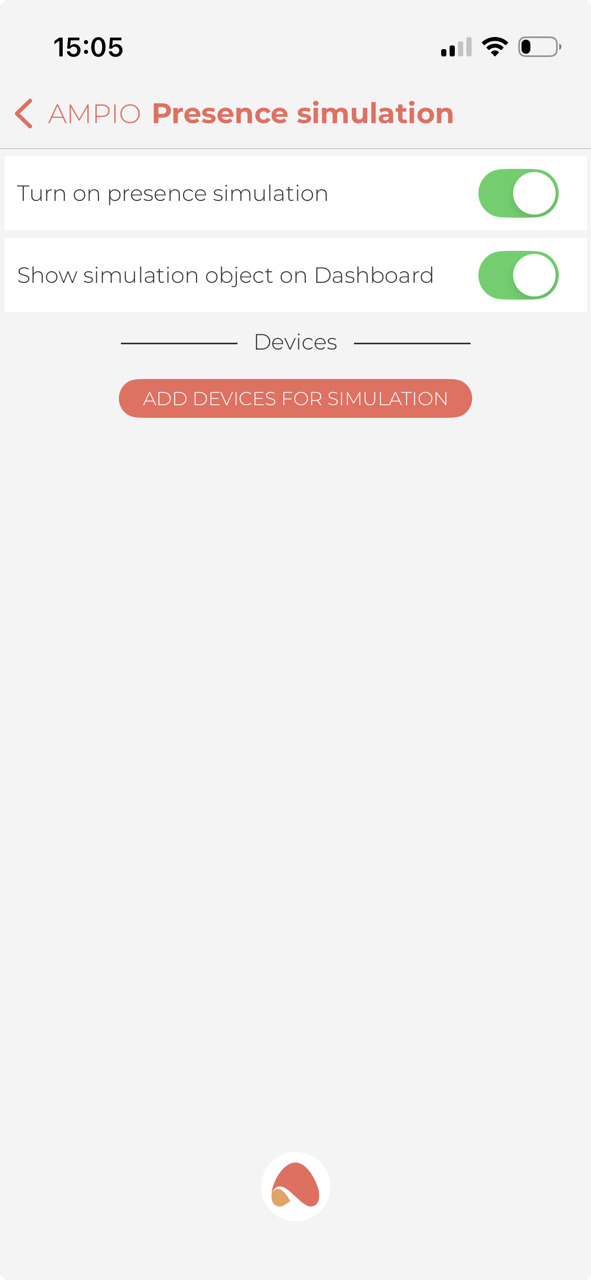
From here, you can activate the functionality of simulating the presence of household members at home and add or remove devices participating in the simulation. You can enable or disable the simulation, add it to the main dashboard, or add individual devices that will participate in the simulation.
 Click to enlarge and open in a new tab.
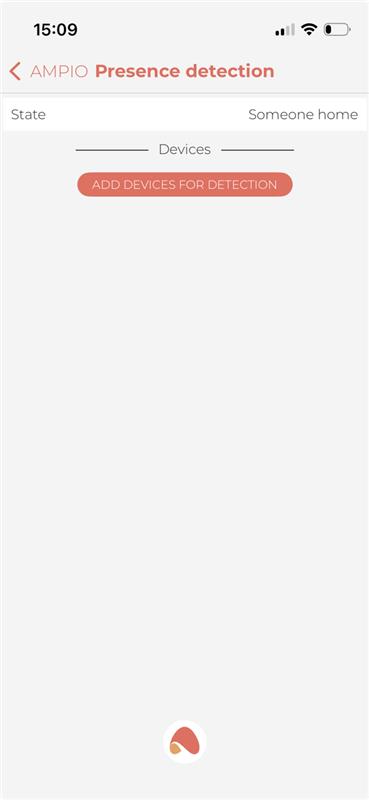
Here you can add detection devices which will be responsible for establishing a status indicating whether someone is currently at home.
 Click to enlarge and open in a new tab.
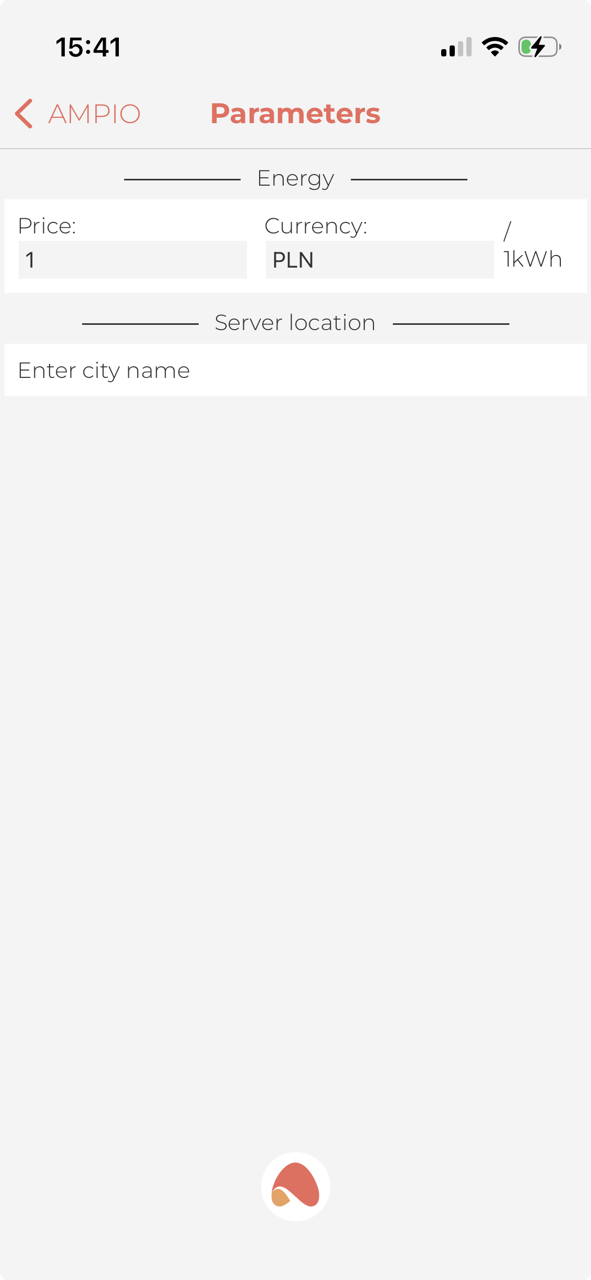
We can set our location and enter the current energy price here to enable expense analysis.
 Click to enlarge and open in a new tab.
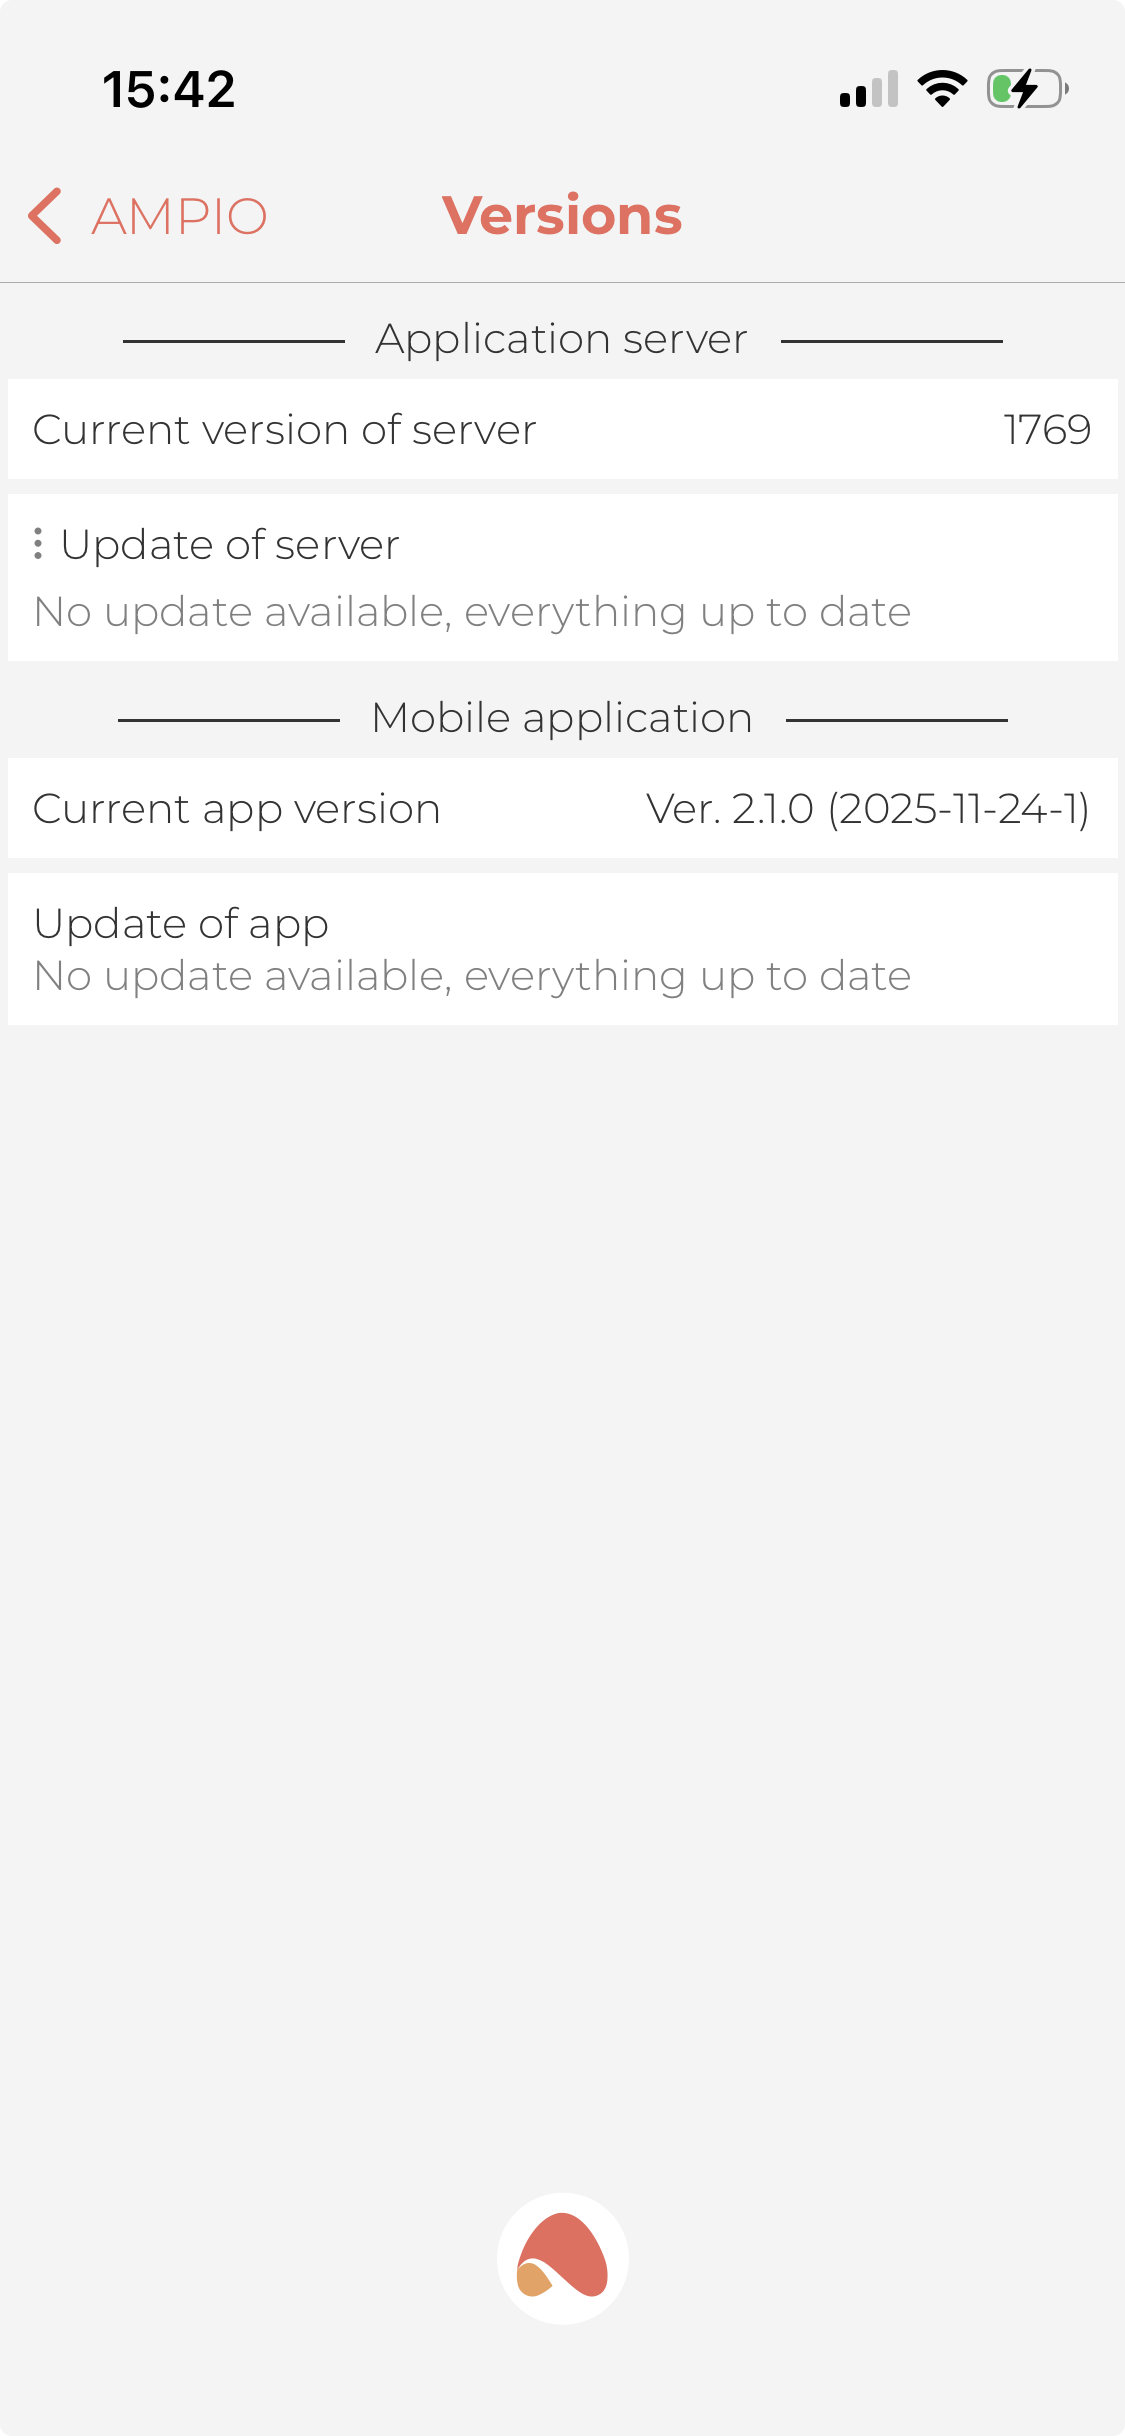
Here you will find information about the current version of the server and application. You can also update the app and server here.
 Click to enlarge and open in a new tab.
Device statistics are displayed here. You can check the statistics for all devices at once, limit yourself to a single device, and specify the time frame for the statistics. The times of logging into the application and the occurrence of system events are also available.
You can allow your installer to access the configuration of your smart building remotely without the need to come to your home. There are two options here - allowing access for 30 minutes by providing the serial number of the device and a generated password, or access for 24 hours by an invitation sent to the installer’s email address.
Here we have access to manage the appearance of our app, changing colours, widgets, style and many other aspects.
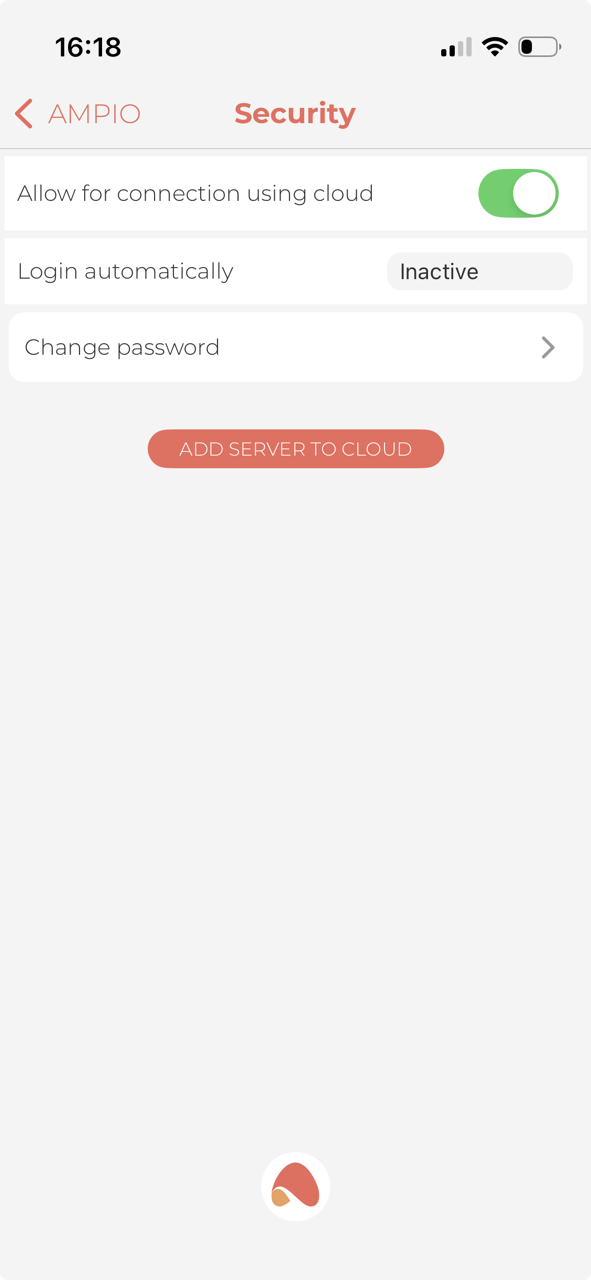
In this tab, you can, among other things, enable cloud connection or change your current password.
 Click to enlarge and open in a new tab.
Here you will find news about changes involving updates and other information relating to the application.
s Information relating to diagnostics, possibility of updating MQTT. This option is only visible to the admin profile of the installation.
Allows us to log out of the respective account, switch to another account or another installation.