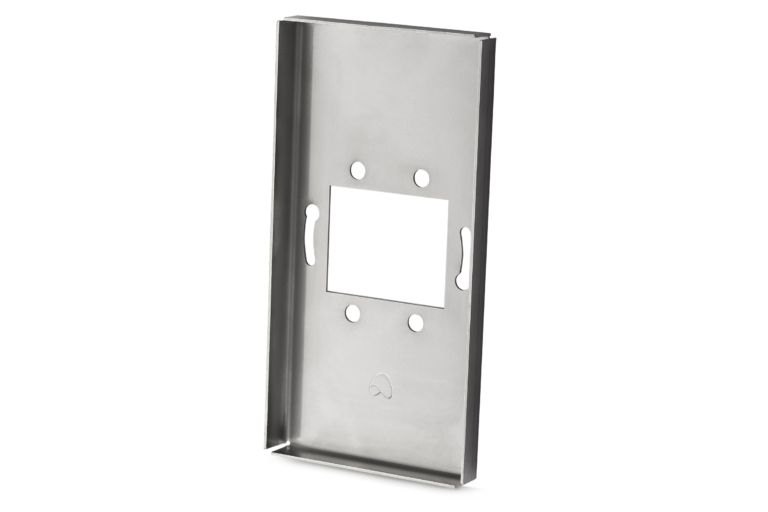
The guiding plate is designed for the installation of a touch panel. It is necessary for the correct assembly of the touch panel, providing that the panel’s glass is as close to the wall as possible which ensures aesthetic look and no gap between the wall and the module. To achieve this, the guiding plate should be flush with the surface of the wall when fitted to the wall opening.
Mounting springs allow for quick assembly and disassembly of the switch with no special tools required.
 Click to enlarge and open in a new tab.
 Click to enlarge and open in a new tab.
Fix the junction box (in blue on the diagram) about 7-12 mm deeper so that edges of the panel’s guiding plate do not protrude from the plaster layer.
Do it carefully, ensuring that there are no gaps between the wall and the glass.
Mount the guiding plate to the junction box with two screws, one at each side of the box.
It is recommended to perform wall plastering after the junction box with the guiding plate has been fixed.
Clean the plate interior from any plaster debris which might hinder fixing the PCB.
Connect suitable cables.
Push the touch panel between the guiding pins so that the gap between the wall and the glass panel is as small as possible.
The touch panel is ready for operation. Next, you need to set it up using appropriate configuration software.