Integration of meters that support the Modbus protocol is performed with the use of an M-CON-485-s module. In order to start the meter, it needs to be connected to a power source and to the M-CON-485-s module, according to the manufacturer’s instructions.
The LE-03MW CT meter provides the following information:
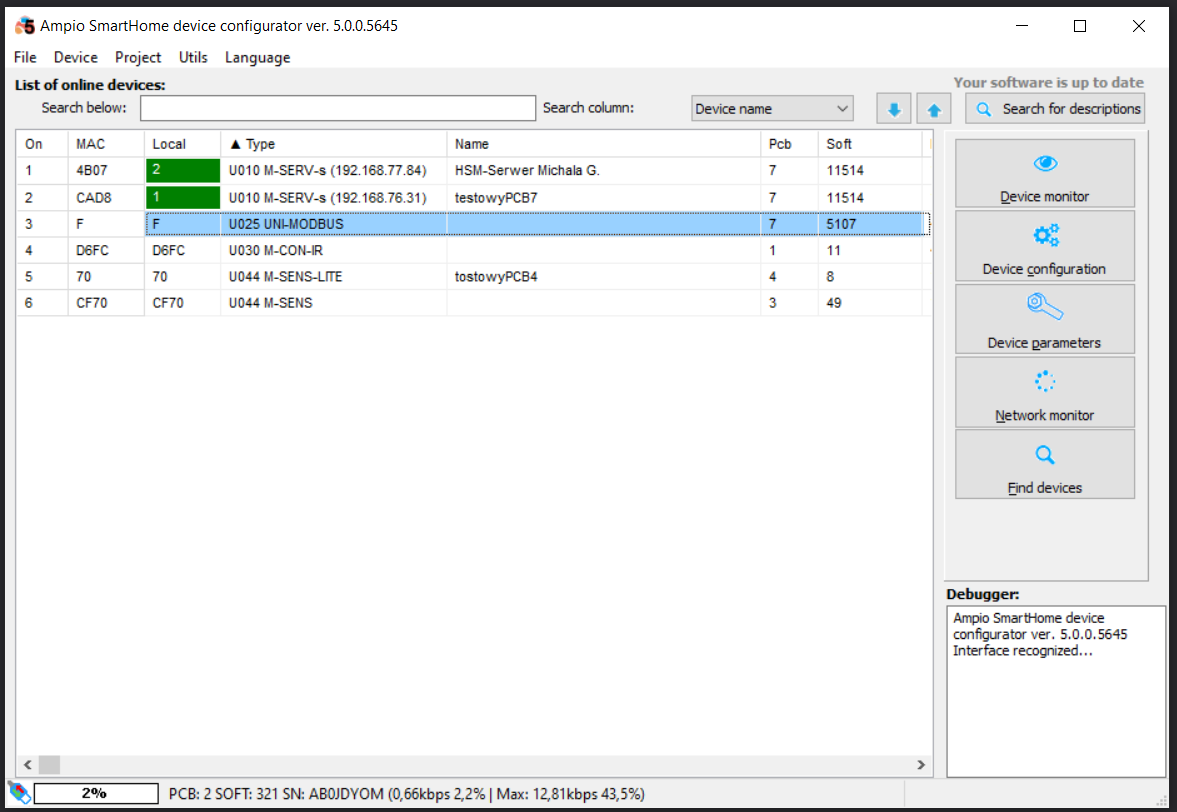
First, launch the Ampio Smart Home configurator.
 Click to enlarge and open in a new tab.
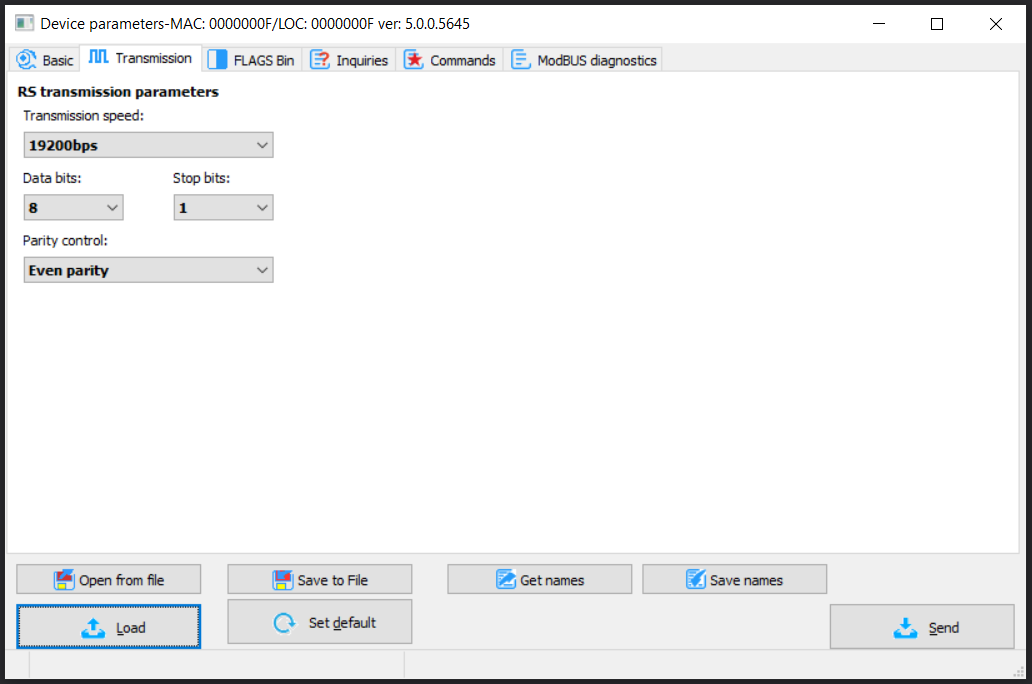
Then, set the transmission parameters according to the documentation and send them to the device. On the device list, select M-CON-485-s, update the software according to the table presented in RS-485 integration module, and go to Device parameters into the Transmission tab.
 Click to enlarge and open in a new tab.
In order to ensure that the information is correctly read by the meter, go to the ModBUS diagnostics tab, send an query to one of the registers and check the response. Below, you will see a test request for the transmission speed, which received a response 9600.
 Click to enlarge and open in a new tab.
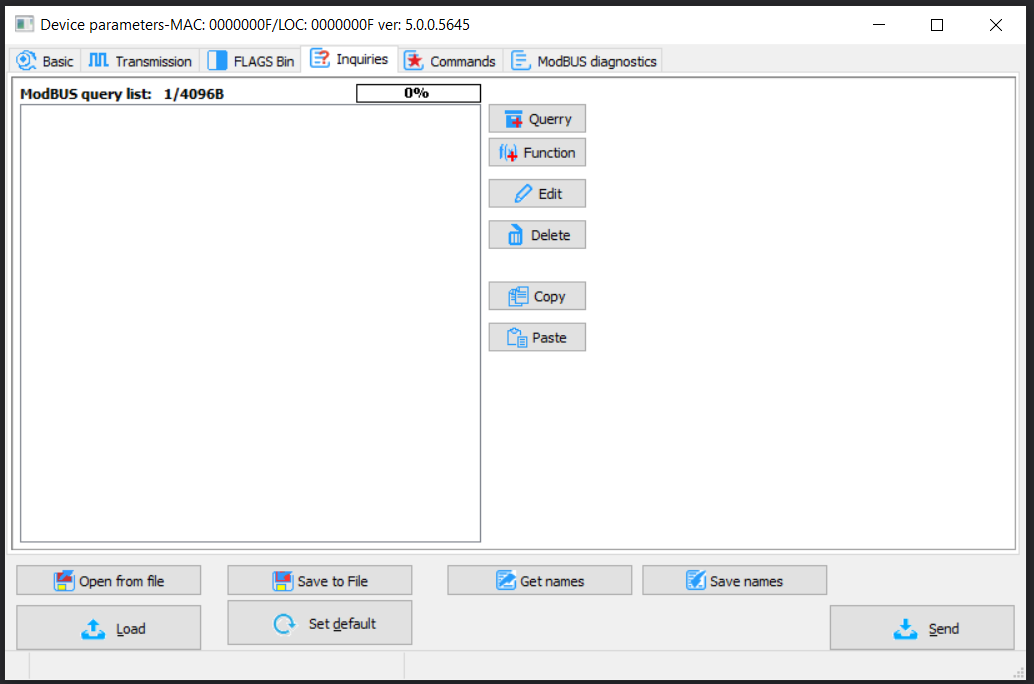
If the parameters are not correct, or the device is not working properly, you will receive a fitting notification. Once the settings are configured properly, go to the Inquiries tab.
 Click to enlarge and open in a new tab.
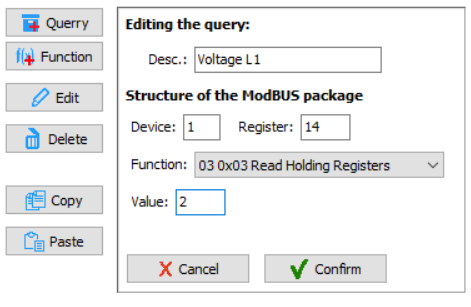
Add a new query, select the register of interest, the function number and value (the Value field stands for the number of queried registers).
 Click to enlarge and open in a new tab.
Add a Function to the query. Then, translate the Modbus information into Ampio information. In the provided example, the Float32 value will become type Int32 in Ampio.
 Click to enlarge and open in a new tab.
Having created all the queries and analyses, it is imperative to send the Parameters to the device.
 Click to enlarge and open in a new tab.
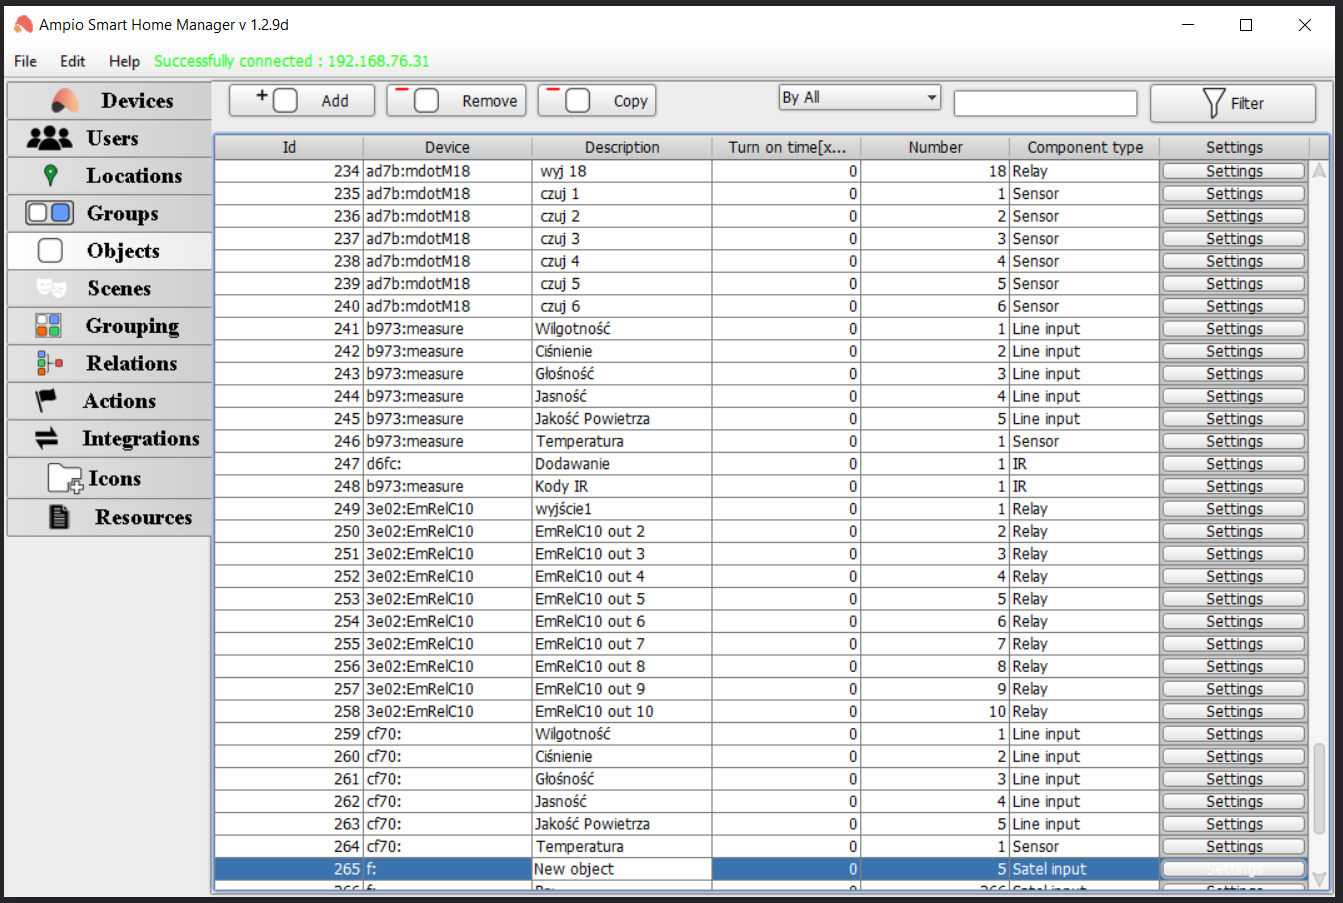
In order to display data in the mobile application, create a new object in the Ampio Smart Home Manager and configure it accordingly.
 Click to enlarge and open in a new tab.
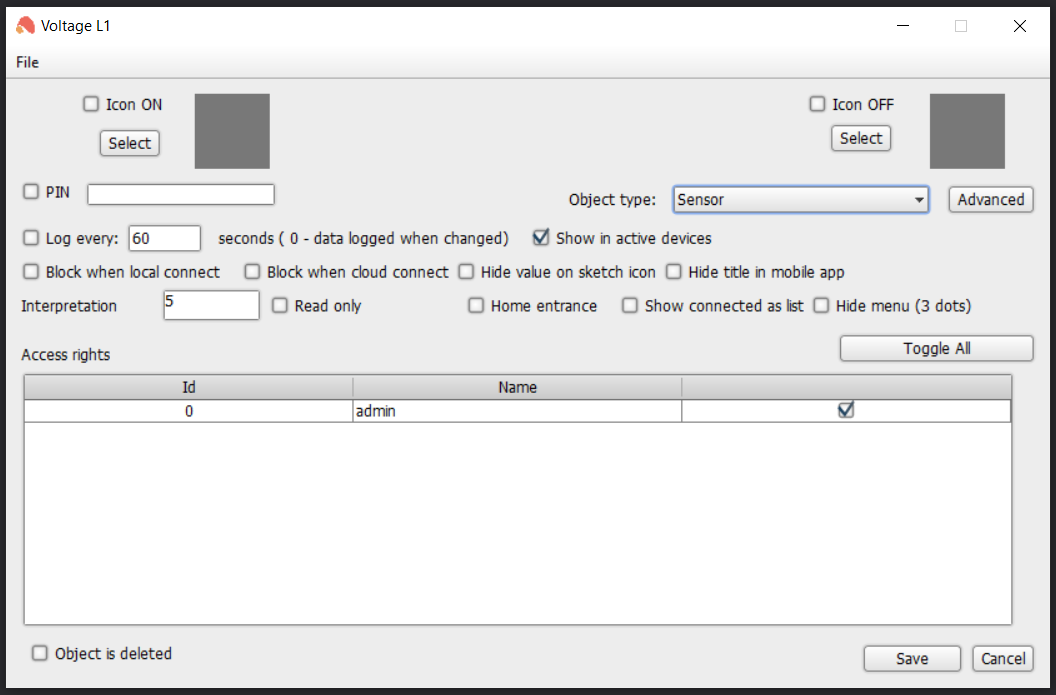
Name the object, go to Settings and select Sensor:
 Click to enlarge and open in a new tab.
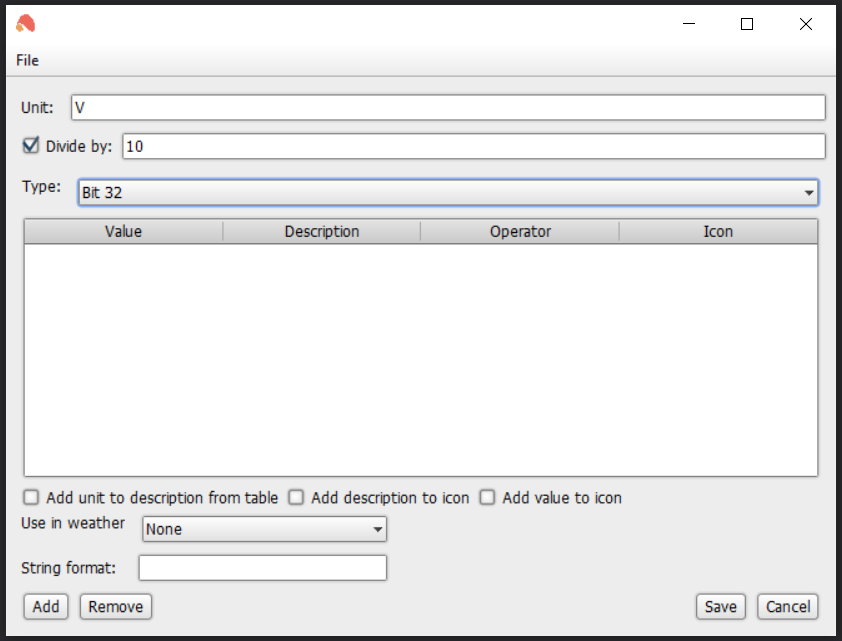
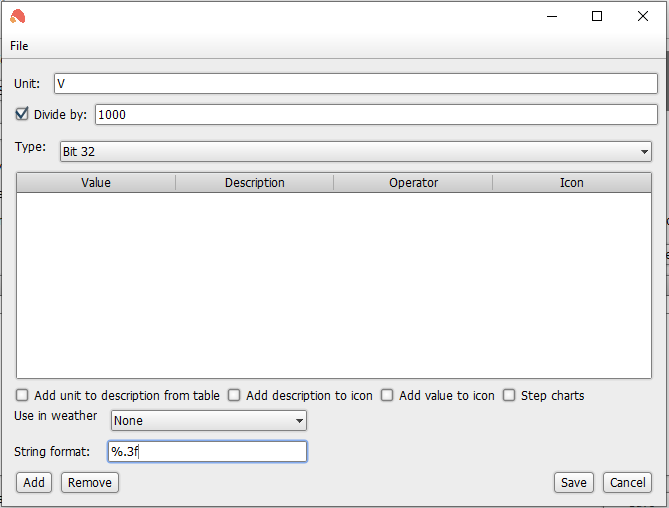
The next step is to go to Advanced, add a unit and select the data type previously supplied in the configurator. If you want to achieve display accuracy, add String format and tick Divide by.
 Click to enlarge and open in a new tab.
Save everything and send to the server (Ctrl+s shortcut).
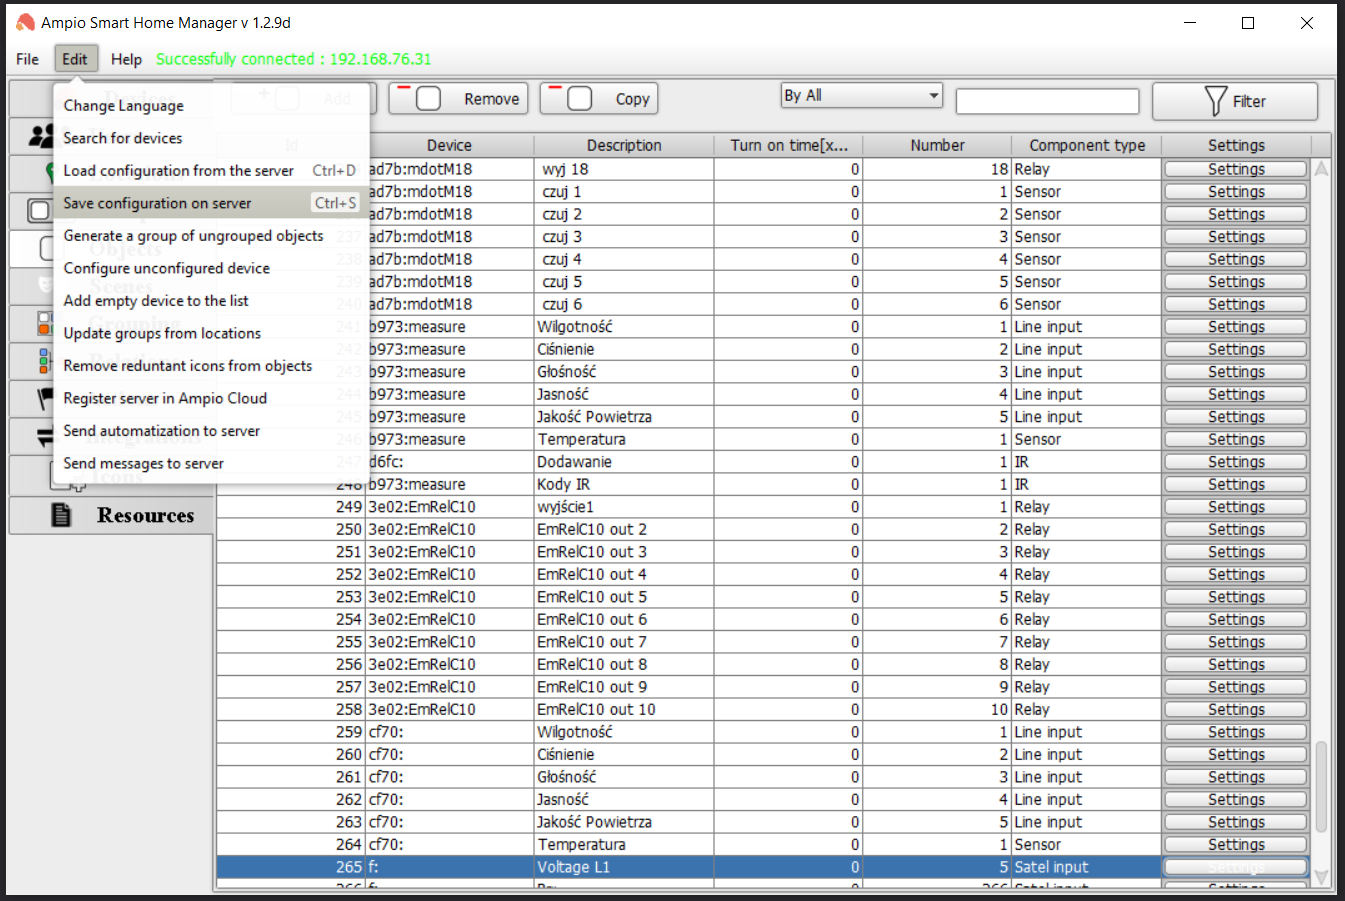 Click to enlarge and open in a new tab.
Objects also need to be assigned to groups in which you would like the data to be shown in the Ampio UNI app.
From now on, the data from the meter will be visible in the Ampio UNI app.
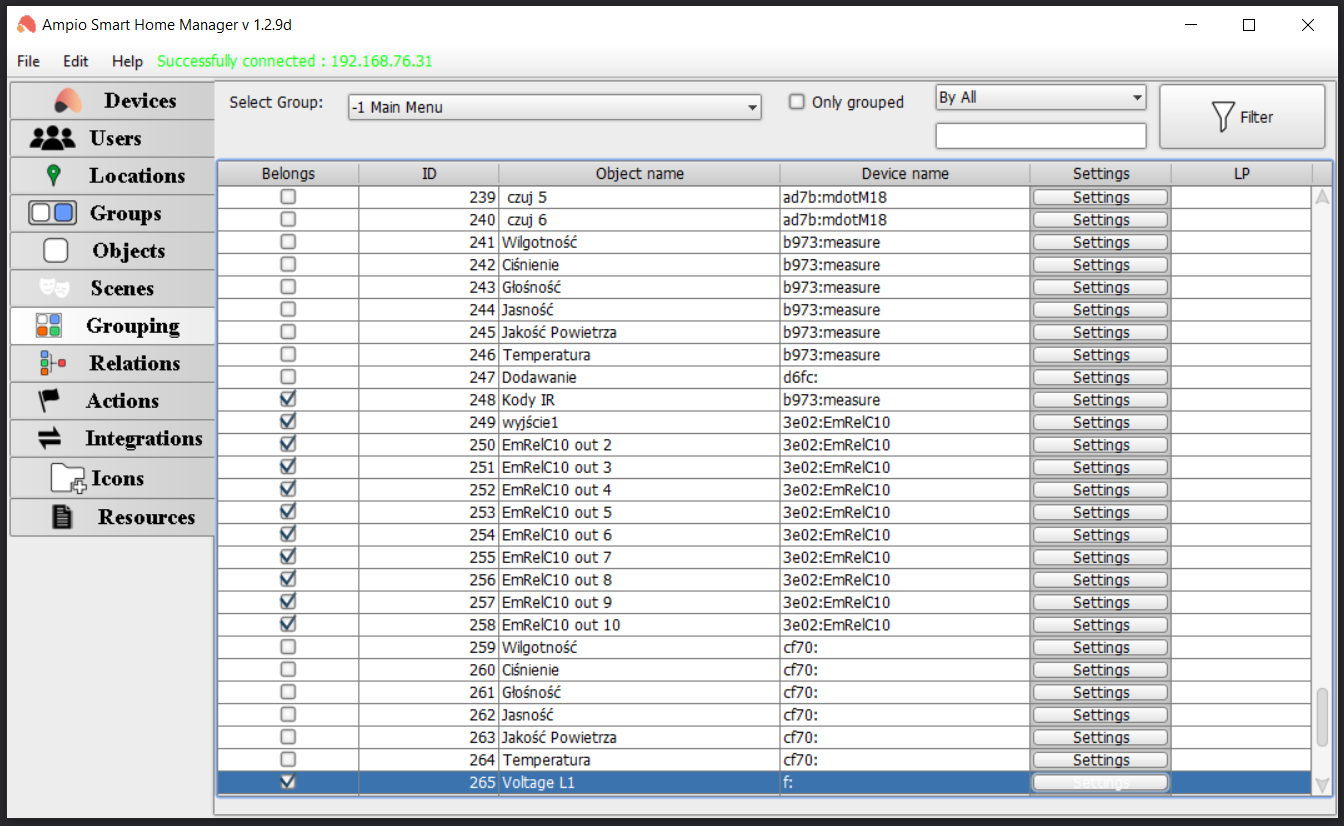 Click to enlarge and open in a new tab.
In order to display floating-point decimal places (FLOAT), the value needs to be multiplied in the configurator and divided in the Ampio Smart Home Manager. For example, in order to get one decimal place, multiply by 10 in the configurator:
 Click to enlarge and open in a new tab.
and divide by 10 in the advanced parameters of the Ampio Smart Home Manager: