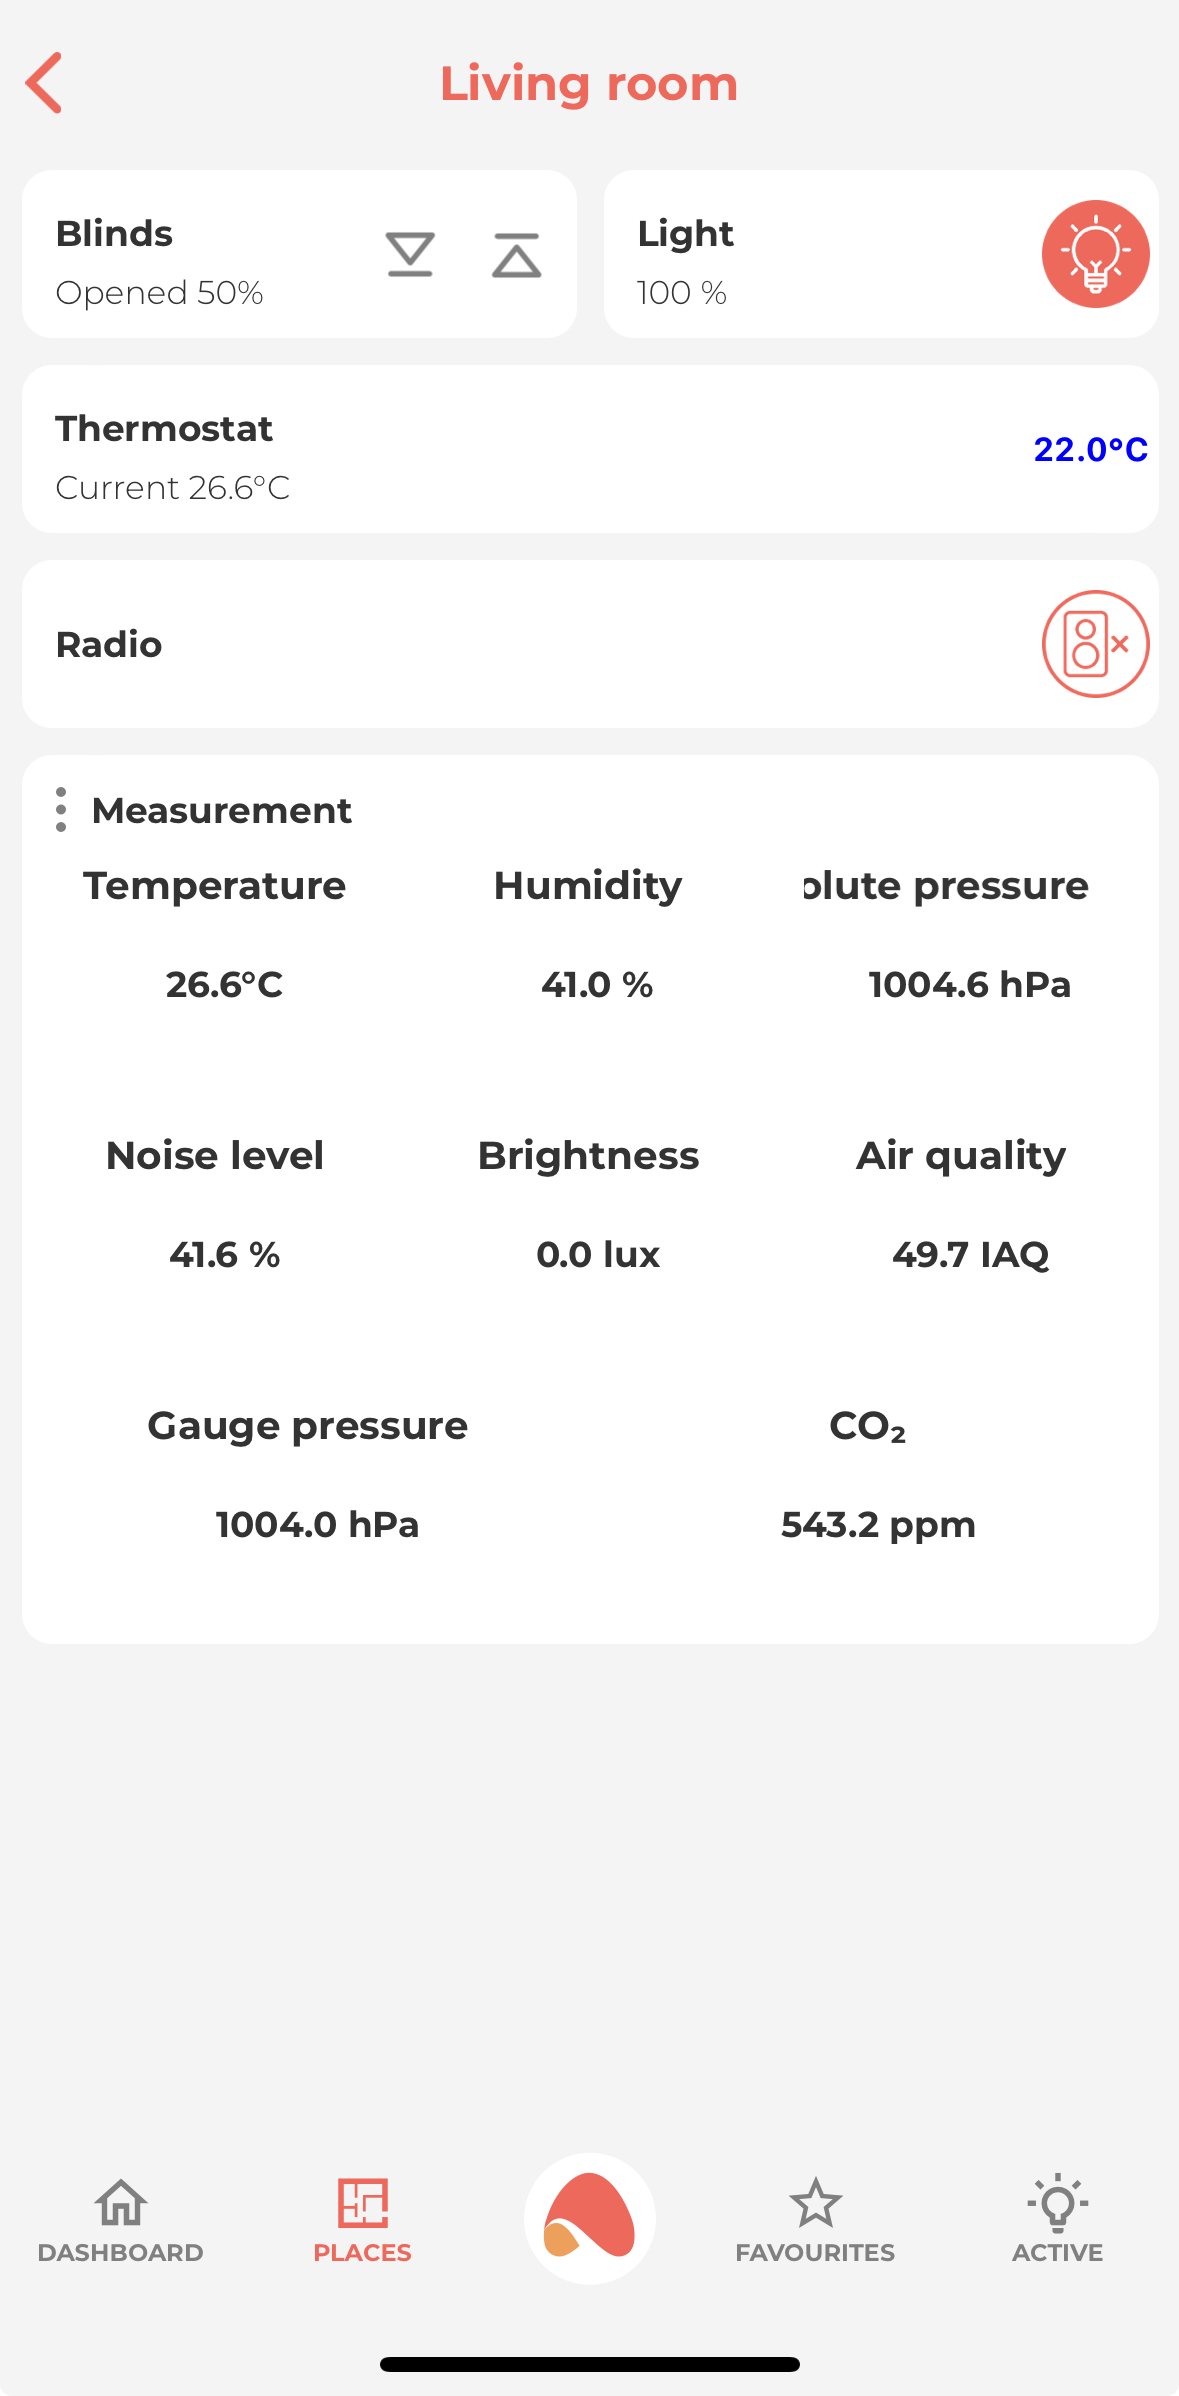
In this tutorial you will learn how to regulate the temperature in your home using the Ampio UNI mobile application. This is demonstrated below using the example of heating in the living room.
 Click to enlarge and open in a new tab.
We will first discuss all the modes in which the heating zone can operate. To change the mode, click on one of the four available options, namely:
 Click to enlarge and open in a new tab.
Schedule
Heating works according to a set schedule. Creating and modifying the schedule is discussed in the next section of this guide.
Manual
By selecting this mode, you can set the temperature in a selected room manually. When the Schedule mode is active, you can change the temperature value with the slider and the mode will be automatically changed to Manual. The manual mode is active until the next change in the schedule, which is when the schedule mode gets activated again.
Fixed
Selecting this mode changes the set temperature until you manually change the mode again. Settings of the fixed mode do not alter the operation of the fixed mode. When a power blackout occurs, the heating zone will revert to the Schedule mode.
Holidays
A mode that works identically to the Fixed one with the only exception being that after a power cut, it will remain in the Holidays mode.
Clicking on Schedule among the options at the bottom of the screen takes you to the settings related to the heating zone schedule.
At the very top, you will see the minimum and maximum temperature in which the heating zone can operate. These parameters are set by an installer during the installation’s configuration and according to the particular device’s specifications.
You can also set up comfort and economic temperatures, which is a useful option when managing the temperature in a schedule. This way, you can create a schedule and assign economic or comfort temperatures (whose values can be changed at any moment) to certain times, without the need to define a specific value.
Let’s move on to creating a schedule. After selecting ADD NEW, you can choose the hour at which the temperature should be changed, choose days of the week, on which certain settings should be active, and edit the temperature settings. You can set a specific value of the temperature with a slider or select the economic, or comfort temperature from a drop-down list. The figure below presents an example, where:
 Click to enlarge and open in a new tab.
The schedule can be modified at any point in time. After doing the changes, click on the floppy disk captioned Save in the top right corner of the mobile app.
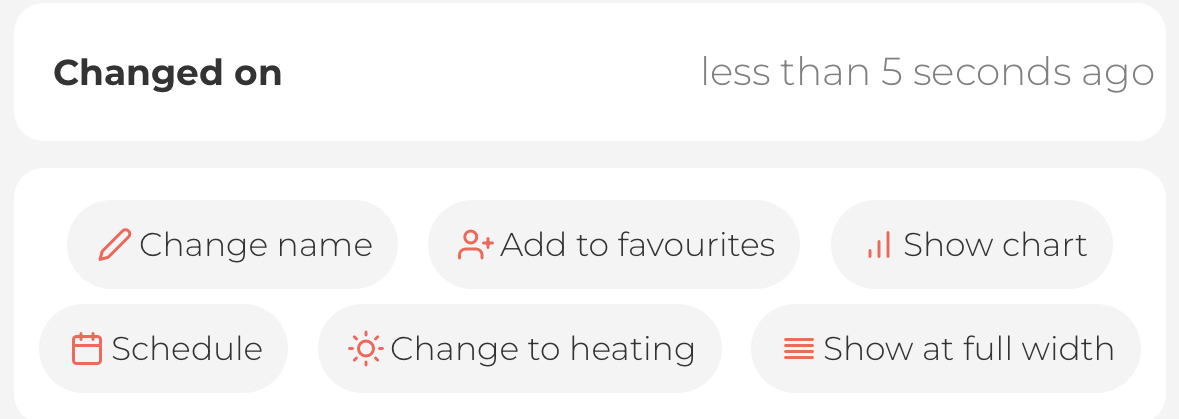
In addition to the option to define a heating zone schedule, the following options are also available:
 Click to enlarge and open in a new tab.
Change name
Here we can provide any name for our object, which will help to identify it in a given place of our installation.
Add to favourites
Our object will appear in the FAVOURITES tab - if we use it often, we can keep it handy in this way.
Show chart
If we need more detailed data, we can check on the graph how the measured temperature has changed in relation to the setpoint during the day, hour, week or any other period of time.
Change to heating/cooling
If our facility controls a device that has both cooling and heating capabilities, e.g. an air conditioner, we can change its functionality. When changing to cooling, our zone will be activated when the measured temperature is higher than the setpoint and vice versa - when changing to heating, the zone will activate when the measured temperature is lower than the setpoint.
Show at full width
The tiled appearance setting of the application automatically sorts objects in two columns - if more than one object is available. Clicking on this option will expand the given object (here: “Thermostat”) to the full width of the screen in the view of the given place.