Garden irrigation, or self-service management of your garden from within the Ampio UNI. In this guide you will learn how to correctly set up and operate the different sections of your garden watering.
In order to get to the irrigation settings in Ampio UNI, click on the Ampio logo in the middle of the bottom menu and enter the Garden irrigation tile. If you have not configured garden irrigation before, the list will be empty. Before you add your first section, let’s first focus on how exactly the sections work. In garden irrigation you can create any number of sections, which work independently from each other. Then, each section can have any number of actions added, and each of the actions' operational time is specified in minutes. Actions are triggered one by one, starting from the first one on the list, only when all the conditions for triggering a section are met. After the prescribed time, the first action is switched off and the next Action from the list is activated, unless a delay time is set, more about which later in this guide. Let’s create the first section by clicking on the + symbol in the top menu bar in Ampio UNI. Give the section a name and confirm with OK.
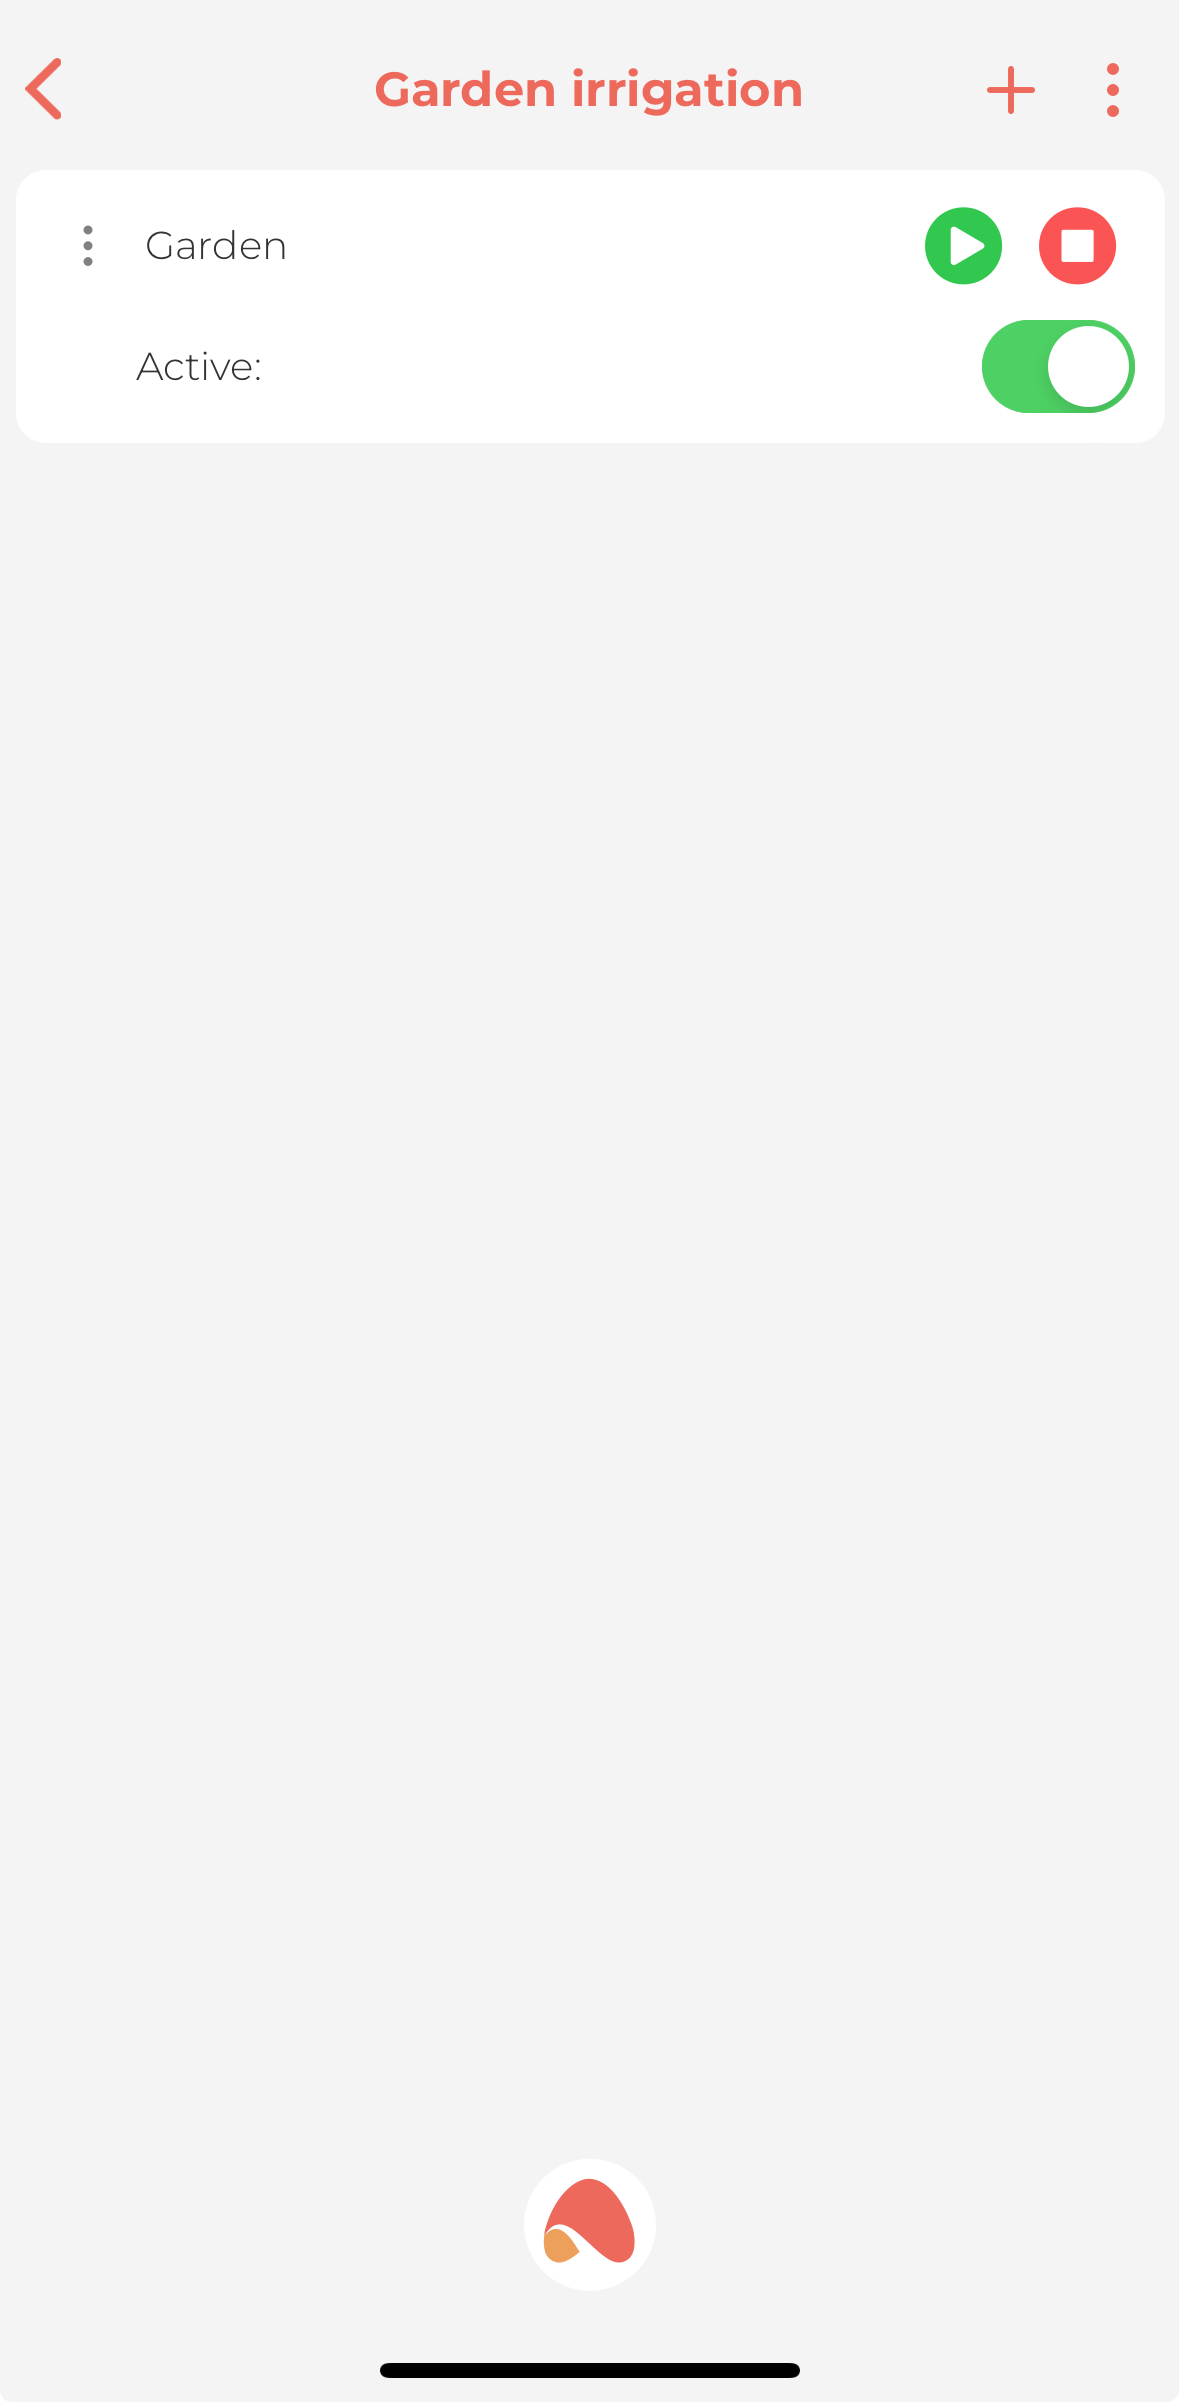
Once the section is created, hours and days will be shown as basic conditions to be set for activating specific sections.
These are the basic parameters that will let you plan your garden watering. You can expand the list of conditions by choosing the + symbol from the top Ampio UNI menu bar. We can use objects for that, which are available in our Ampio UNI application. This is also why, if you have the right measuring equipment, you should discuss adding readings from the measuring devices to the app with your installer, so that you can use them later for garden irrigation.
There are the following types available:
If the signal from this sensor is active, watering will not start at the assigned time in the chosen section.
Here, you have the option to read temperature measurements and set a minimum temperature at which garden irrigation will be set about. If you set the temperature to 18°C, garden watering will only start, if the temperature reaches, or exceeds 18°C.
After adding a humidity sensor, you can set a percentage value of humidity, under which your section should be activated.
By adding another time condition, you can activate a given section twice a day. Apart from a specific hour, you can also make garden watering dependent on the sunset and sunrise.
If you would like to make garden irrigation dependent not only on the current weather conditions, but also on whether it had been raining a couple of hours prior to the planned watering, you can use the timed rain sensor. You can check if the sensor was active over a certain period of time in the last couple of hours. The period of time in which this can be registered is the last 12 hours.
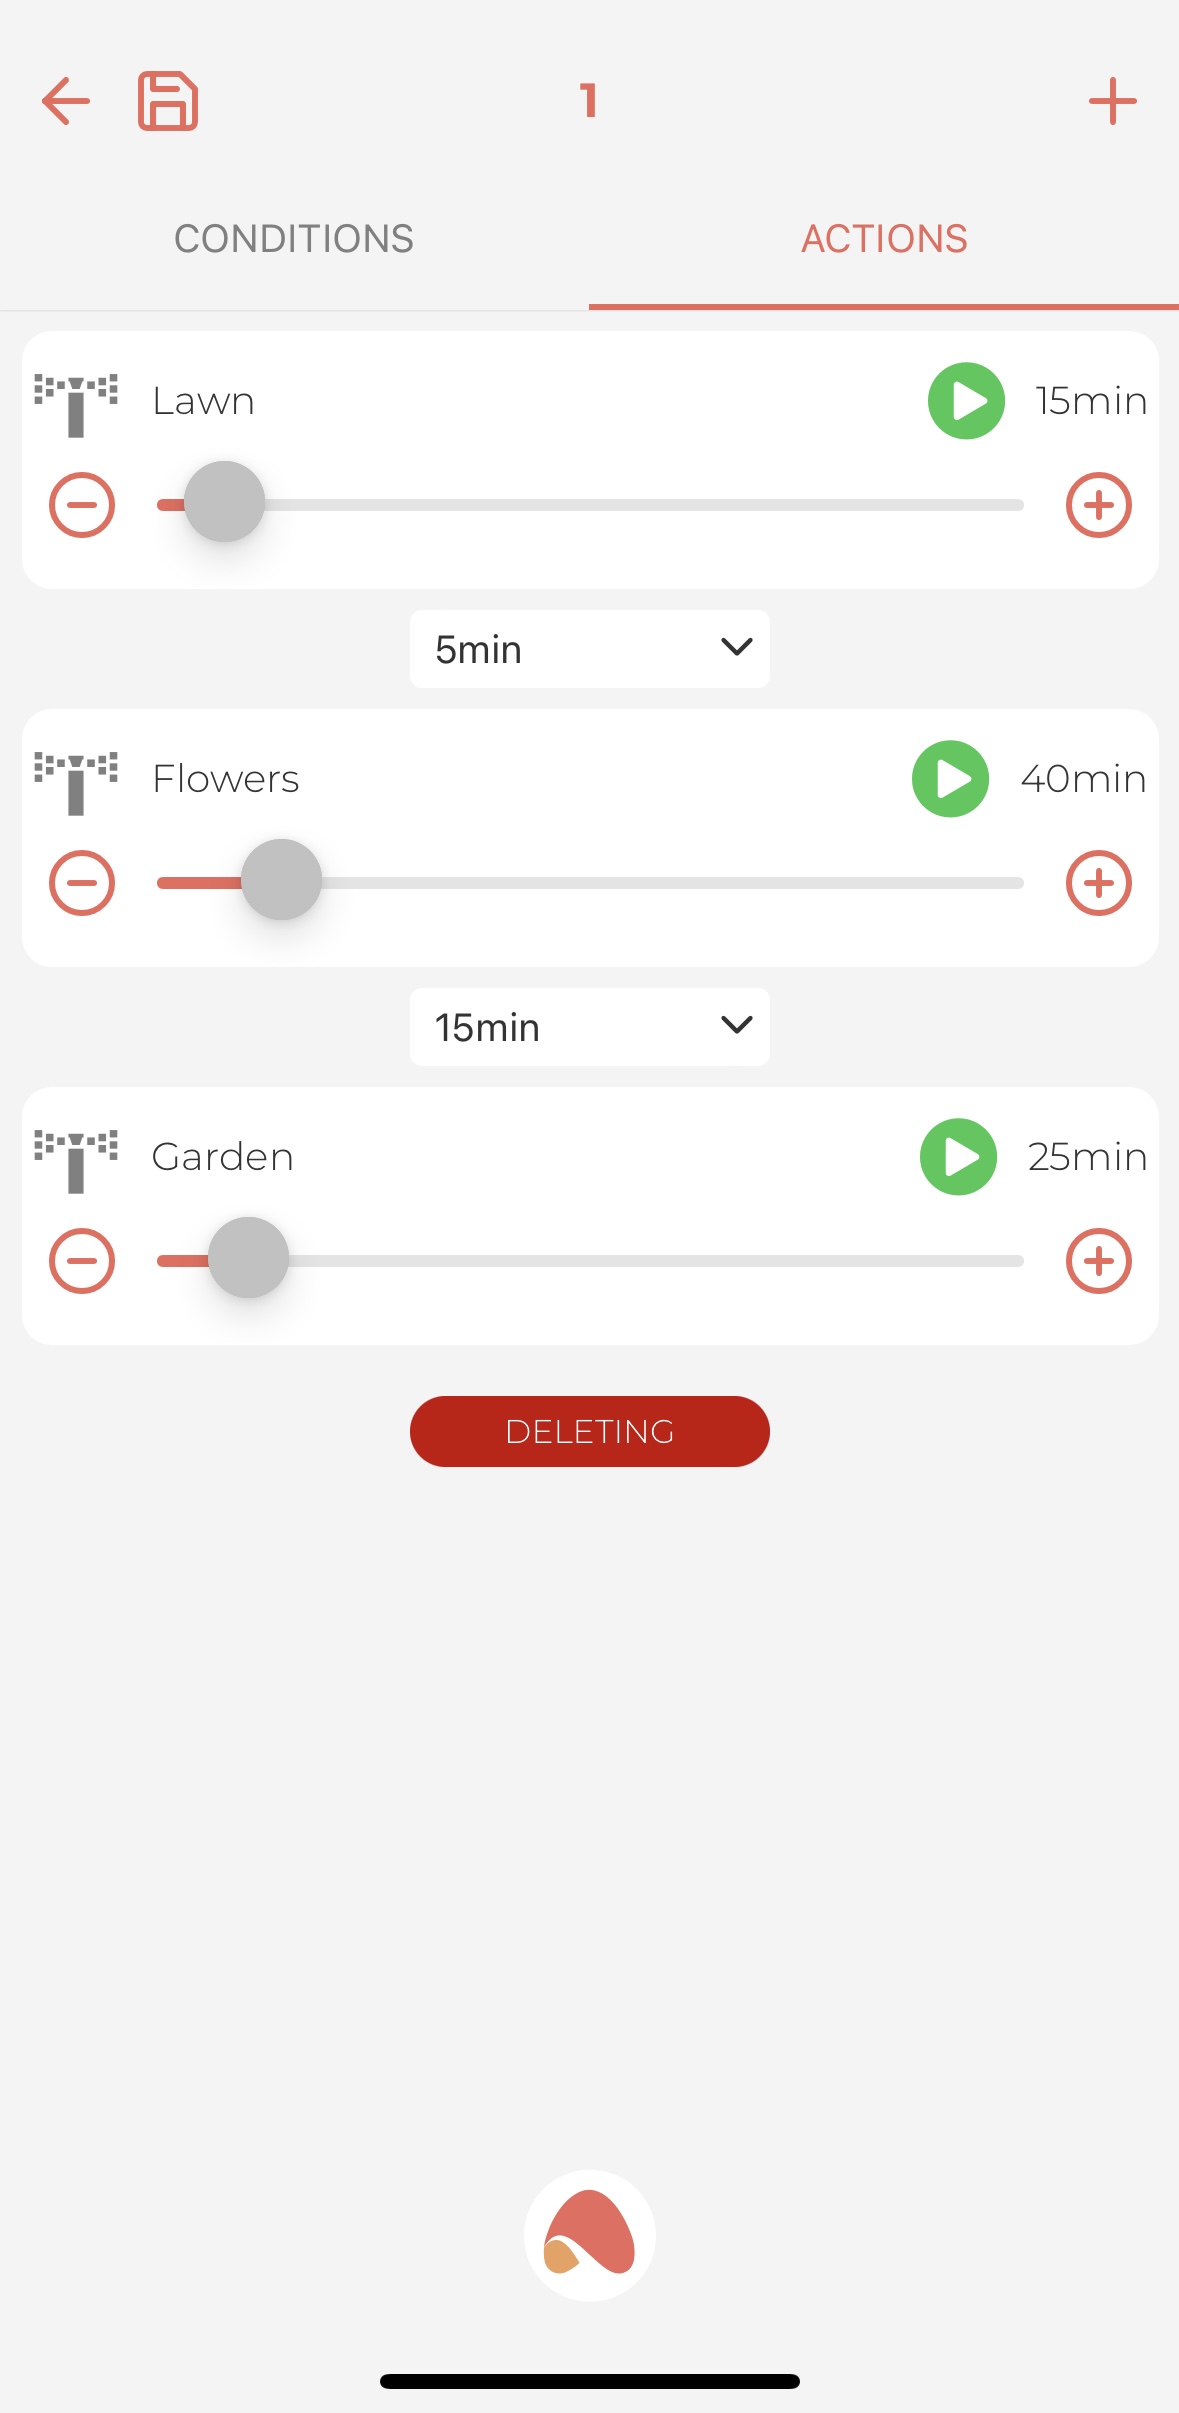
Once the conditions have been configured, we can move on to the ACTIONS tab. Here we add the objects of interest that are responsible for watering the garden. Next to each object, we will see a slider with which we set the range from 1 to 360 minutes - this is the watering time. The objects are activated according to the order in the list. Once an object on the top of the list has run for the set amount of time, the next object starts. It is also possible to set breaks between objects.
 Click to enlarge and open in a new tab.
In the example above, after 15 minutes of watering the lawn, there is a 5-minute pause before watering the flowers, and after finishing watering the flowers, there is another 15-minute break before watering the garden.
 Click to enlarge and open in a new tab.
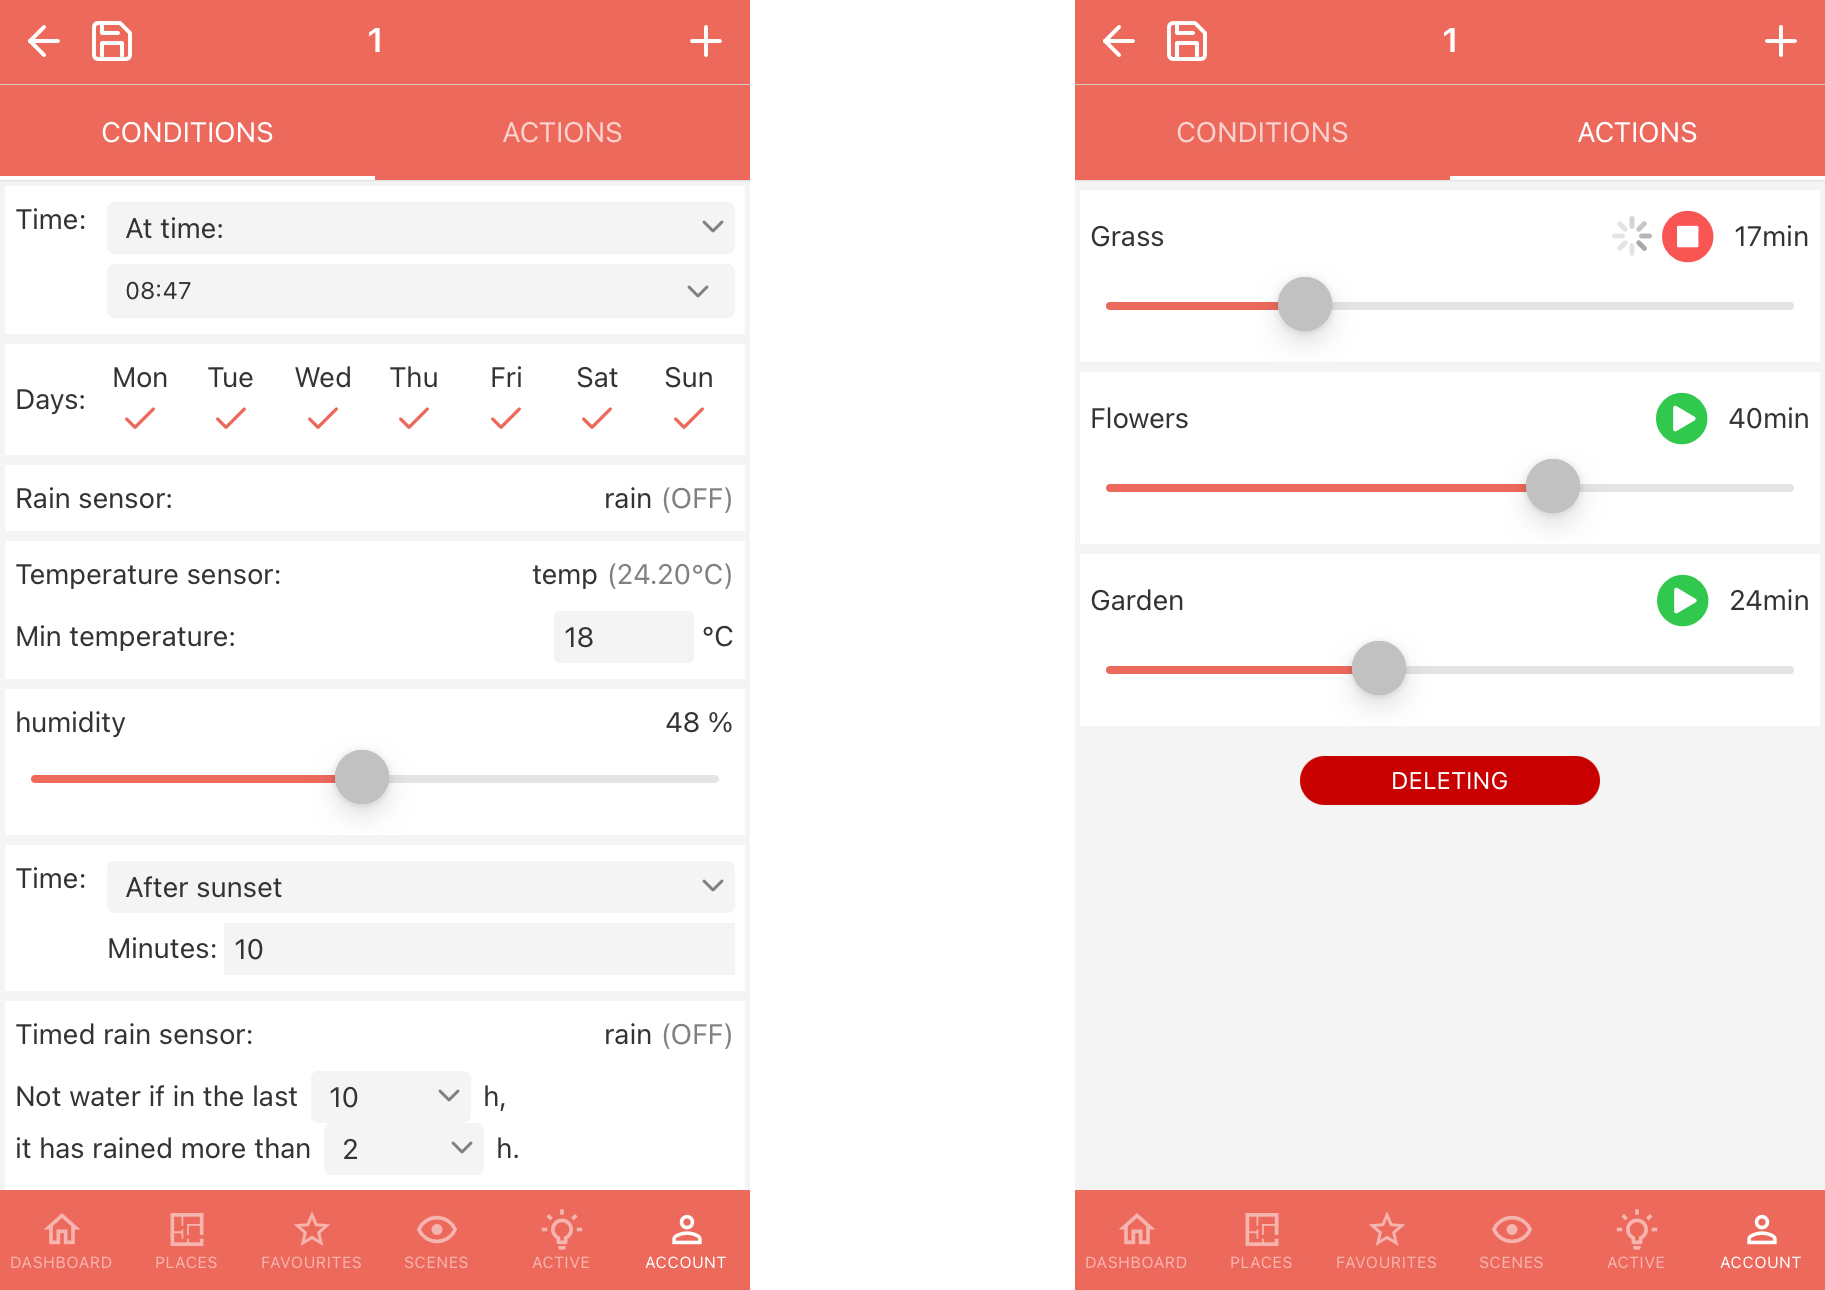
The figure above presents an automated schedule of garden irrigation, which will be activated under the following conditions:
if
As soon as thr conditions are met, the lawn will be watered for 15 minutes, then flowers for 40 minutes and, at the end, the garden for 25 minutes. The whole process will take 80 minutes in total.
Having configured the first section, you can go back to the main screen by clicking on the arrow with a floppy disk in the top left corner. Your irrigation settings have now been saved. Now you can create another section. Dividing your garden into sections is useful when you want to make specific sections' watering dependent on different conditions, or use the same objects but with varying frequencies dependent on specified conditions. If your water source is efficient enough, you can also create a couple of sections with the same conditions, but different objects active - then watering will be performed simultaneously.
In the main screen, you can also manage each of the sections independently with the following icons: